This post is part of our WordPress series which shows you how install and manage WordPress blogs and websites easily.
To read our previous posts in this series, click here , here , and here.
In this short tutorial, I’ll show you how to use Microsoft Live Writer to publish great-looking blog posts to WordPress CMS from your Windows’ machine. Windows Live Writer is a great tool that lets you create, edit and manage posts and pages from your computer easily. No need to always login online to publish your posts.
Not only does it lets you publish posts, but it also allows you to insert video, images, and maps into posts on multiple blogs. Without wasting anymore of your time, let’s get going.
Objectives:
- Use Windows Live Writer to publish posts in WordPress
- Enjoy!
The first then you must do is, go to WordPress’ admin site and login as admin. Then select ‘Settings –> Writing’ and enable ‘XML-RPC publishing protocols’ Save your settings when you’re done.
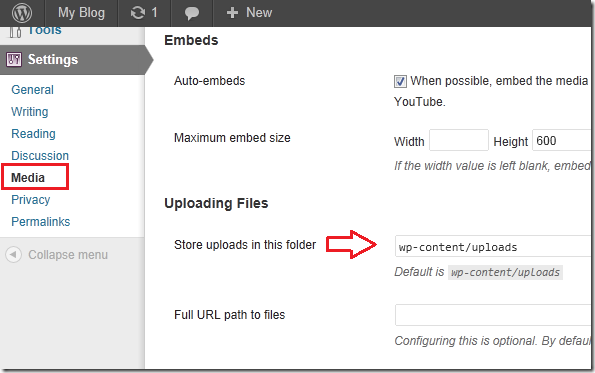
Next, go to ‘Settings –> Media’ and make sure the location is specified in the field as shown below. Images should be saved in ‘wp-content/uploads’ If the field is empty, type it in and save.
If the wp-content/uploads folder isn’t already created in WordPress, you must create it. To do that, logon to your webhost via SSH and cd into /var/www/myblog.com/wp-content. Then create the folder by running the commands below. If you can’t access your webhost via SSH, then use the webhost file manager to create the uploads folder in the wp-content folder of your WordPress site.
sudo mkdir uploads

Next,  make Apache the owner of it by running the commands below:
sudo chmod www-data uploads

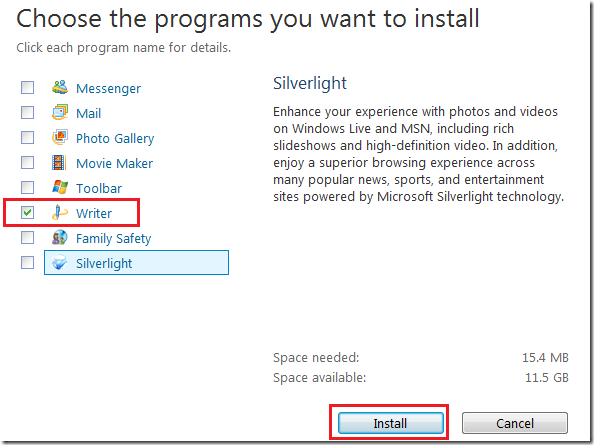
After that, go and download Windows Live Writer from here. This tool is part of a suite of Microsoft programs that include Messenger, Mail, Photo Gallery, Movie Maker and other.
All you need is Writer. Check the box next it to only install Writer.


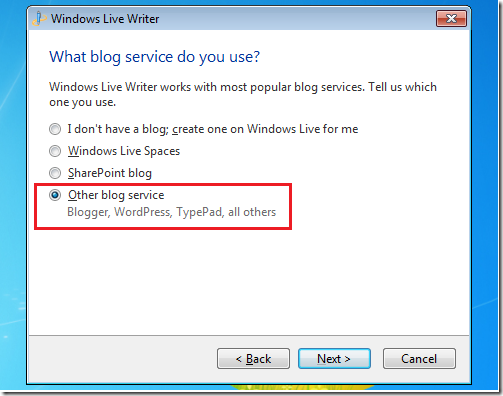
After installing Windows Live Writer, launch it and continue to configure it.


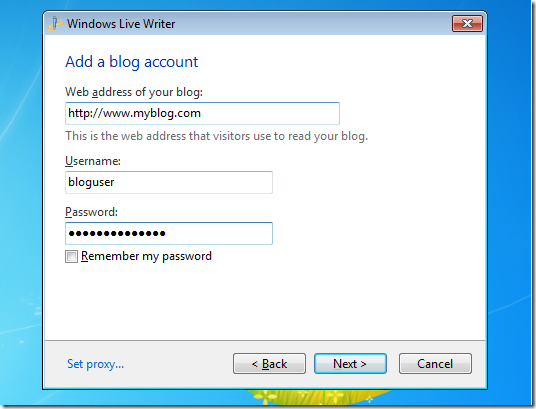
Next, enter your site’s URL, your username and password, then click ‘Next’


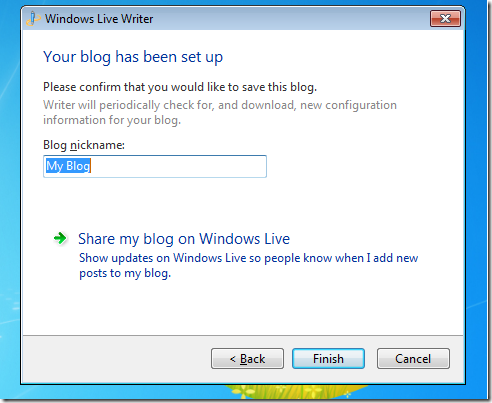
When you’re done, click ‘Finish’


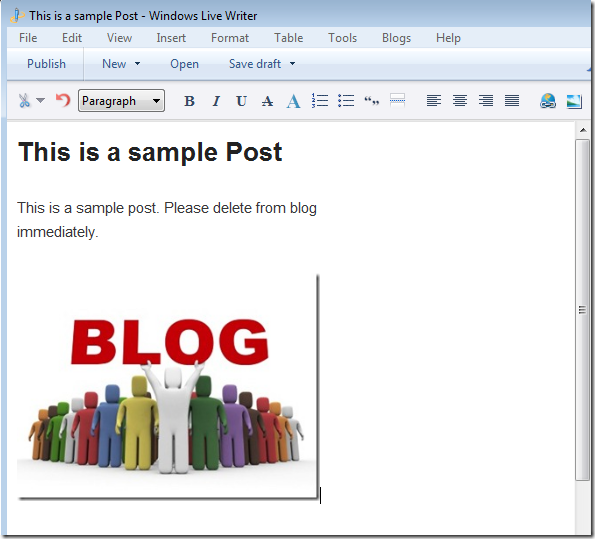
Now you can begin publishing posts from your computer to your site. This tool has many features that you can use when publishing.


Enjoy!

