This post is part of a series we started about using virtualization software to run multiple operating systems on a single host computer. In our last post we said that if the host computer (the computer the virtualization software is installed on) is powerful enough, you could operate as many operating systems or guest machines as possible on a single host.
The guest OS can be Windows, Linux, Mac OS X or other systems. The host machine could also be running either of those operating systems. There are two most used virtualization software available today.
- The first one is Oracle VirtualBox software. It can be downloaded and install free of charge. It’s used by many individual looking for a quick solution for testing applications or other tools using different operating systems.
- The second most used virtualization software the VMware Workstation virtualization software. This one isn’t free but affordable enough that most people are able to pay for it and use it in testing environments.
This series will show you how to install these software and also show you how to install guest operating systems. It also shows you how to optimize your setting for improved performance.
Our last post shows you how to install VirtualBox. This post will show you how to install VMware Workstation software. To view our last post on VirtualBox, please click here.
Since VMware Workstation isn’t free, you must go and signup and pay for it. To do that, visit its’ signup page and register. Then go to the download page and install the latest version for your system.
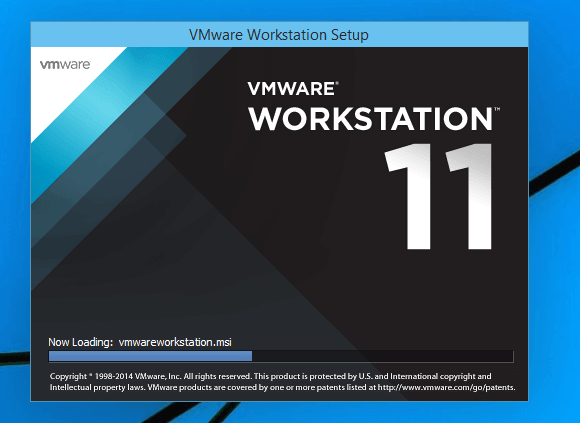
When you’ve downloaded the package (assuming you’re using Windows Host), run the application to begin installing it.
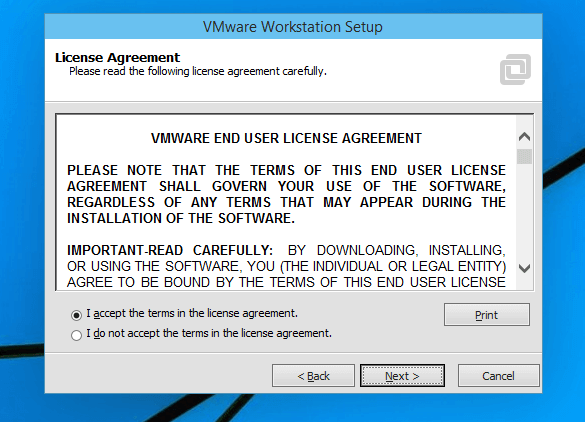
Next, continue the setup by accepting the license agreement. (You don’t have to read the entire thing, although no one will stop you if you decide to)
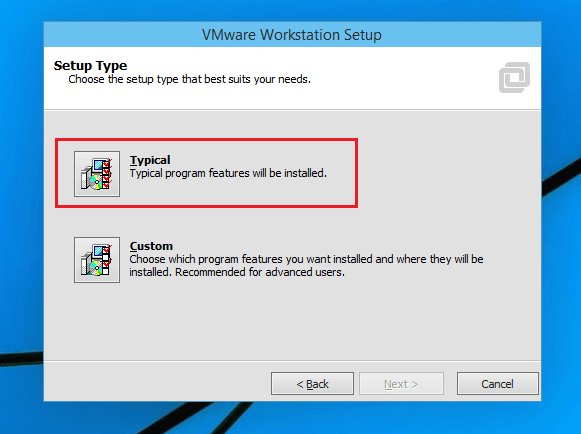
Continue with the next page until you see the setup type. In most environments, the Typical setup will work just fine. If you want to customize your installation, then choose the Custom type setup and continue.
Keep moving to the next screen until you see the page (Read to perform the Requesting Operations).. This is the final page before the installer being installing the files. Click Continue to begin. If you wish to make changes, you can hit the back button. If you click Continue, you won’t be allowed to stop the installation of make further changes.
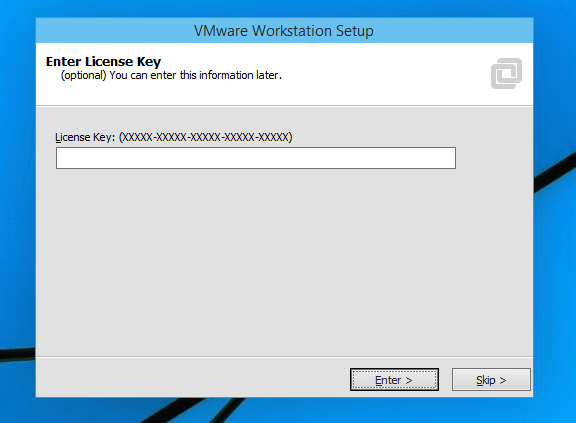
After installing, you’ll be prompted to enter the software key. This key validate and authenticate the software and open all its features for operation. You could also skip this screen and later enter the product key.
If you do not enter a valid key, the product will stop functioning after 30 days..
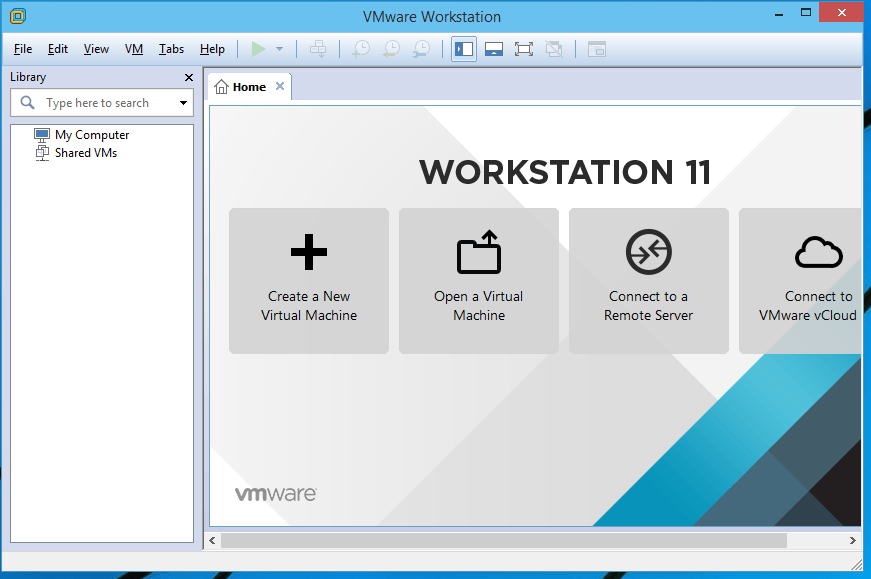
When you’re done, click Finish to complete the installation. At this point, an icon should appear on your desktop called VMware Workstation. Double-click to open it.
The software is ready to crate virtual machines. To create new virtual machines, click File –> New Virtual Machines.
In your next posts, we’ll continue with installing and configuring virtual machines on the host computer.
Enjoy!

