This brief tutorial is going to show you how to install phpMyAdmin on Ubuntu 14.10 so you can easily manage your database servers. When it comes to database management, there are many ways to do it. For advanced database administrators, using the command-line is a common practice but for new users it can be terrifying.
A simple mistake while editing your databases could break and make them unusable. That’s why it’s imperative to always backup your database server before making live changes. Always backup before making changes, I can’t emphasize that enough.
Most PHP based websites like WordPress, Joomla and Drupal use databases to manage and store their content. The most commonly used database server for most CMS based sites is MySQL. MySQL was once the king of all opensource databases until Oracle acquired its parent company and made some changes to its licensing terms.
That’s when the opensource community flipped the switch and threw its support behind MariaDB database server. Now MariaDB is slowly but surely becoming the most used database server for all CMS based websites. MariaDB is a drop-in replacement for MySQL, which means the only difference between MySQL and MariaDB is their names and licensing terms.
MariaDB is a fork of MySQL. It uses the same codes and design. So, if you rip out MySQL database server and install MariaDB, your CMS applications will function without problem because packages that were removed when you uninstalled MySQL are replaced by MariaDB.
Because managing a database server using the command-line console isn’t recommended for new users, developers created a cool web based tool called phpMyAdmin. phpMyAdmin allows you to manage every aspect of the database from creating new databases to managing users permissions and access control — all from your web browser.
It’s secure and very intuitive. If you’re a new user who want to manage MySQL or MariaDB databases, then you should definitely install phpMyAdmin and use.
- Installing phpMyAdmin on Ubuntu
To install the tool on Ubuntu, you should first install the LAMP stack. The LAMP stack is a short reference for Linux, Apache2, MySQL and PHP. Installing the LAMP stack is a prerequisite to installing phpMyAdmin.
To install LAMP read this post or click on the link below:
https://www.liberiangeek.net/2014/10/install-apache2-php-mysql-support-lamp-ubuntu-14-10/
After install PHP and other important tools, continue below to install phpMyAdmin.
phpMyAdmin can be installed on Ubuntu by running the commands below.
sudo apt-get install phpmyadmin
When you run the above command, you’ll be prompted to choose a webserver during the installation. Select Apache2.
During the installation you be prompted with this:
The phpmyadmin package must have a database installed and configured before it can be used. This
can be optionally handled with dbconfig-common.
If you are an advanced database administrator and know that you want to perform this configuration
manually, or if your database has already been installed and configured, you should refuse this
option. Details on what needs to be done should most likely be provided in
/usr/share/doc/phpmyadmin.Otherwise, you should probably choose this option.
Configure database for phpmyadmin with dbconfig-common?
Select Yes
Then type the root password for MySQL.
Next you’ll be prompted to create a new password for phpmyadmin user.. Create a new password and confirm it for the phpmyadmin user.
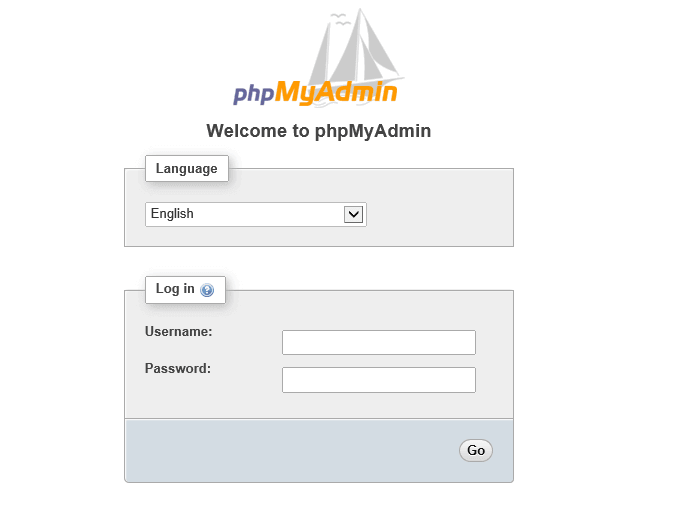
After installing, reload Apache2 and type your installation by going to the host name or IP address followed by phpmyadmin (ex.. http://mydomain.com/phpmyadmin).
If everything was installed correctly, you’ll be prompted to sign in as the root user. Type the username and password and you’re set.
Enjoy!