Dropbox for Linux is the best cloud storage client for Linux systems. No other cloud storage provider support Linux like Dropbox. It client works seamlessly with Linux machines and tightly integrated specially on Ubuntu desktop.
If you use Linux desktop including Ubuntu and you’re looking for the best cloud storage to store your content, then you might want to look at Dropbox first. There are other great opensource cloud providers, and their products have great Linux clients, but Dropbox is well known with strong financial backing.
You might not have to worry about moving your data quickly to another provider because your current cloud provider is going out of business. That has happened before.
Some users were force to move their content to another providers because their cloud provider was shutting the doors and ending operation. That’s why I rather go with reputable and reliable cloud providers with strong backing and long term support.
Among all the reputable and reliable cloud providers, Dropbox is the winner with the best Linux client that’s designed to work easily and efficiently.
This brief tutorial is going to show you how to easily install Dropbox on Ubuntu 14.10 easily.
- Installing Dropbox on Ubuntu
Ubuntu has done a great job integrating Dropbox into it, including installation. Dropbox installation process is as simple as running a single command and following an onscreen wizard to configure.
All you have to do to install it is run the commands below.
sudo apt-get -y install nautilus-dropbox
After running the above commands, Dropbox installer will fetch all required packages and install on your system.
If you’re new to Ubuntu and don’t know how to find the command console, press Ctrl — Alt — T on your keyboard. Doing that will launch the command console. Then run the above commands.
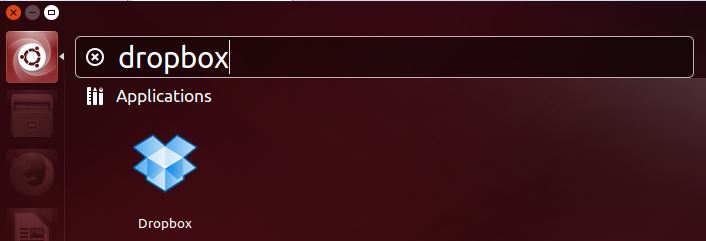
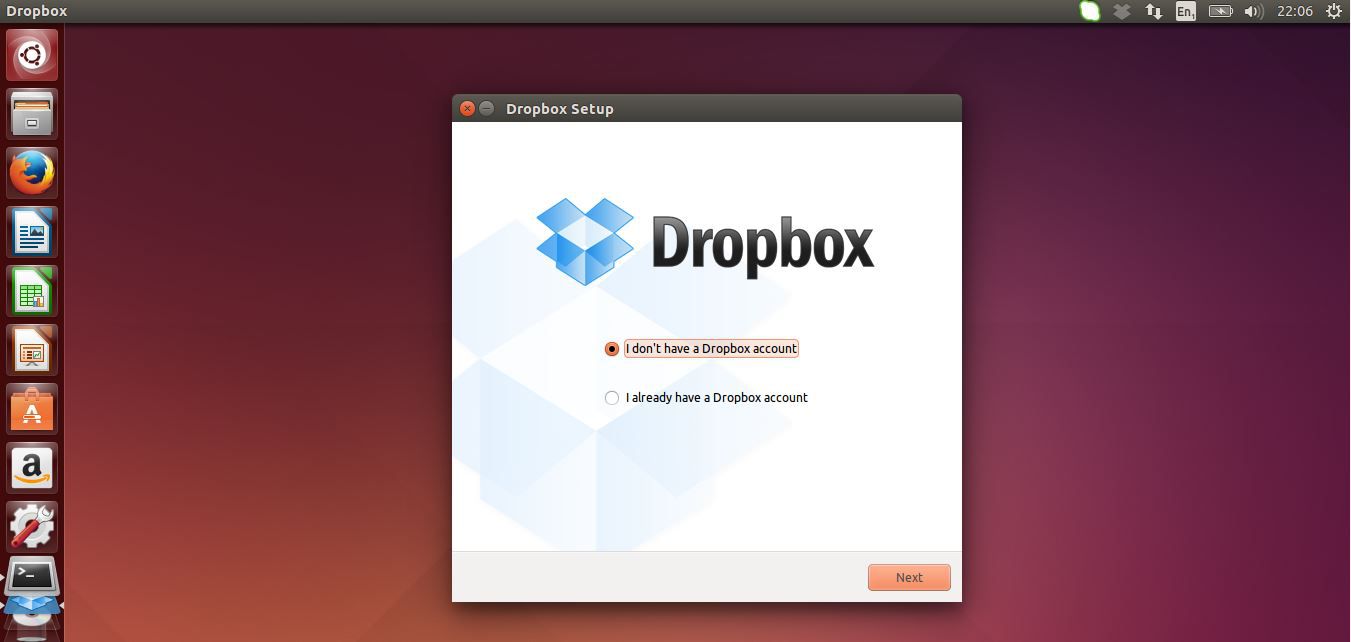
After downloading and installing Dropbox packages, it should automatically start the configuration wizard. If it doesn’t start, go to Unity Dash and search for Dropbox, then click to launch it.
After launching it, Dropbox wizard will open up and wanting you to login with your current username and password of create a new account if you don’t have one.
Continue with the installation and choose the best settings for your desktop. The default should be just fine for most installations. When you’re done with the installation, Dropbox will create a new folder in your home directory called Dropbox and download all existing content onto your machine from online.
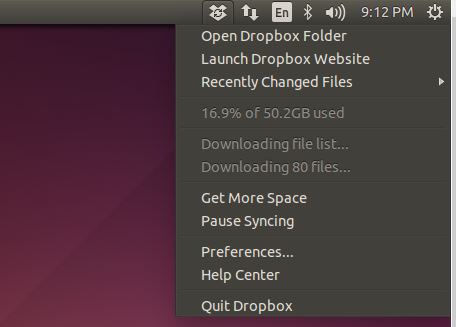
A quick access menu button is also added to your top menu bar. Click on it to view more setting options. It can also be used to make changes to your online account.
That’s it! This is how to get Dropbox installed on Ubuntu.
You could manually download Dropbox installer package from online and do it yourself. But the easiest and most efficient way to install Dropbox on Ubuntu is following the step above.
Enjoy!


