We previously showed you how to install Nginx and Apache2 on Ubuntu 14.04 and now, this brief tutorial is going to show you how to install Lighttpd web server in Ubuntu 14.04 with PHP5, MySQL support.
Most webmasters know a lot about Apache2 and Nginx web servers, but only few know about Lighttpd or how to install and use it. For those who don’t know about Lighttpd web server, here’s an overview.
Lighttpd is a very light, very secure and flexible web server that’s trusted by millions of webmasters. This opensource web server has a small CUP footprint and very efficient memory management for high traffic websites. If your website is suffering from high traffic with resources being overloaded, then you may want to try Lighttpd.
There are more to be said about Lighttpd and you can find more information about this web server by searching online. But if you need to get in installed on your Ubuntu 14.04 machine, then continue below to learn how.
Lighttpd is also a perfect solution for WordPress hosting that many webmasters don’t know about. If you want to improve your WordPress blog performance, then take a peek and try Lighttpd.
When you’re ready to try Lighttpd, continue below to learn how to install and use it in Ubuntu 14.04.
- Installing Lighttpd on Ubuntu 14.04
To install Lighttpd on Ubuntu 14.04, all one has to do is run the commands below.
sudo apt-get update && sudo apt-get install lighttpd
After running the above commands, Ubuntu will download and install the webserver. After installing server continue below.
- Installing MySQL Database Server on Ubuntu 14.04
The next step is installing a database server. The most popular database server on Ubuntu is MySQL. To install it on Ubuntu 14.04, run the commands below.
sudo apt-get install mysql-server mysql-client
When you run the commands above to install MySQL database server, it should prompted you to create a root password during the installation. Create and confirm a root password to continue.
You’ll need this root password to connect to the database server later.
- Installing PHP and other PHP5 modules
Next, run the commands below to install PHP5 and other PHP modules.
sudo apt-get install php5 php5-fpm php5-mysql php5-curl php5-gd php5-intl php-pear php5-imagick php5-imap php5-mcrypt php5-memcache php5-ming php5-ps php5-pspell php5-recode php5-snmp php5-sqlite php5-tidy php5-xmlrpc php5-xsl
After that , continue below to begin configuring the installed servers and services. First open the file below and change the value of cgi.fix_pathinfo to 1
sudo vi /etc/php5/fpm/php.ini
[...]
; cgi.fix_pathinfo provides *real* PATH_INFO/PATH_TRANSLATED support for CGI.  PHP's
; previous behaviour was to set PATH_TRANSLATED to SCRIPT_FILENAME, and to not grok
; what PATH_INFO is.  For more information on PATH_INFO, see the cgi specs.  Setting
; this to 1 will cause PHP CGI to fix its paths to conform to the spec.  A setting
; of zero causes PHP to behave as before.  Default is 1.  You should fix your scripts
; to use SCRIPT_FILENAME rather than PATH_TRANSLATED.
; http://php.net/cgi.fix-pathinfo
cgi.fix_pathinfo=1
[...]
|
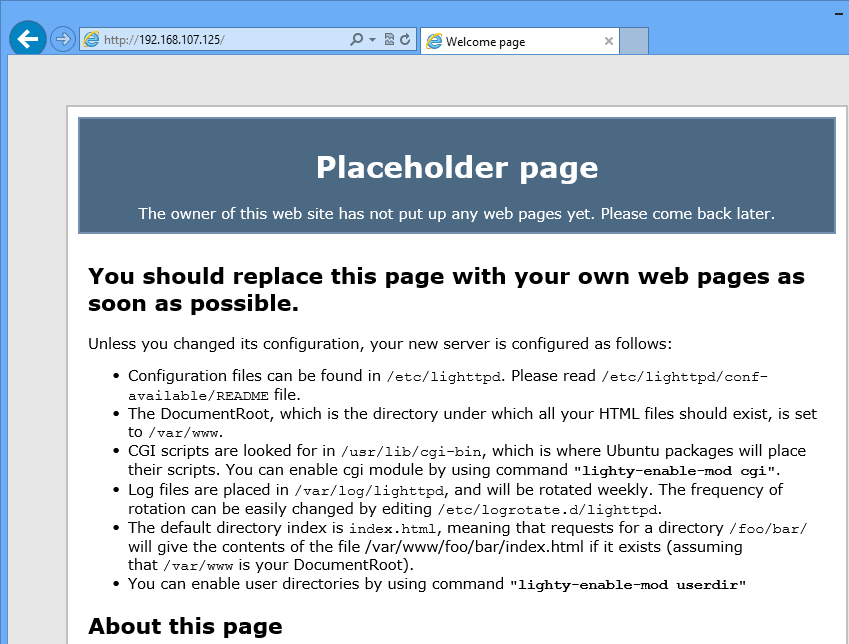
If you open your browser and browse to your the host IP or name, you should see the default test page for Lighttpd web server as shown below.
The default site configure file for Lighttpd on Ubuntu is at /etc/lighttpd/lighttpd.conf
In that file, you can change any perimeters to match your environment. For example, the default document root is /var/www/.
You could change it to something else if your environment has a different location.
The default username and groupname for Lighttpd is www-data.
That’s it!
You can now add your WordPress site to the default document root directory, configure a database and you’re done. Search on this site for help creating databases on MySQL. We’ve written a lot on it.
Since most webmasters agree that using socket for PHP-FPM is better than TCP, here’ show to configure Lighttpd to use PHP-FPM to speed things up a bit.
Open Lighttpd configuration file for FastCGI and make the changes below.
sudo vi /etc/lighttpd/conf-available/15-fastcgi-php.conf
Then change the highlighted line to reference PHP-FPM socket.
[...]

# http://redmine.lighttpd.net/projects/lighttpd/wiki/Docs:ConfigurationOptions#mod_fastcgi-fastcgi

## Start an FastCGI server for php (needs the php5-cgi package)

fastcgi.server += ( ".php" =>

((

"socket" => "/var/run/php5-fpm.sock",

"broken-scriptfilename" => "enable"

))

)[...]
The default location for PHP-FPM socket on Ubuntu 154.04 is /var/run/php-fpm.sock
Then enable Lighttpd FastCGI module.
sudo lighttpd-enable-mod fastcgi

sudo lighttpd-enable-mod fastcgi-php
Restart both Lighttpd and PHP5-FPM
sudo service lighttpd restart

sudo service php5-fpm restart
Enjoy!