Looking to enable SSL or HTTPS for Apache2 on Ubuntu? This brief tutorial is going to show you how it’s done. Since Google announced that websites that enable HTTPS for all their pages would get a small ranking boost, many webmasters and website owners are migrating their pages to HTTPS.
We were among the few webmasters to migrate to all HTTPS after Google’s announcement. We’ve been running our pages securely over Nginx web server since then. It has been a wide ride migrating and our experience is shared here for those who want to understand the impact of migrating to all HTTPS.
If you want to enable HTTPS for your blog, you must first create or generate your server private certificate key. Then generate a certificate signing request and submit to a Certificate Authority or CA which will validate the server key and issue a trusted SSL certificate.
So, generate a certificate for your server. Then generate a certificate signing request or CSR using information of the server private key since you don’t want to submit your private key to external entities. Your server key is private and should always remain on the server.
After generating the CSR using information from the server private key, you’ll then submit that CSR file to a CA to be validated. The CA will then give your a SSL certificate to use on your sites.
This is the basics of generating and processing SSL certificates. There are more to learn but the basics should get your started.
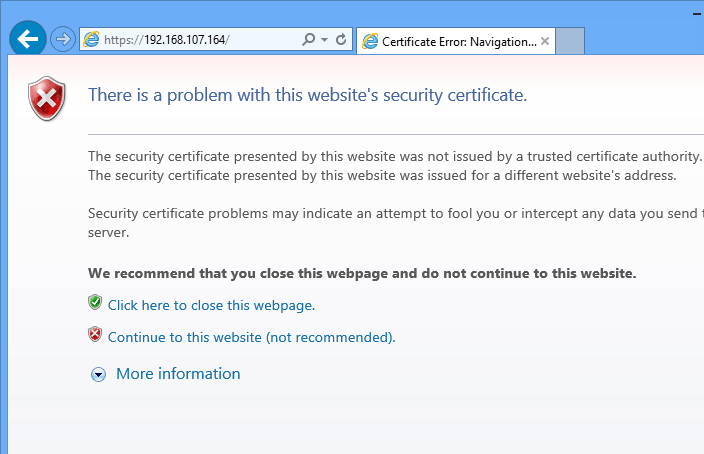
This blog post is going to show you how to generate a self-signed certificate which means no external CA will validate the server key. This process is known as self-signed certificates.
Self-signed certificates are mostly used in test environments or areas where there’s no need to validate trust.
Self-signed certificate are identical to trusted certificates from certificate authority. The only difference is, self-signed certificates are not vouched by a third-party. But they use the same algorithm and hash encryption.
- Installing Apache2 on Ubuntu 14.04
First get Apache2 installed. The commands below shows you how to install Apache2 on Ubuntu 14.04
sudo apt-get install apache2
- Enable the SSL module for Apache2
Next, run the commands below to enable the SSL module for Apache2. By default, it’s not enabled.
sudo a2enmod ssl
Restart Apache2 to apply the newly enabled module.
sudo service apache2 restart
Next, create a directory to store your SSL certificates.
sudo mkdir -p /etc/apache2/ssl
- Generating a self-signed certificate for Apache2
The commands below generates the private and signs the key and putting them into the new directory created above. This is the fastest way to get it done.
sudo openssl req -x509 -nodes -days 365 -newkey rsa:2048 -keyout /etc/apache2/ssl/server.key -out /etc/apache2/ssl/server.crt
After running the commands above, you’ll be prompted to fill in details about the certificate. Follow the short guide below to answer the questions.
You are about to be asked to enter information that will be incorporated

into your certificate request.

What you are about to enter is what is called a Distinguished Name or a DN.

There are quite a few fields but you can leave some blank

For some fields there will be a default value,

If you enter '.', the field will be left blank.

-----

Country Name (2 letter code) [AU]:US

State or Province Name (full name) [Some-State]:Minnesota

Locality Name (eg, city) []:Minn

Organization Name (eg, company) [Internet Widgits Pty Ltd]:Liberian Geek

Organizational Unit Name (eg, section) []:Dept of blogging

Common Name (e.g. server FQDN or YOUR name) []:yourdomain.com

Email Address []:[email protected]
Applying the Certificate to Apache2
Finally, you must apply the newly certificate to Apache2. The certificate file and certificate key file are both in the /etc/apache2/ssl/ dirctory. What you need to do it define them in Apache2 default SSL file.
Open the file
sudo vi /etc/apache2/sites-available/default-ssl.conf
Then add or edit the lines below to reflect where the two files are.
[.....]

ServerName yourdomian.com:443

SSLEngine on

SSLCertificateFile /etc/apache2/ssl/server.crt

SSLCertificateKeyFile /etc/apache2/ssl/server.key

[.....]
Save the file and close out.
Then enable the default SSL site by running the commands below.
sudo a2ensite default-ssl.conf
Restart Apache2, and test your site.
Enjoy!
