WordPress, Drupal and Joomla are three top content management systems that power most websites online today. These three depend on the LAMP stack which includes, Linux, Apache2, MySQL or MariaDB and PHP.
We’ve written about installing both WordPress and Drupal on Ubuntu in the past. This brief tutorial is going to show you how to install Joomla on Ubuntu 14.04 if you have’t already done so.
If both WordPress and Drupal are not what you want when it comes to CMS, then you may want to try Joomla. It’s CMS application trusted by millions and allows you to build powerful websites and online applications.
Content management systems work like a local library. They keep track of every piece of content on websites that are using them. From images to videos and website information, CMSs use databases to store these information easily and quickly. Instead of building websites using the old method one html file at a time (before CMS), CMSs let you build powerful websites easily using templates.
To learn how to install and using Joomla on Ubuntu, continue below. This step by step tutorial will show you how to install the LAMP stack as well as download and install Joomla.
- Installing the LAMP stack on Ubuntu
To get started, first install the LAMP stack. Apache2, MySQL and PHP. Copy and paste the line below onto your terminal and run the commands below to install the LAMP stack.
sudo apt-get update && sudo apt-get install apache2 mysql-server mysql-client php5 libapache2-mod-php5 php5-mysql php5-curl php5-gd php5-intl php-pear php5-imagick php5-imap php5-mcrypt php5-memcache php5-ming php5-ps php5-pspell php5-snmp php5-tidy php5-xmlrpc
The line above will install everything that Joomla requires and some. During the installation of the above packages, you’ll be prompted to create a root password for MySQL database.
Create and confirm a root password. Remember it, because you’ll need it to connect to the Database server later to create a database for Joomla application.
- Creating Joomla Database / and User
Next, run the commands below to connect to the database server.
mysql -u root -p
Then run the commands below to create Joomla database
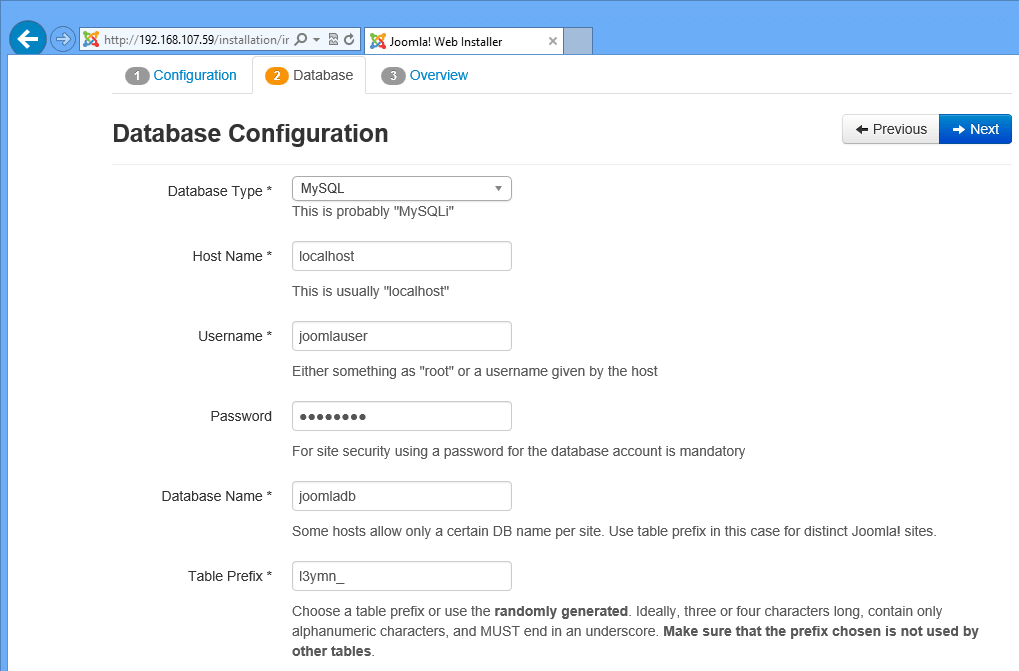
CREATE DATABASE joomladb;
Next, run the commands below to create Joomla database user.
CREATE USER joomlauser@localhost IDENTIFIED BY 'joomlauser_password_here';
Then grant the user access to the Joomla database by running the commands below.
GRANT ALL ON joomladb.* TO joomlauser@localhost;
Exit and you’re done.
- Downloading Joomla Content
Next, go and download Joomla content by running the commands below.
cd /tmp/ && wget http://joomlacode.org/gf/download/frsrelease/19665/160049/Joomla_3.3.3-Stable-Full_Package.zip
Then unzip and copy the content to Apache2 default directory in Ubuntu by running the commands below.
sudo unzip -q Joomla*.zip -d /var/www/html
Next, run the commands below to grant permission of the directory to Apache2
sudo chown -R www-data.www-data /var/www/html
sudo chmod -R 755 /var/www/html
Restart Apache2
sudo service apache2 restart
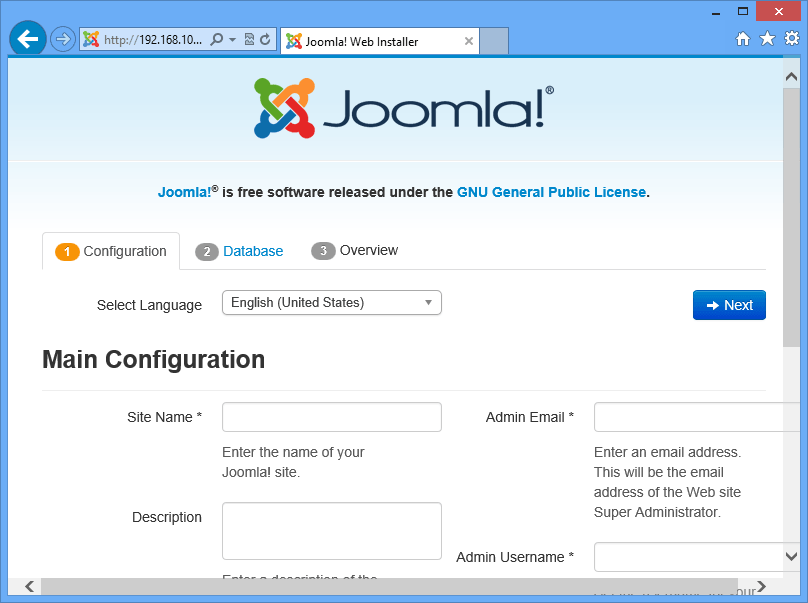
Open your favorite web browser and connect to your server by name or IP address. (eg. http://192.168.1.2/index.php)
By default, Apache2, installed a test html page in the /var/www/html directory called index.html. Remove that page if you want to.
Continue with the setup until you’re finished.
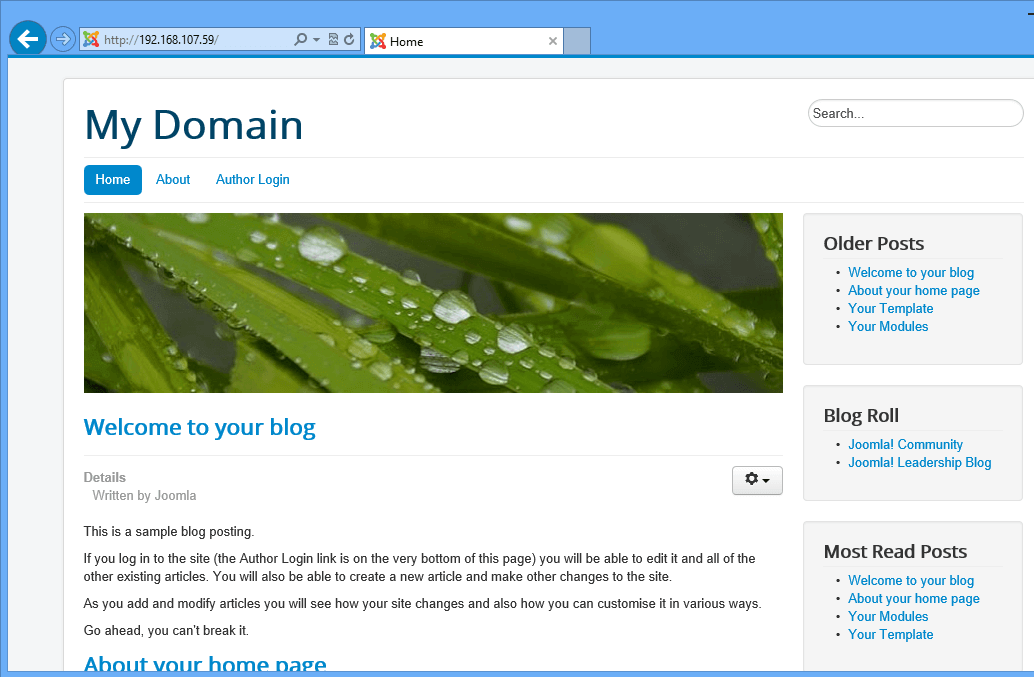
When you’re done entering the database information, click Next to finally install the application. After that, remove the installation folder and you’re done.
Enjoy!


