This post is part our new blogging series that helps new users and newbies setup and manage online blogs or websites. We started this because some of our readers had asked us to write simple-to-understand tutorials about blogging and managing online blogs.
This post will help you, the new user install and setup WordPress on a webhost machine with Ubuntu OS. If you’re a new user who wants to host a WordPress blog or website, and you have root access to the server, then continue below.
Many of our previous WordPress tutorials have been about managing WordPress via Cpanel. Because Cpanel is the most popular platform to manage the backend of websites and blogs we had to start writing our tutorial based on that.
But there are some new users who may have CPanel access as well as root access via SSH. If you’re both, then this tutorial is for you. If you only have CPanel access without root, then this will not work for you.
This tutorial is for those who want to host a website using WordPress as the content management system on a Ubuntu host. To get started, logon to the host via SSH. Once you’re logged-on, run the commands below to update your host.
sudo apt-get update && sudo apt-get dist-upgrade && sudo apt-get autoremoveAfter that, run the commands below to install the software package that will help you run an online blog or website. The packages include, Apache, MySQL, and PHP.
sudo apt-get install lamp-server^
During the installation of the packages, you’ll be prompted to create a root password for MySQL server. Remember the password because that’s what you’ll need to configure MySQL databases.
After installing the packages, you’ll want to create a WordPress database to host WordPress content. To do that, run the commands below to logon to the database server (MySQL).
mysql -u root -p
When prompted for the root password, enter it to continue. Next run the SQL command below to create an empty database for WordPress.
CREATE DATABASE wordpress;
After creating the database, create a WordPress user with access to the database. To do that, run the commands below.
CREATE USER 'wpuser'@'localhost IDENTIFIED BY 'password';
After creating the user, grant the necessary permissions to the user for the WordPress database you created earlier. This user is the one who will have direct access to the database so you want to make sure it has the correct permissions.
To do that we’re going to grant all permissions. Here’s how to do you.
GRANT ALL PRIVILEGES ON wordpress.* TO 'wpuser'@'localhost';
Finally, run the command below to apply the changes.
FLUSH PRIVILEGES;
That’s it for the database. Next, we’ll download WordPress files. To do that, run the commands below.
wget http://wordpress.org/latest.tar.gz
Next, run the commands below to extract the files.
tar -xvzf latest.tar.gz
After the file is extracted, run the commands below to move WordPress files to the webroot directory.
sudo cp -r ~/wordpress/* /var/www/
This will copy the content in the wordpress folder which was just extracted to the /var/www/ directory (root).
Next, change into the webroot directory and rename the wp-config-sample.php to wp-config.php. To do that, run the commands below.
cd /var/www/
Next, rename the file.
sudo cp wp-config-sample.php wp-config.php
Finally, open the renamed file and make the following changes,
sudo vi wp-config.php
Change the highlighted text to match what you created for the database, database user , and password.
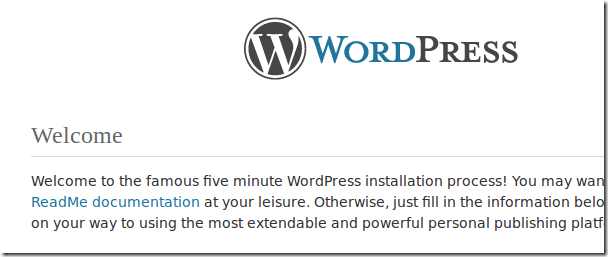
When you done, save the file and open your web browser and type your website domain name. If everything works, you should see the page below.
If you see another that tells you it Works!, then go to the web root (/var/www/) and delete the index.html page.
Enjoy!

