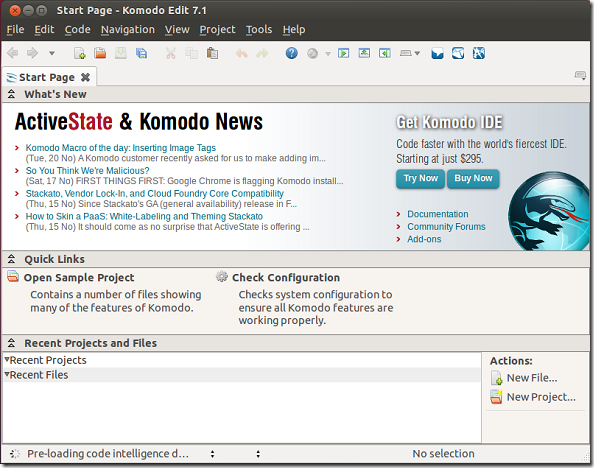
We’ve shown you how to install Komodo Edit in Ubuntu. To read our previous post, please click here.
This brief tutorial is going to show how to install Komodo Edit in Ubuntu using PPA installation. When programs or packages are installed in Ubuntu via PPA, those programs will automatically receive bug fixes, updates and security patches as long as the PPA archive is being updated regularly. Installing most programs in Ubuntu using PPA is cool in that you wouldn’t have to manually update the program every time there’s an update for it.
And if you don’t know what Komodo Edit is, it is a free code editor for Windows, Mac and Linux. If you ever used Notepad++ in Windows and you loved it, then you may want to install and use this tool in Ubuntu. It is a great alternative to Notepad++ which is also a great code editor. So, without wasting anymore of your precious time, let’s get started with installing Komodo Edit in Ubuntu 12.10.
To get started, press Ctrl – Alt – T on your keyboard to open the terminal. When it opens, run the commands below to add this PPA.
sudo add-apt-repository ppa:mystic-mirage/komodo-edit


Finally, run the commands below to update your system before installing Komodo Edit.
sudo apt-get update && sudo apt-get install komodo-edit


After installing, go to Dash and search for Komodo Edit and launch it.


Enjoy!


