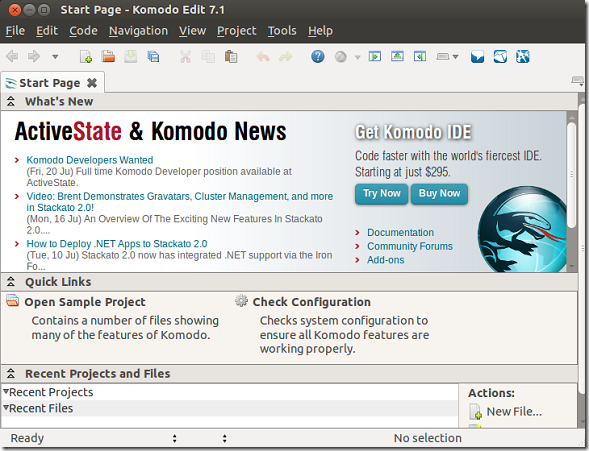
Version 7.0 of Komodo IDE and Komodo Edit are now available for download. This brief tutorial is going to show you how to install Komodo Edit in Ubuntu 12.04 (Precise Pangolin).
Few months back, I showed you how to install version 6.0 in Ubuntu and also told you that it is comparable to Notepad++ found in Windows systems. This version fixes many bugs and has also been updated to support PHP 5.4, Python 3.3, Perl and Ruby. For a more detailed release note, click here.
If you love Notepad++ in Windows, then you’re going to love this. Komodo Edit is free and can be installed in Ubuntu easily.
Without wasting anymore of your time, lets’ get going.
Komodo Edit 7 Objectives:
- Install Komodo Edit 7.0 in Ubuntu 12.04 (Precise Pangolin)
- Enjoy!
To get started with Komodo Edit 7, press Ctrl – Alt – T on your keyboard to open the terminal. When it opens, run the commands below to download Komodo Edit.
wget http://downloads.activestate.com/Komodo/releases/7.1.0/Komodo-Edit-7.1.0-10496-linux-x86.tar.gz
Next, run the commands below to extract the downloaded archive.
tar xzvf Komodo-Edit-7.1.0-10496-linux-x86.tar.gz
After extracting the file, change into the directory.
cd Komodo-Edit-7.1.0-10496-linux-x86/
Then, run the commands below to begin the installation.
sudo ./install.sh
When prompted for the installation directory, specify the location as shown below.
/opt/Komodo-Edit-7/
Finally, run the commands below to set execution path Komodo Edit 7 environment.
export PATH="/opt/Komodo-Edit-7/bin:$PATH"
Go to Dash and search for Komodo, then select and launch it.
For 64-bit version, use this link.
wget http://downloads.activestate.com/Komodo/releases/7.1.0/Komodo-Edit-7.1.0-10496-linux-x86_64.tar.gz
Enjoy!


