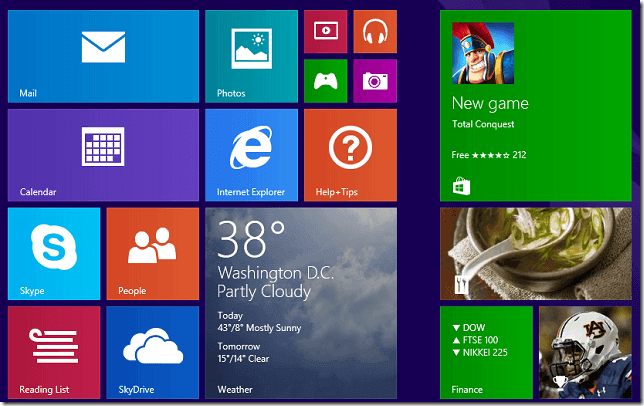
Windows 8.1 allows you to reset or restore the default tiles on the Start Screen without resetting your computer. This brief tutorial is going to show you how to easily do that.
You see, if you’ve been using Windows 8.1 for an extended period of time, you’ll quickly notice how the start screen can become messy. Tiles are moved around, new ones are added and some might have been deleted by you.
Pretty soon, everything is changed.
Well, if you want to go back to the way it was when you first sign on, continue below to learn how to do that.
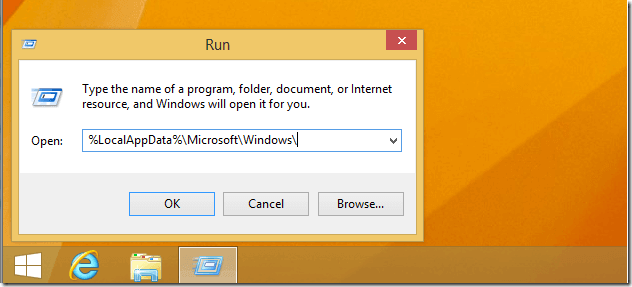
To get started, sign on to Windows 8.1 and press the Windows Key + X on your keyboard to show Windows Tools Menu. When it opens, select Run and copy and paste the line below in the Run box and press Enter.
%LocalAppData%\Microsoft\Windows\
When the folder opens, there you’ll see these two file. Delete them.
appsFolder.itemdata-msappsFolder.itemdata-ms.bak
When you’re done, log out and log back in to see the changes.
Alternatively, you can use the command line to delete these files. It’s might be easy for some users to quickly open the command prompt the delete the files.
To do that, open the command prompt and run the command below.
del %LocalAppData%\Microsoft\Windows\appsFolder.itemdata-ms*
Sign out and log back in to view the default tiles.
That’s it!
If you’ve pinned a lot of stuff on the Start Screen, this is a great way to undo all of them.
Enjoy!


