LAMP stack refers to Linux, Apache, MySql, and PHP. It is an open-source web development stack for developing and deploying dynamic websites. Installing Lamp Stack on Ubuntu 24.04 will provide seamless integration, development, deployment, and maintenance of the website. In this article, we will walk you through the step-by-step procedure to install Lamp Stack on Ubuntu 24.04.
How to Install Lamp Stack on Ubuntu 24.04?
The step-by-step procedure is given to install Lamp Stack on Ubuntu 24.04. You can use the following steps to install and fix the errors.
Step 1: Install Apache Server
Provide the following command to the terminal to install the Apache server using the Apt repository:
sudo apt install apache2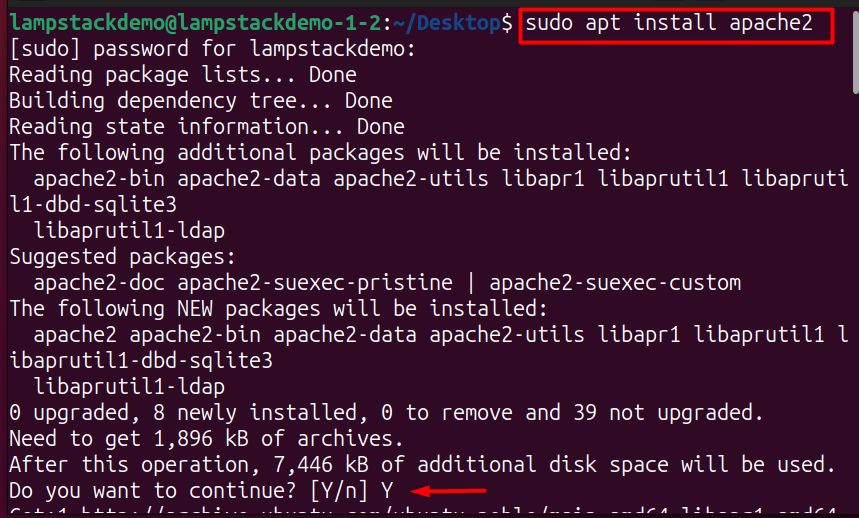
Step 2: Testing the Apache Server
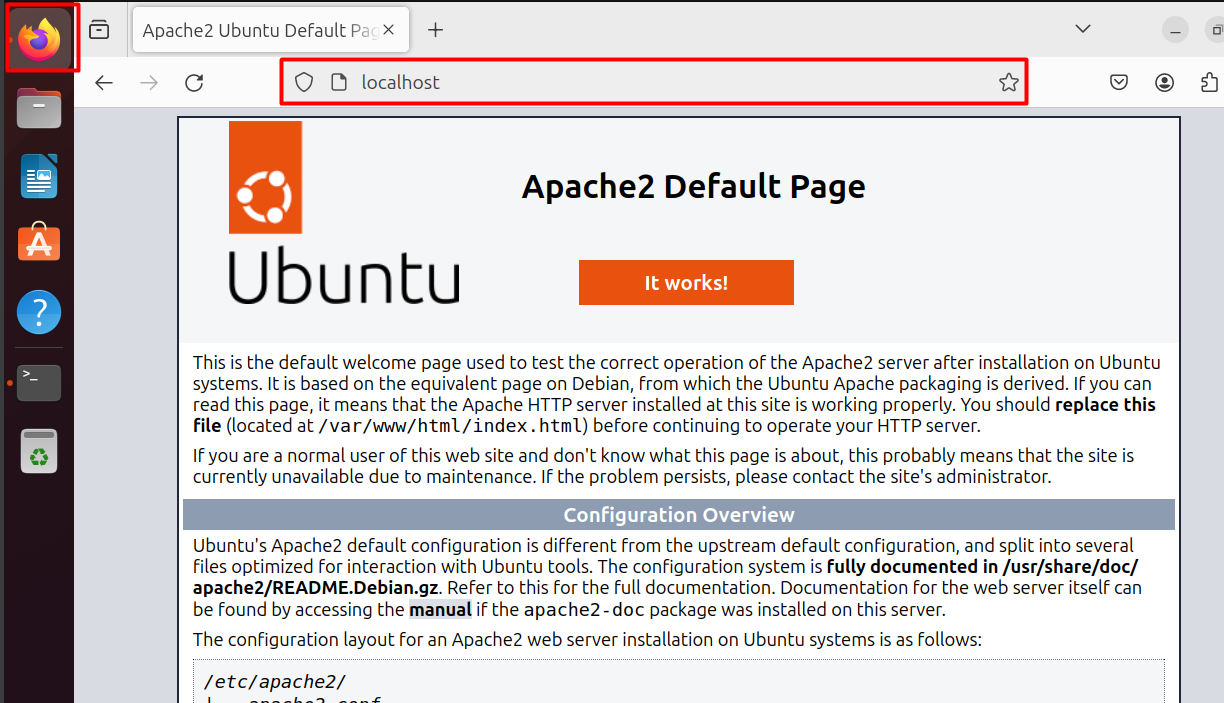
Open Firefox to test if the Apache server is successfully installed and running. Enter “localhost” in the search bar and hit Enter:
Step 3: Install PHP
Once the Apache server is successfully installed, use the following command to install the PHP:
sudo apt install libapache2-mod-php -y
Step 4: Restart Apache Server
After installing the PHP, restart the Apache server via the following command:
sudo systemctl restart apache2
Step 5: Configuring PHP
Now, we will configure the PHP by creating a PHP file in the /var/www/html directory:
sudo gnome-text-editor /var/www/html/phpinfo.php
Append the following line inside the phpinfo.php file and Save the edit:
<?php phpinfo() ?>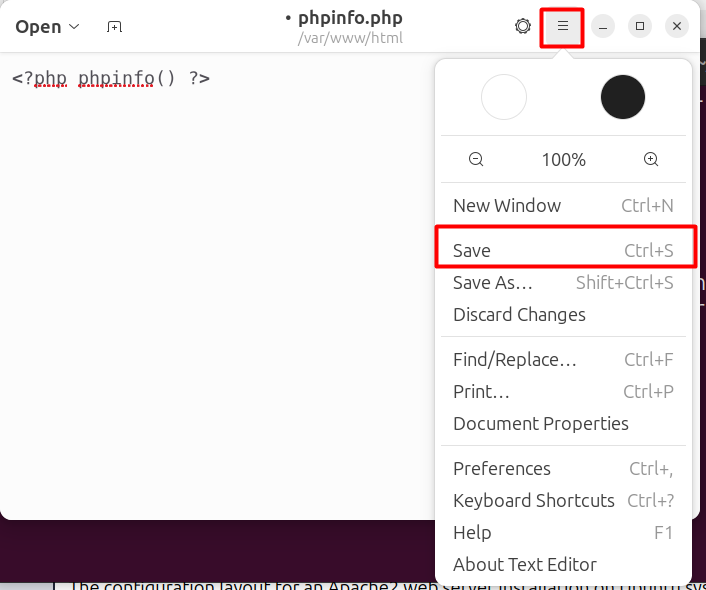
Provide the following URL in Firefox and press the “Enter” button
localhost/phpinfo.php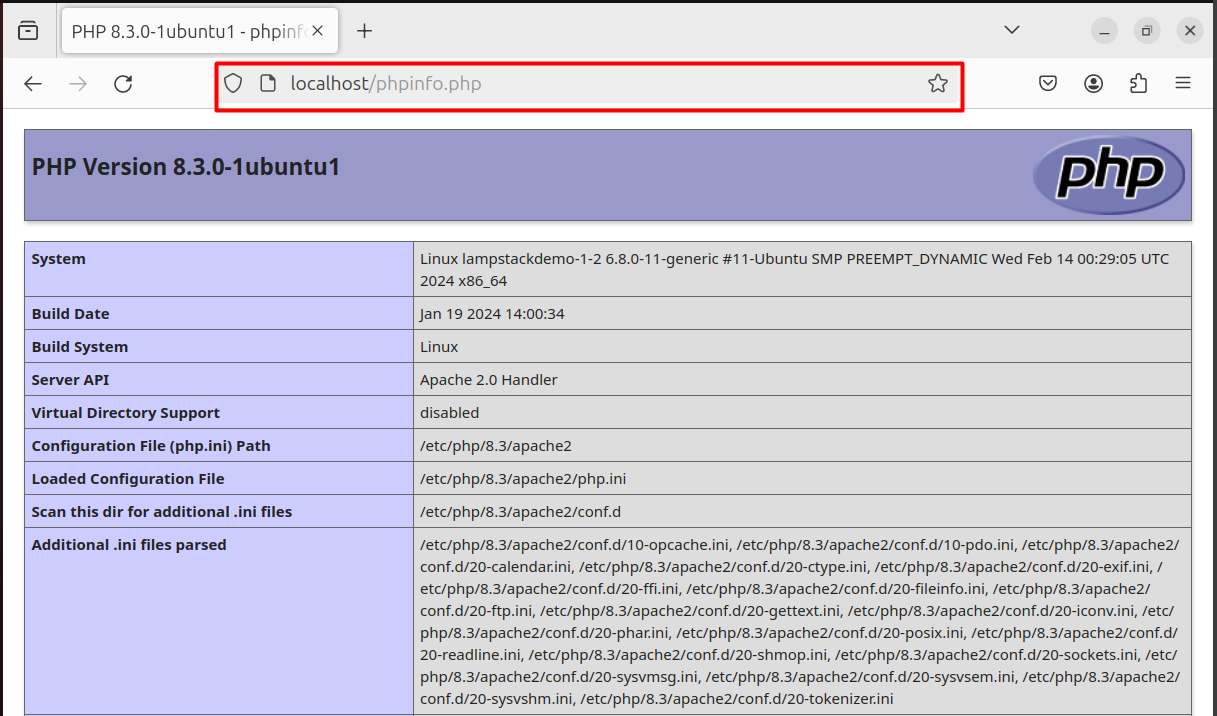
Step 6: Verify Php Version
To determine the PHP version installed on Ubuntu 24.04, enter the following command in the terminal:
php -v
Step 7: Install MySQL
After configuring the Php, the next step in the LAMP stack is to install the MySql. To install MySQL on Ubuntu 24.04 for installing the LAMP stack, use the following command. Press “Y” for the prompt to continue installation:
sudo apt install mysql-server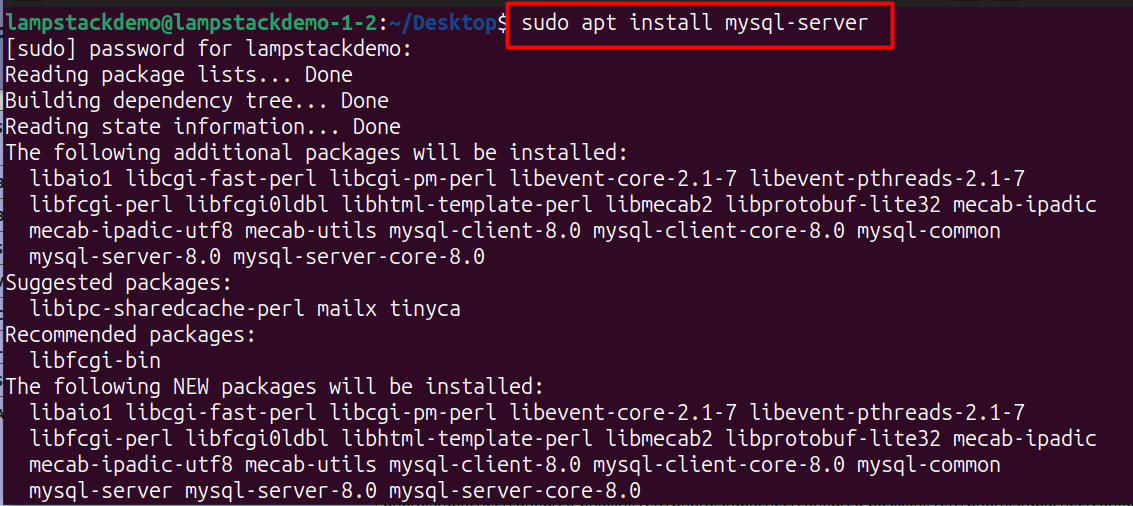
Step 8: Install MySql Client
To complete the MySql server installation, use the following command to install the MySql client:
sudo apt install mysql-client
As we have installed PHP version 8.3, therefore we will be using this version to install the pre-requisite of MySQL via the following command:
sudo apt install php8.3-mysql
Install the PHP 8.3 curl command utility by providing the following command to the terminal:
sudo apt install php8.3-curl
sudo apt install php8.3-curl
Step 9: Test MySQL
Check the status of MySql using the following command for testing purpose:
sudo systemctl status mysql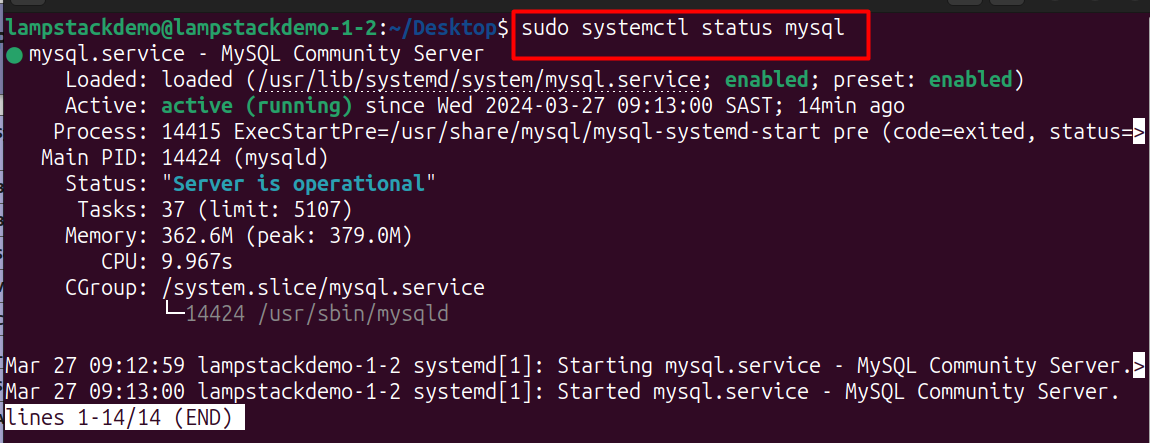
Step 10: Install PHP Admin
To work with PHP, we need to configure the PHP Admin. For this, the following command is used to install it:
sudo apt install phpmyadmin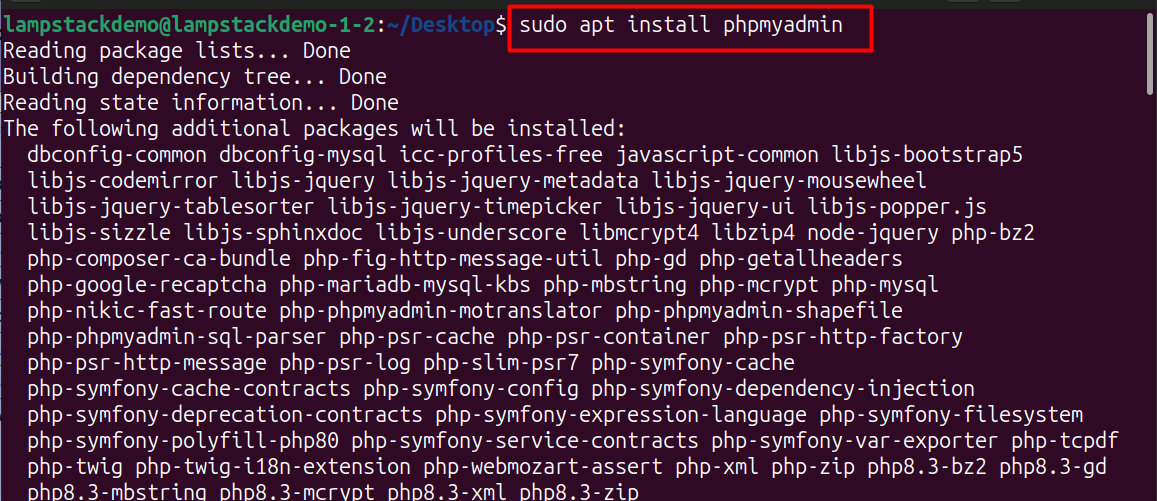
On the following screen, select the “apache2” option and hit the “Enter” button to “OK” the changes. The installation will then continue:

Again, press the Enter key on the next screen to configure the Web server automatically:
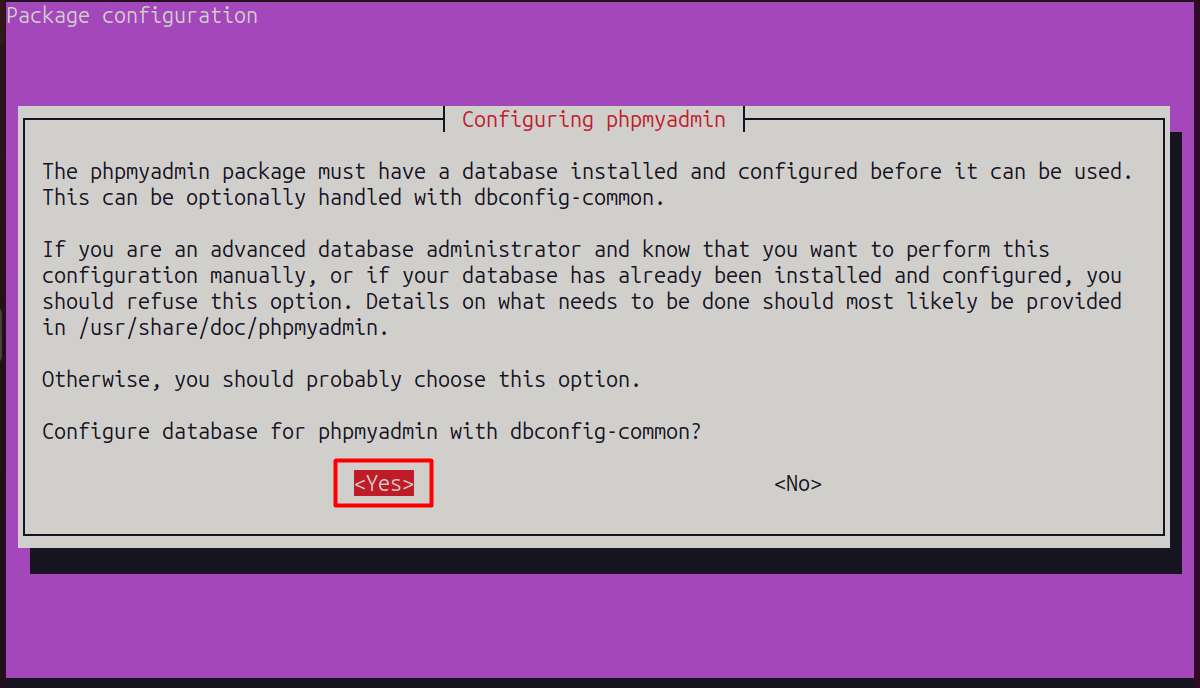
Provide password for the database and again press Enter key from the keyboard

Re-enter your password for confirmation and enter to proceed further:

Restart the Apache Server using the following command:
sudo systemctl restart apache2
To test if the phpmyadmin is running, enter the following URL in the Firefox search bar and hit the Enter key:
localhost/phpmyadmin
The following command displays the username and password of phpMyAdmin:
sudo gnome-text-editor /etc/phpmyadmin/config-db.php
Here, the information regarding the phpMyAdmin credentials is displayed:

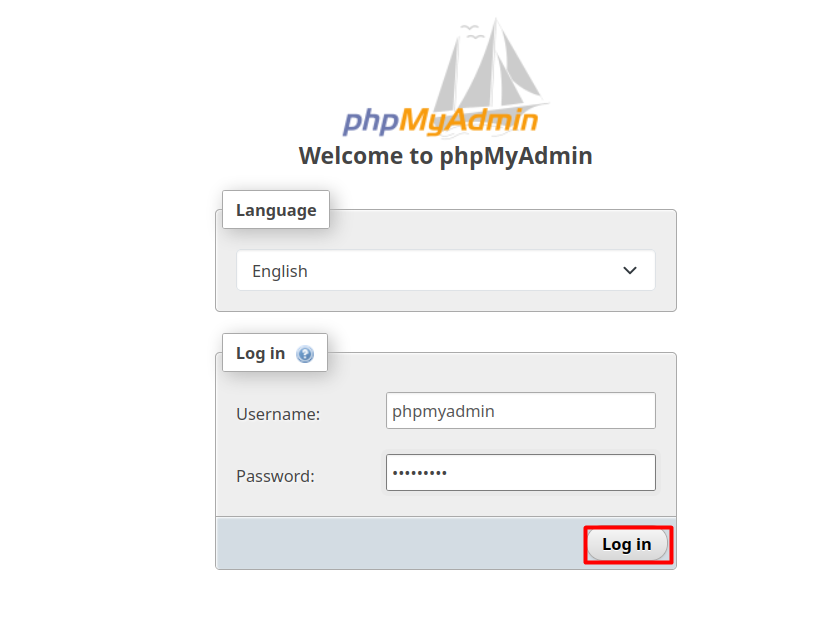
Provide these credentials to phpMyAdmin web page in Firefox browser and tap the “Log in” button:
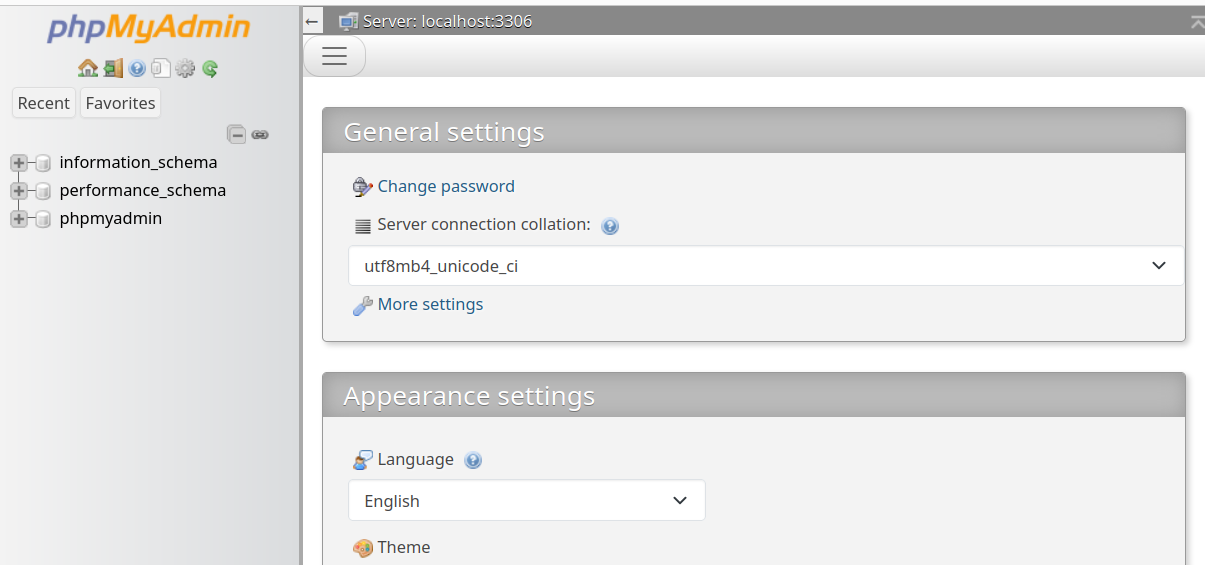
The following interface will be displayed which shows that the phpMyAdmin is successfully running:
How to Create a Custom Web Page in Lamp Stack Using Ubuntu 24.04?
The Lamp Stack can be used to host dynamic websites with multiple pages. For this purpose, the steps are given as follows:
Step 1: Create HTML webpage
Using the gnome text editor, create an html webpage “mywebpage” in the following directory:
sudo gnome-text-editor /var/www/html/mywebpage.html
Append the following lines in the file to create a basic HTML web page. Save the following file:
<!Doctype html>
<html>
<head>
<title> Installing the Lamp Stack on Ubuntu 24.04</title>
</head>
<body>
<h1> This is the first page </h1>
</body>
</html>
Go to Mozilla firefox and enter the following URL:
localhost/mywebpage.html
How to Fix Phpmyadmin 404 Not Found While Installing Lamp Stack on Ubuntu 24.04?
If you are facing this “Phpmyadmin 404 Not found” error while installing the Lamp Stack on Ubuntu 24.04, the steps are given as follows:

Open the apache2.conf in the gnome text editor using the following command:
sudo gnome-text-editor /etc/apache2/apache2.conf
Append the following line to the end of “apache2.conf” file:
Include /etc/phpmyadmin/apache.conf
Restart the apacheserver after the required modifications. This will fix the error:
sudo systemctl restart apache2
After restarting the apache server, enter the following command to fix the error:
sudo /etc/init.d/mysql restart
How to Test Database With PHP on LampStack on Ubuntu 24.04?
To test the successful integration of the MySql with Lamp Stack on Ubuntu 24.04, the steps are given as follows:
Step 1: Switch to Mysql
Use the following command to switch to the MySQL shell:
sudo mysql
Step 2: Create Database
Provide the following query to the terminal for creating a database in SQL. This will create a database with the name “db1”:
CREATE DATABASE DATABASE_NAME;
Step 3: Create User
After creating the database, create a user for the database “user1” that is identified by the “password”. For this demo, we are using “password” as the password. You can replace accordingly:
CREATE USER 'USER1'@'%' IDENTIFIED BY 'password';
Step 4: Grant Permissions
Use the following command to grant all the permission to the created user for the database:
GRANT ALL ON DB1.* TO 'USER1'@'%';
Step 5: Exit the Shell
Exit the “mysql” shell by using the following command:

Step 6: Switch User
Provide the following command to the terminal using the administrative privileges to log in as the newly created user. Proceed to Provide the password when prompted and hit the Enter button. Note that any additional space between the flag -p and the password will result in an error:
sudo mysql -u user1 -p
Step 7: Show Databases
To verify if the commands are working, provide the following command to the terminal and hit the Enter button from the keyboard:
SHOW DATABASES;
That is all from this guide.
Conclusion
Lamp stack refers to the Linux, Apache, MySQL, and PHP stack. Developers often prefer this stack as it provides the easy deployment and development of dynamic websites. To install the Lamp stack, first install Apache, Mysql, and PHP and then create a dynamic webpage with the database integration. This article is a step-by-step guide to installing Lampstakc on Ubuntu 24.04.