Java is undoubtedly the most widely used programming language today. It is integrated into pretty much every other application whether it is a web, a desktop, or a mobile app. The Java-based applications cannot be run or developed without the required packages. To run the Java apps on Ubuntu 24.04, you must install the JRE or Java Runtime Environment which is a component of JDK or Java Development Kit.
You can use the Oracle JDK (closed-source and subscription-based) or OpenJDK (the open-source implementation of the Oracle JDK) to run or develop Java applications on Ubuntu 24.04.
This guide illustrates the different methods to install Java on Ubuntu 24.04.
How to Install Java on Ubuntu 24.04
To install Java on Ubuntu 24.04, follow either of the below-stated methods:
- The apt Command.
- The .deb File.
- The Tar File.
Method 1: Install Java on Ubuntu 24.04 Using the apt Command
Java is available in the official Ubuntu 24.04 repositories and you can install it via the following command:
sudo apt install default-jre -y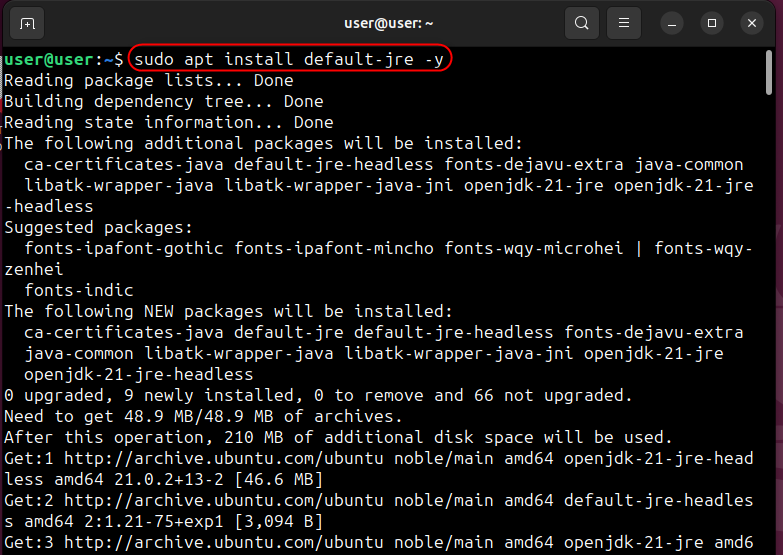
To verify the Java installation on Ubuntu 24.04, check its version using the below command:
java -version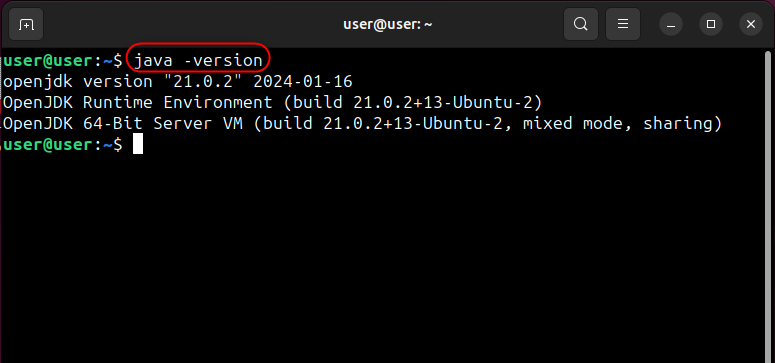
To install JDK o Java Development Kit as well, execute the below command:
sudo apt install default-jdk -y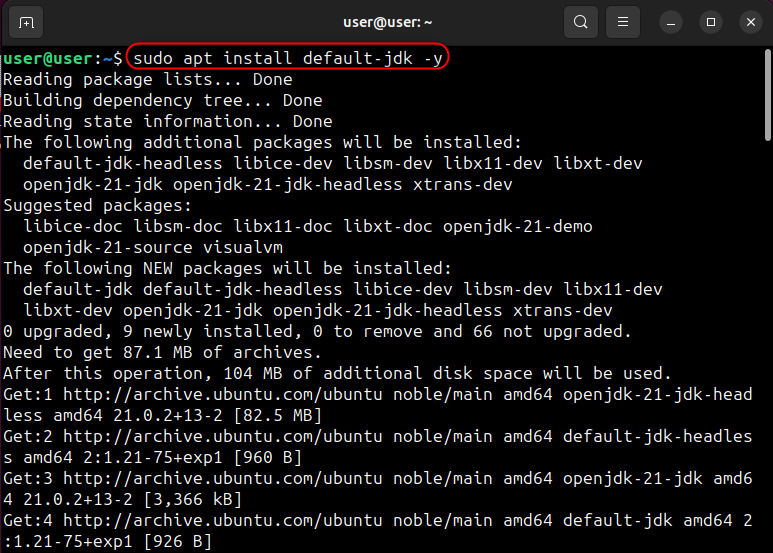
To verify the installation of the JDK, run the below command:
javac -version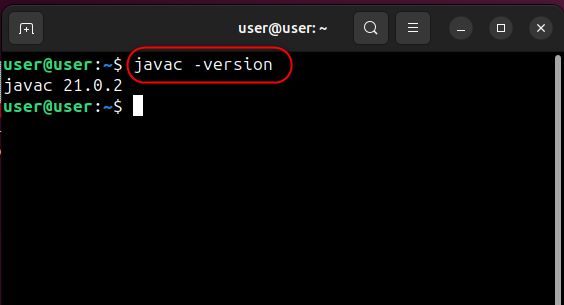
Method 2: Install Java on Ubuntu 24.04 Using the .deb File
Developers utilize the .deb file for distributing their software and it contains all the required libraries to install a specific package. The official .deb file of Java is also available and you can download it using the below command:
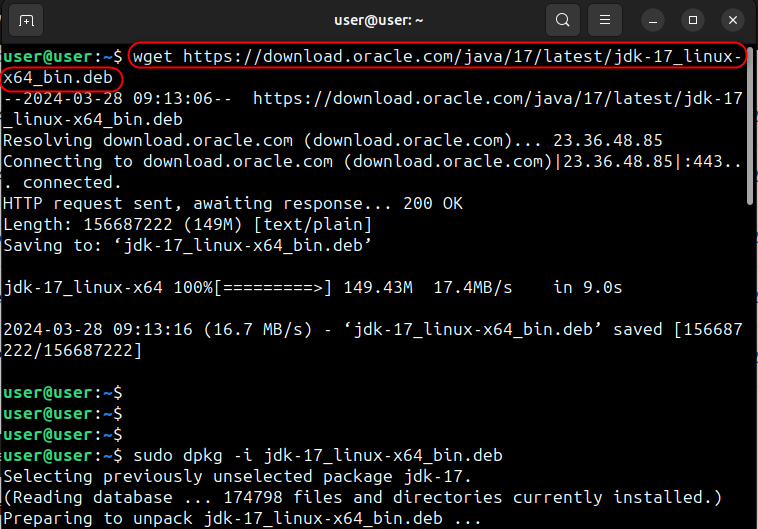
Now install JAVA on Ubuntu 24.04’s via the dpkg file by running the below-highlighted command:
sudo dpkg -i jdk-17_linux-x64_bin.deb
Next, verify the JAVA installation by checking for its version (You may face an error because of the CPU architecture issues):
java -version
Java is now installed on your Ubuntu 24.04; however, if you are facing “Exec format error” while verifying the installation, find the path of each Java instance and copy one based on your CPU architecture. But first, find your CPU architecture using the following command:
lscpu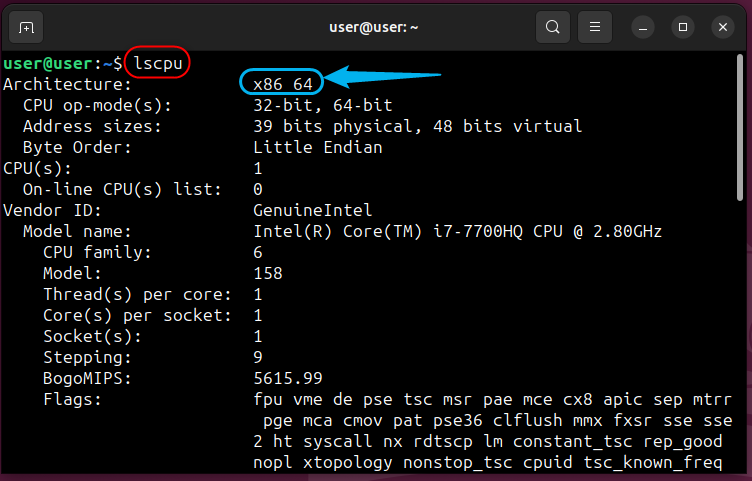
Next, check the alternatives of Java version that you want to use as default via the below-stated command and copy its path that must be added in the /etc/environment file:
sudo update-alternatives --config java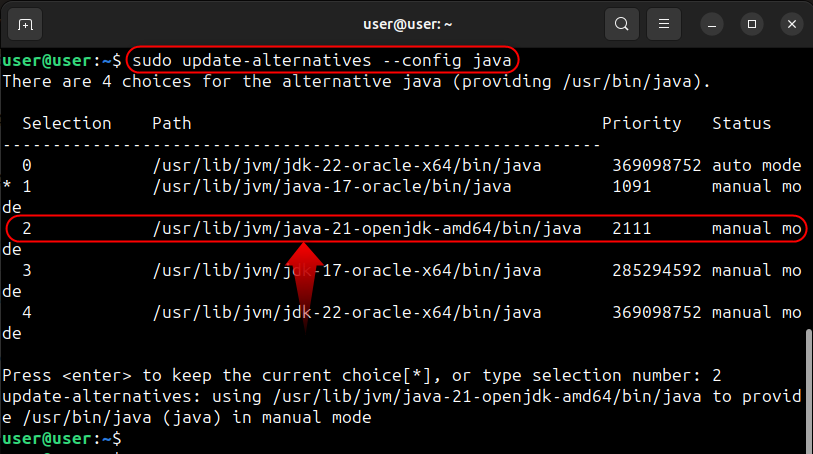
Now, open the /etc/environment file and paste the copied path (JAVA_HOME=”JAVA Full Path”), as seen below:
sudo nano /etc/environment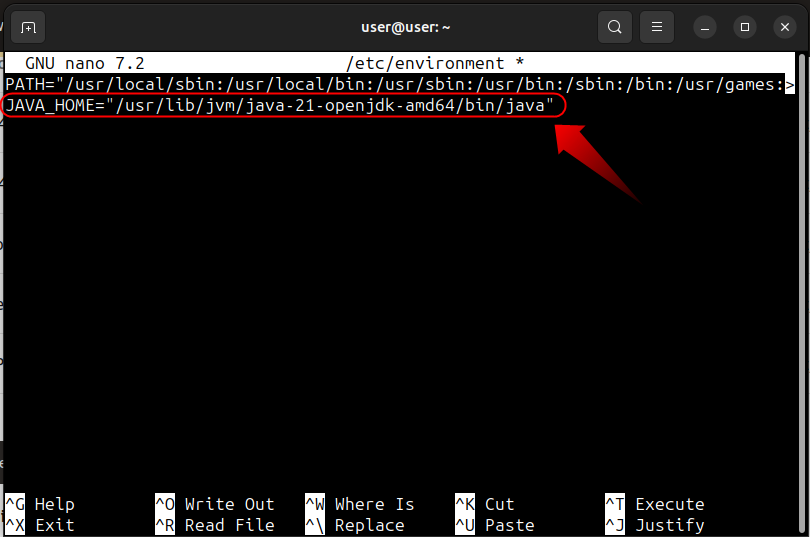
After saving the above changes, execute the following command to refresh the /etc/environment file and apply the changes:
source /etc/environmentNow, retry and the error will be fixed
java -version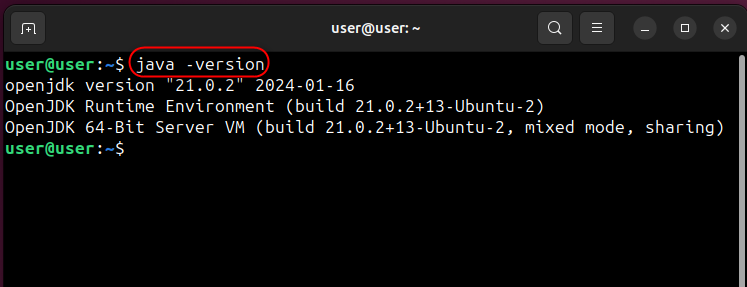
Method 3: Install Java on Ubuntu 24.04 Using the Tar File
Many developers utilize the tar file for the distribution of their software on Linux. Among a variety of software available via the Tar file, also includes JAVA which you can install on Ubuntu 24.04. To do that, download the JAVA Tar file via the following-mentioned command:
wget https://download.oracle.com/java/22/latest/jdk-22_linux-aarch64_bin.tar.gz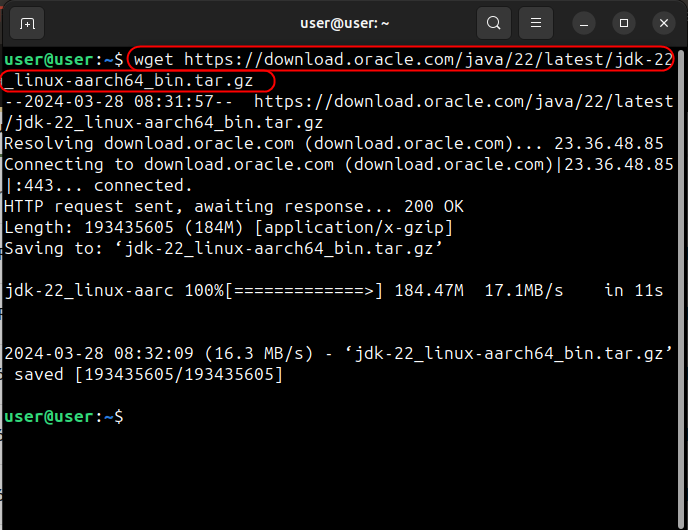
Now, extract the contents of the downloaded Java tar.gz file using the below command:
sudo tar -xvf jdk-22_linux-aarch64_bin.tar.gz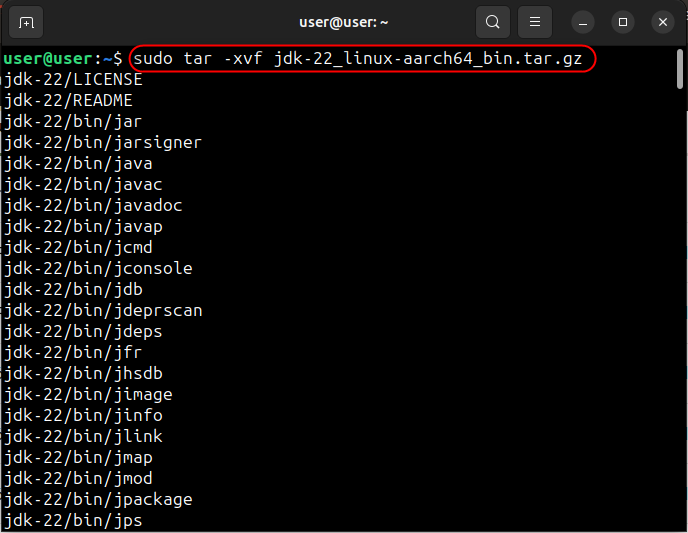
After that, you must add the extracted Java tar.gz file to the Environment Variable so that the system can find it when it is required. To do that, open the ~./bashrc file and add the
“export JAVA_HOME=/home/user/jdk-22
export PATH=$JAVA_HOME/bin:$PATH” lines at the bottom:
sudo nano ~/.bashrc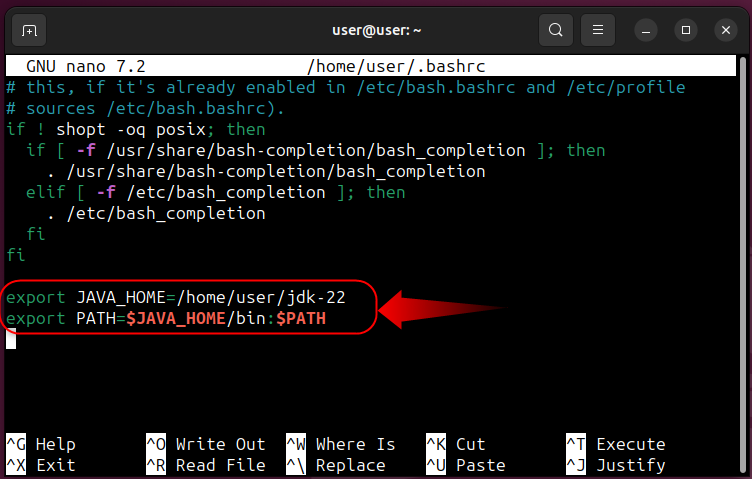
Now refresh the ~/.bashrc file by executing the following command:
source ~/.bashrcHow to Uninstall Java From Ubuntu 24.04
To completely uninstall JAVA from Ubuntu 24.04, run the following command while replacing the version with the installed JDK version:
sudo apt purge jdk-versionThat’s all for installing JAVA on Ubuntu 24.04.
Final Words
To install JAVA on Ubuntu 24.04 via the official repositories, run the “sudo apt install default-jre -y” command. To install the JDK(Java Development Kit), use the “sudo apt install default-jdk -y” command.
You can also use the .deb and tar.gz files to install JAVA on Ubuntu 24.04, as explained in the above guide.