In the world of operating systems, Linux has made a significant mark, providing users with a diverse range of distributions that are tailored to their specific needs. Pop!_OS, a Linux distribution developed by System76, is one such offering.
Known for its user-friendliness and sleek design, Pop!_OS has gained popularity in recent years. If you’re interested in exploring this Linux distribution but want to do so in a virtual environment, you’re in the right place. This guide will walk you through the process of installing Pop!_OS on VMware, ensuring a seamless virtualization experience.
Why Choose Pop!_OS for Virtualization?
Before diving into the installation process, it’s important to understand why Pop!_OS is an excellent choice for virtualization. Pop!_OS is built on the strong foundation of Ubuntu, providing a stable and well-maintained environment. Its emphasis on user experience and system performance makes it a great option for both beginners and experienced Linux users.
Additionally, Pop!_OS offers various features that make it perfect for virtualization:
- Hardware Compatibility
Pop!_OS is designed to work seamlessly with System76’s hardware, which means that it often performs exceptionally well on virtual machines.
- Optimized Graphics
Pop!_OS comes with pre-installed proprietary NVIDIA driver pre-installed. This is particularly beneficial for those who want to experiment with GPU-accelerated applications and gaming in a virtual environment.
- Ubuntu-based
Pop!_OS inherits Ubuntu’s extensive package repositories and strong community support, which can be a significant advantage when troubleshooting issues during virtualization.
- Regular Updates
System76 actively maintains and updates Pop!_OS, ensuring that you have access to the latest security patches and features.
Now that you know why Pop!_OS is an excellent choice, let’s dive into the installation process using VMware.
Preparation: What You Need
Before you can start installing Pop!_OS on VMware, you’ll need a few things:
- VMware Workstation or VMware Player
You can download the VMware Player for free from the VMware website., Bbut if you require more advanced features, you might want to consider the paid VMware Workstation.
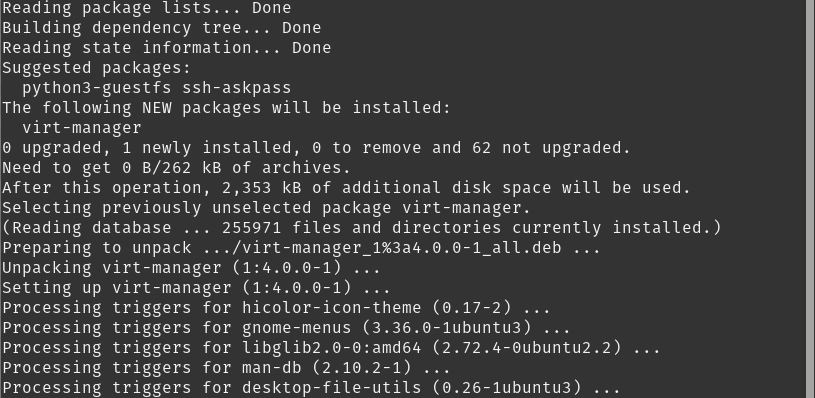
If you’re using Ubuntu as your primary OS, then installing VMware is as simple as running the following command in the Bbash terminal:
$sudo apt install virt-managerYou will see a similarn output similar to the one belowin the following:
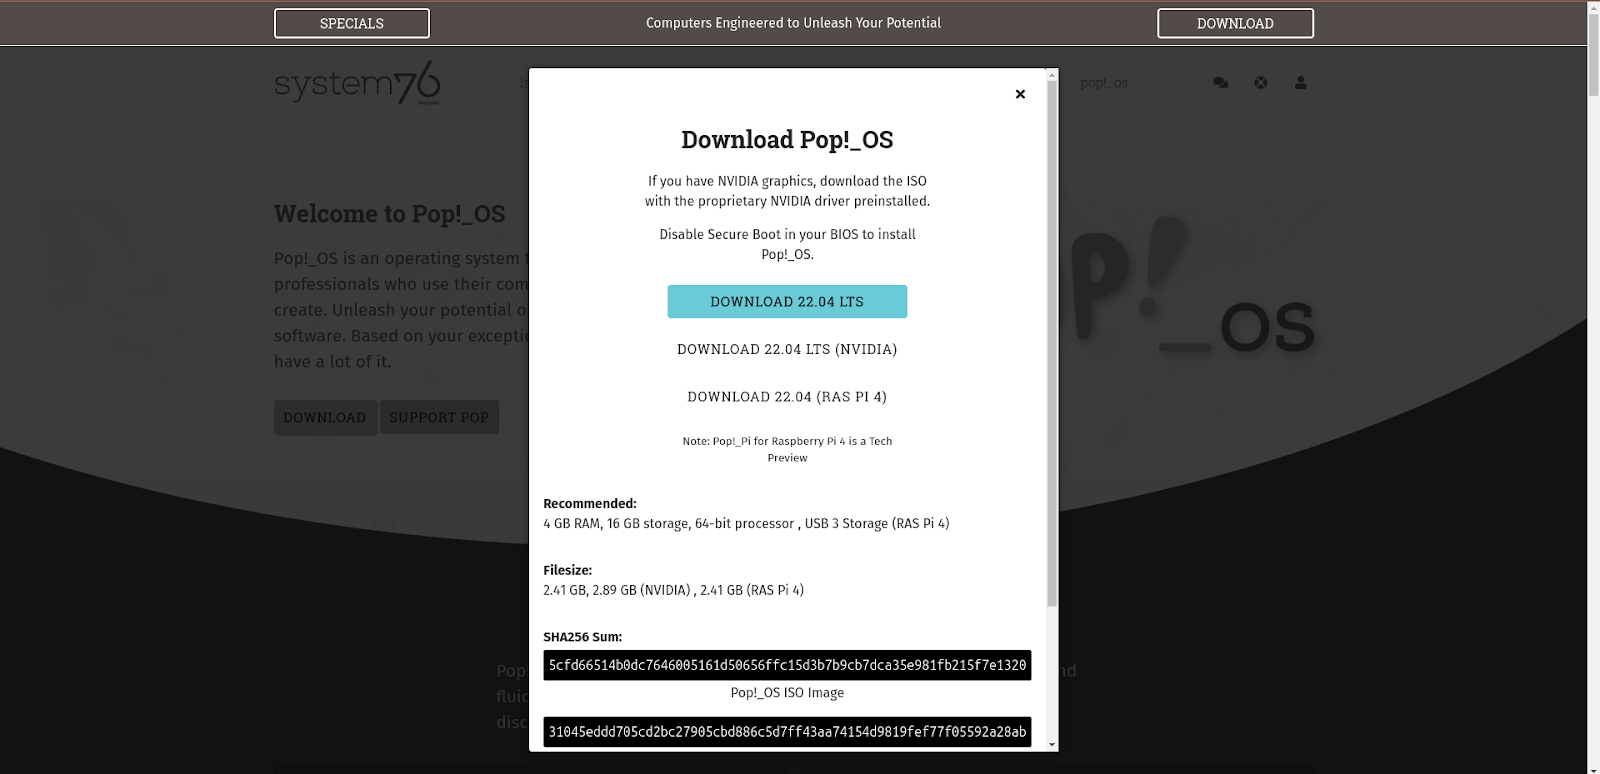
- Pop!_OS ISO Image
Download the Pop!_OS ISO image from the System76 website. Ensure that you choose the appropriate version, either the LTS (Long Term Support) or the latest release, depending on your preference.
- A Virtual Machine Configuration
Decide on the specifications for your virtual machine, including the amount of RAM, CPU cores, and hard disk space. These requirements will depend on your specific use case.
Step-by-Step Guide: Installing Pop!_OS on VMware
With all the necessary preparations in place, let’s move on to the installation process:
Step 1: Launch VMware
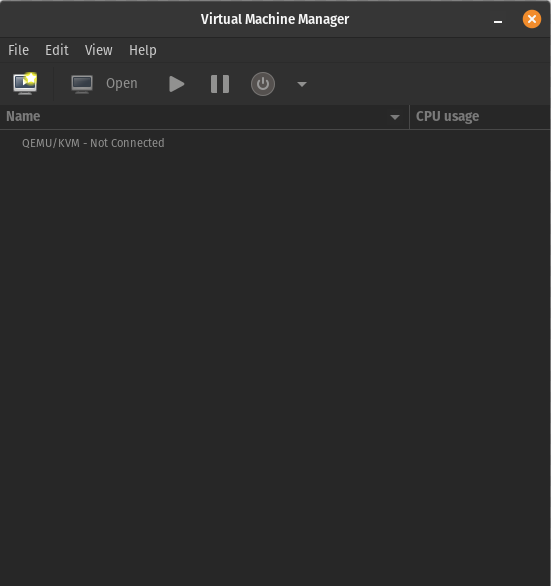
Open the VMware Workstation or VMware Player on your computer by running the following command in the terminal:
$virt-managerYou will see an instance of the virtual manager open up.
Step 2: Create a New Virtual Machine
Click on the “File” menu and select “New Virtual Machine”. This will open the “New Virtual Machine Wizard”.
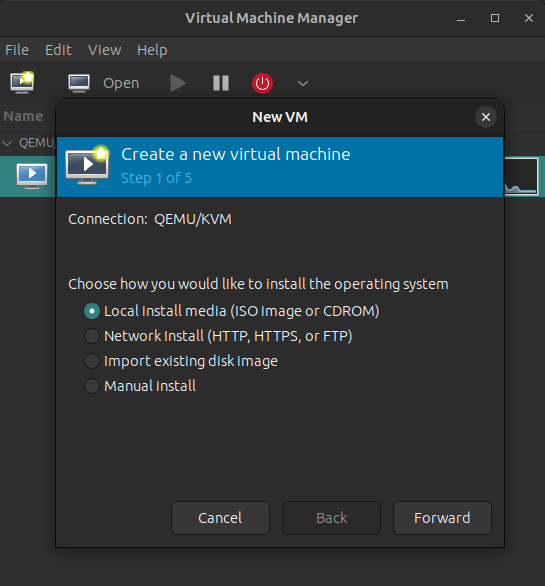
Step 3: Select the Installer Disk Image File (ISO)
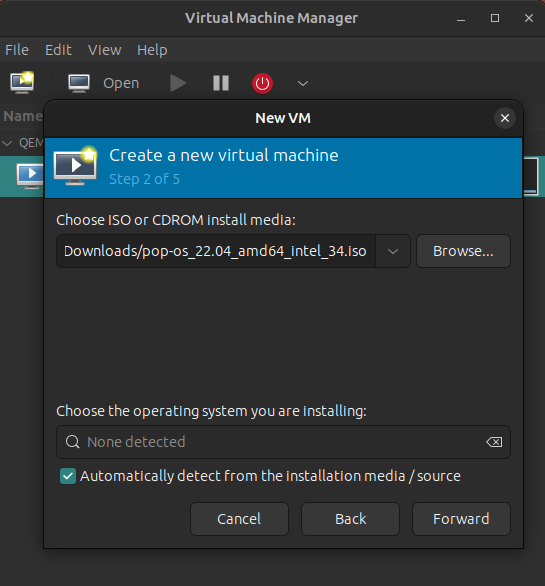
Choose the “Installer disc image file (iso)” option, and then click on “Browse” to locate the Pop!_OS ISO file that you downloaded.
Step 4: Select the Operating System
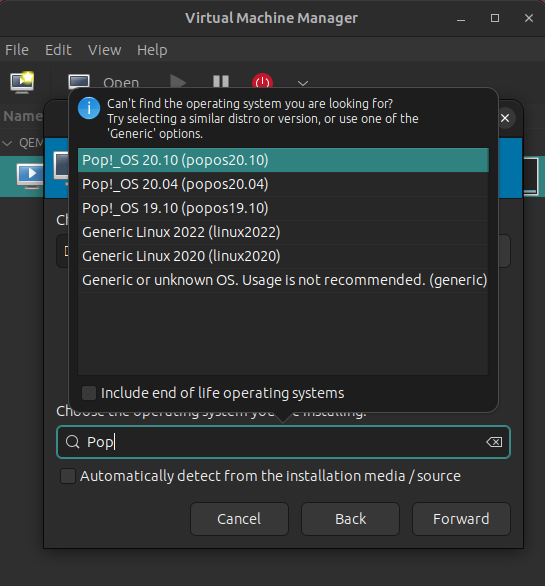
In the New Virtual Machine Wizard, select “Linux” as the guest operating system and choose “Pop!_OS” as the version.
Step 5: Name Your Virtual Machine
Give your virtual machine a name and select the location where you want to save it. Then, click on “Next”.
Step 6: Specify the Disk Capacity
Choose the amount of disk space that you want to allocate to your virtual machine. You can also select the option to “Store virtual disk as a single file” for easier management.
Step 7: Ready to Create the Virtual Machine
Review your selections., and when you’re ready to proceed, click on “Finish”.
Step 8: Customize the Virtual Machine Settings
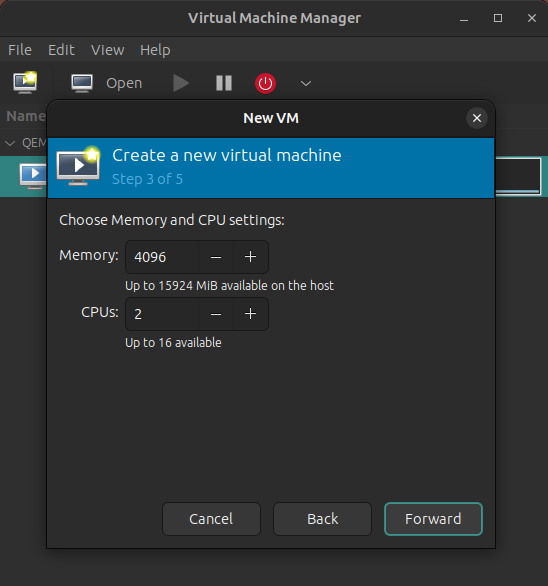
Before starting the virtual machine, you can customize its settings. This includes adjusting the number of CPU cores, RAM, network settings, and more.
Step 9: Start the Virtual Machine
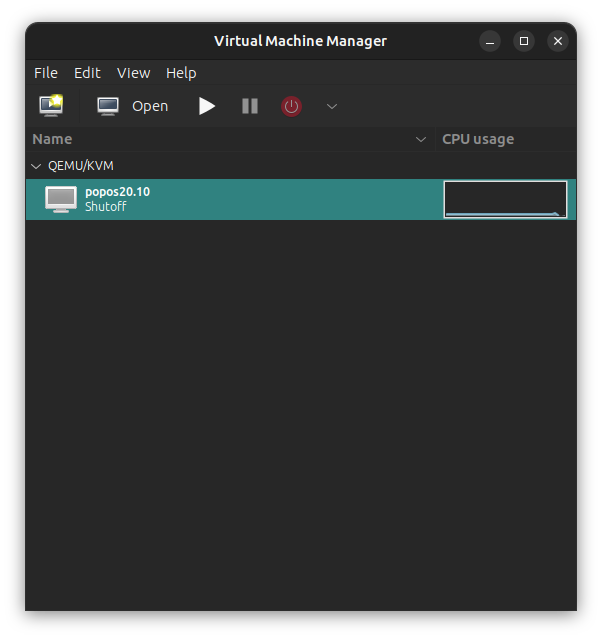
Click on “Power on this virtual machine” to start the installation process.
Step 10: Install Pop!_OS
The virtual machine will boot from the Pop!_OS ISO. Follow the on-screen instructions to install Pop!_OS, including configuring your language, keyboard layout, and disk partitioning.
Step 11: Post-Installation Configuration
After the installation is complete, you may need to install the VMware Tools to enhance the virtual machine’s performance and integration with your host system. This can be done through the VMware menu.
Conclusion
By following these steps, you can successfully install Pop!_OS on VMware, providing you with a versatile and powerful Linux environment for your virtualization needs. Whether you’re a Linux enthusiast, a developer, or someone who is simply looking to explore the world of Linux, Pop!_OS offers an excellent platform within the convenience of a virtual machine.