The Grub Customizer software package is used to customize the GRUB, GRUB2, or BURG menu entries in Linux Mint. Basically, the GRUB is the Linux system’s program that loads and manages the boot process. By using the Grub Customizer, users can change different aspects of the GRUB boot menu, such as the menu entry sequence, and waiting time for the standard entry to boot. In addition, it is a graphical application to reorder, rename, and delete boot entries.
This article will cover the given content to install and use Grub Customizer on Linux Mint:
- How to Install and Use Grub Customizer on Linux Mint?
- How to Completely Uninstall the Grub Customizer from Linux Mint?
How to Install and Use Grub Customizer on Linux Mint?
To use the Grub Customizer for modifying the GRUB menu, install it on your system. This can be done by following the given steps.
Step 1: Update System Repositories
Update the system repositories by executing the following command:
sudo apt update && sudo apt upgrade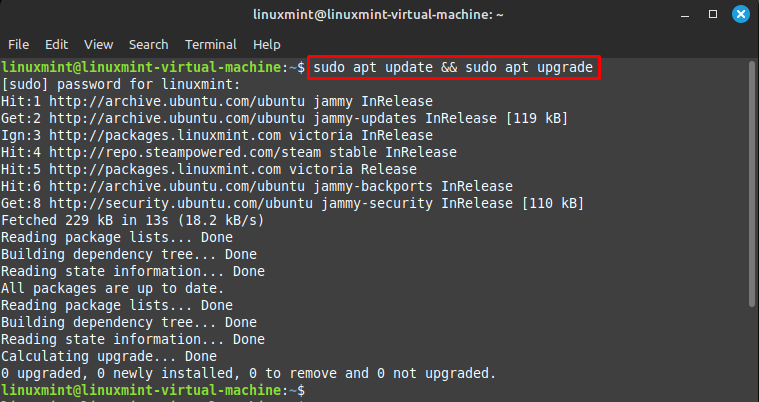
Step 2: Add Grub Customizer PPA to System
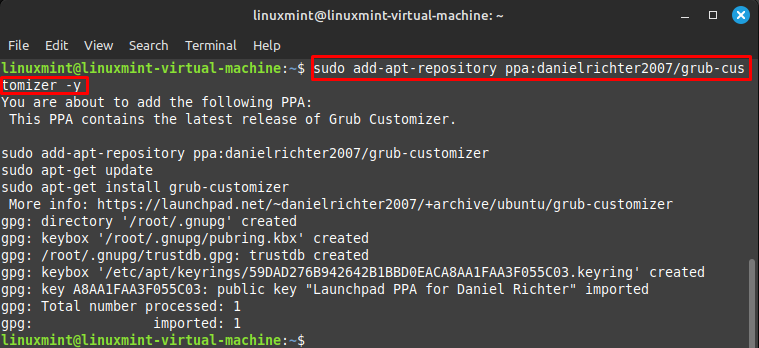
Execute the following command to add Grub customizer Personal Packages Archive (PPA) to your Linux Mint system:
sudo add-apt-repository ppa:danielrichter2007/grub-customizer -yHere, the “-y” option represents that automatic consent to add the repository instead of confirming manually:
Step 3: Update system
After doing so, again update the system to apply added changes to it by running the given command:
sudo apt update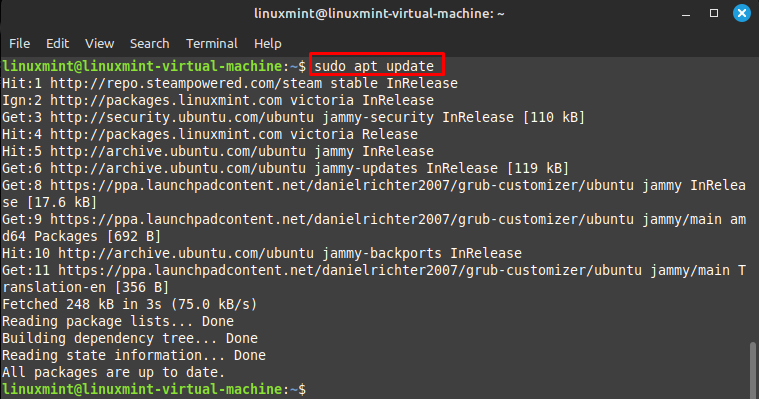
Step 4: Install Grub Customizer
To install the Grub customizer on your system, run the following command:
sudo apt install grub-customizer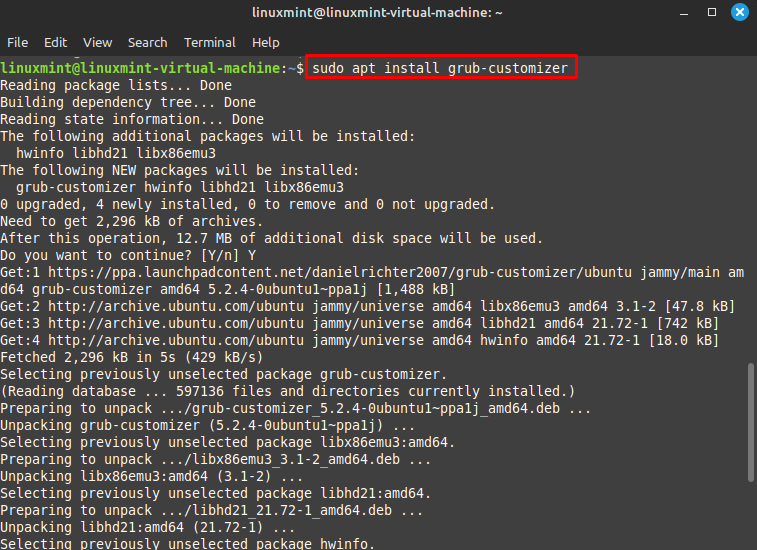
Step 5: Verify Installation
To verify whether the grub-customizer has been installed successfully or not, execute the provided command:
grub-customizer -v
Step 6: Lunch Grub Customizer
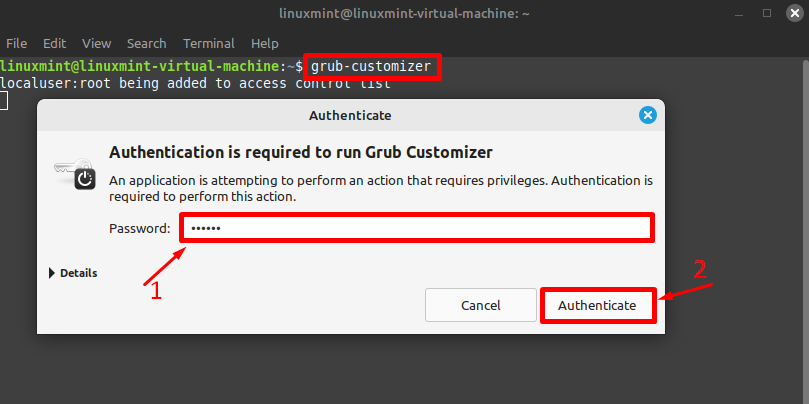
Once the installation is completed, you can launch the Grub customizer on your system. For that purpose, you can open it through GUI (Graphical User Interface) or by executing the given command:
grub-customizerWhile executing the above command, the “Authenticate” Window will appear on your screen that will ask you to provide the password to run Grub Customizer:
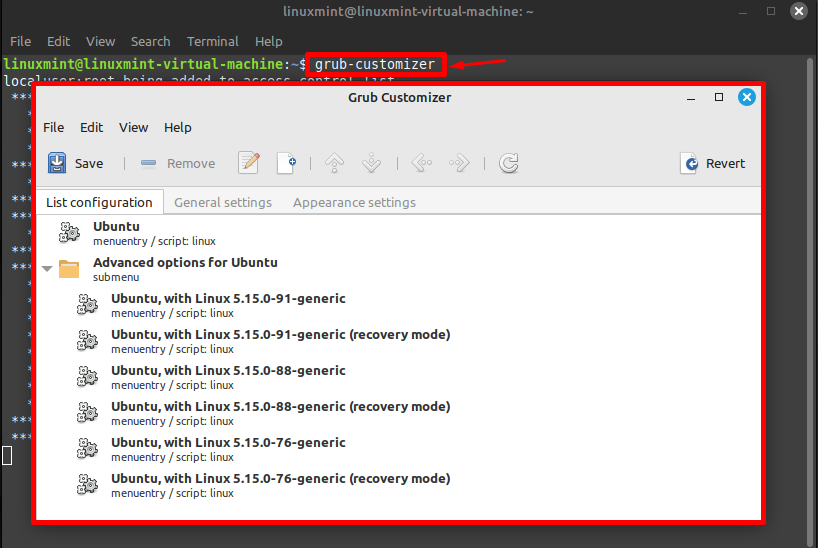
The Grub Customizer user interface has been launched successfully:
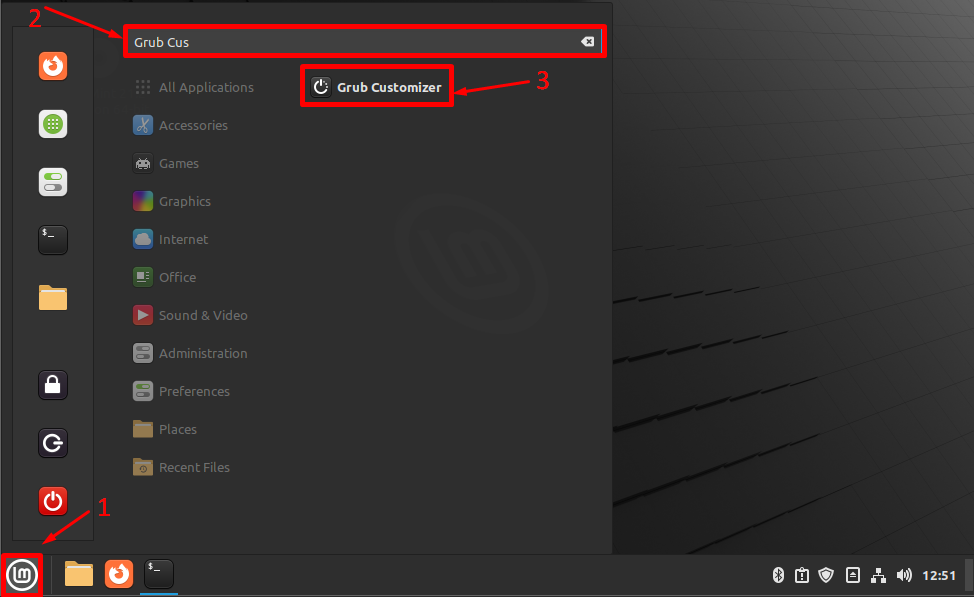
Alternatively, you can open it through the GUI. To do so, access the Linux Mint menu > search “Grub Customizer” > launch it by clicking on it:
Step 7: Use Grub Customizer
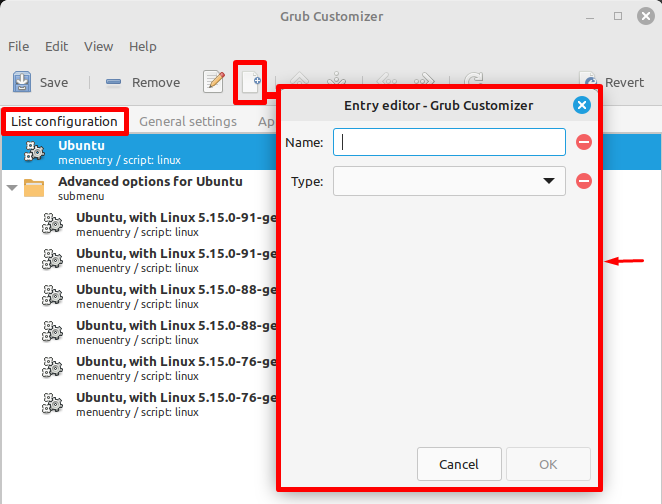
As you can see, the Grub Customizer contains “List configuration”, “General settings”, and “Appearance settings” tabs respectively. The “List configuration” tab has the existing bootloader entries. Here, you can add changes to any entry by right-clicking on it. In addition, you can add a new OS and kernel entry through the highlighted “+” plus icon:
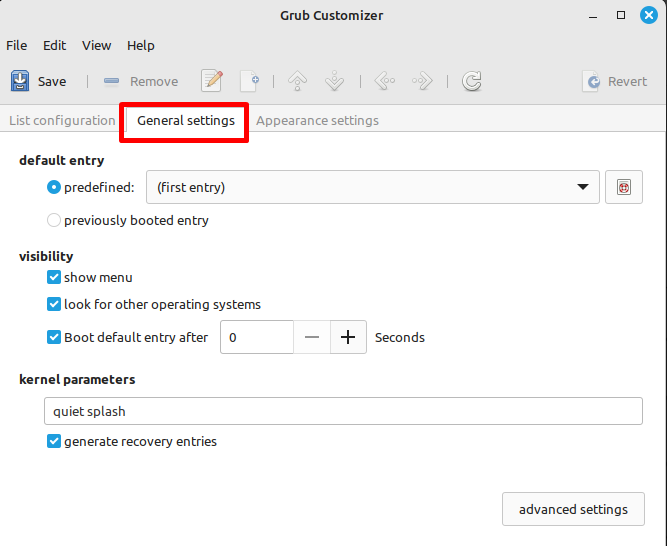
Inside the “General settings” tab, you can choose the “default entry”, menu “visibility”, and “kernel parameters”:
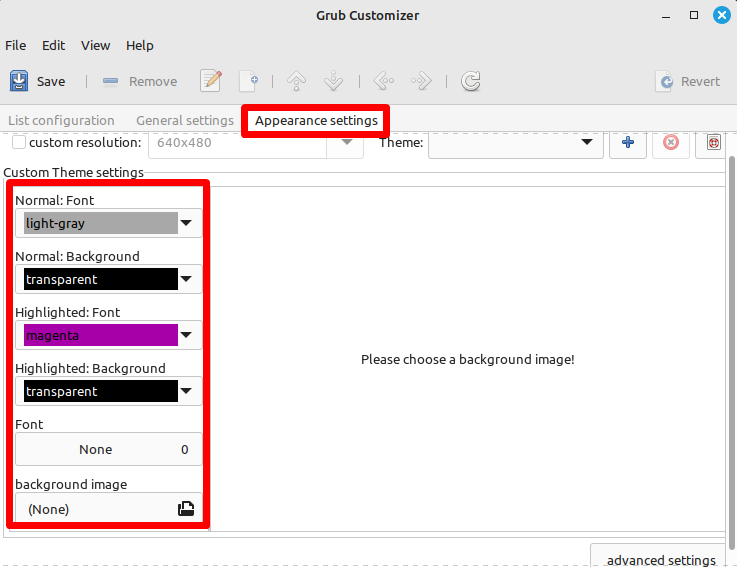
Under the “Appearance settings” tab, you can select your preferred background image, customize the theme settings, font color, background, style, background, and many more others:
How to Completely Uninstall the Grub Customizer from Linux Mint?
Sometimes, you need to reinstall the Grub customizer for troubleshooting or if you no longer require it, then you can completely remove it from your system by running the given command:
sudo apt remove --autoremove grub-customizer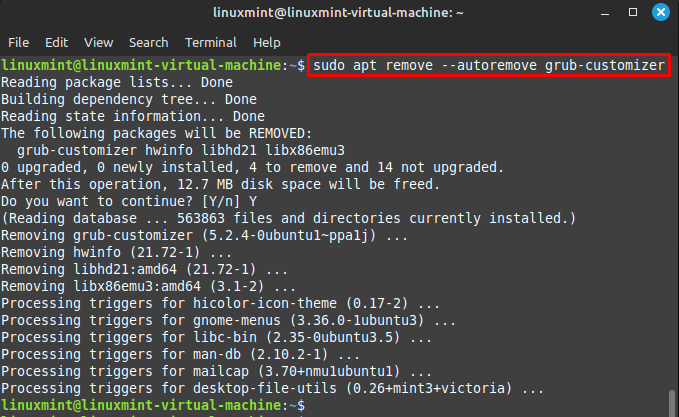
Then, execute the following command for verification:
grub-customizer -vThe provided output shows that the Grub customizer user interface has been uninstalled successfully from your system:

Conclusion
By using the Grub Customizer, users can change the GRUB, GRUB2, or BURG menu that manages the boot process. It can change menu visibility, background image, font color, style, default entry, and kernel parameters. To perform all these operations on the GRUB menu, you need to install Grub Customizer on your Linux Mint system. This tutorial has demonstrated the easiest way to install and use Grub Customizer on Linux Mint.