Reading images is an essential part of computer vision-related and image-processing tasks. In PyTorch, the “torchvision.io” package offers different functions to perform various IO operations. To read PNG or JPEG images, the “image_read()” method/function is used. This method returns a Grayscale tensor or 3D RGB.
This article will illustrate the method to read/open PNG and JPEG images in PyTorch.
How to Read/Open a PNG Image in PyTorch?
To read a PNG image in PyTorch, try out the following steps:
- Upload/Add a PNG image to Google Colab
- Install necessary libraries
- Read input PNG image
- Convert/Transform image tensor to PIL image
- Display PNG image
Step 1: Upload/Add a PNG Image to Google Colab
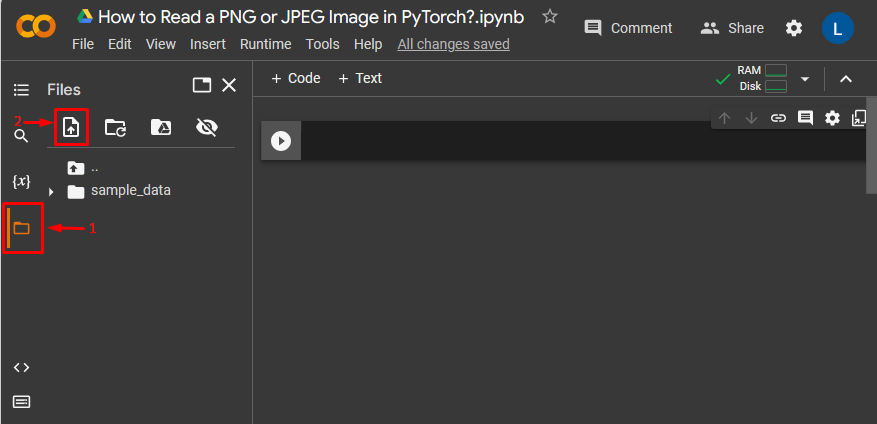
First, it is required to open Google Colab and upload a specific image from the computer to it. Tap on the following icons to do so:

This will upload the PNG image to Google Colab:
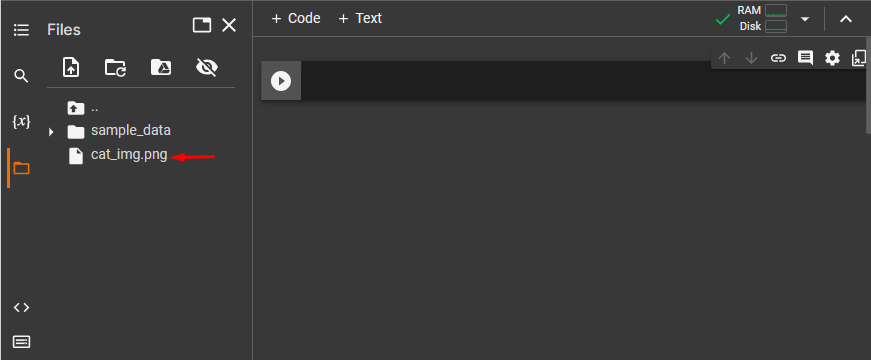
For instance, we have uploaded this PNG image and we will read it:

Step 2: Install Necessary Libraries
Then, install the following libraries that are necessary for working with images:
import torch, torchvision
from torchvision.io import read_image        #library to read images
import torchvision.transforms as T
In the above snippet:
- “import torch” imports the PyTorch package.
- “import torchvision” imports the torchvision library that is used for tasks related to computer vision.
- “from torchvision.io import read_image” imports the “read_image” function from the “io” module in torchvision. It is used to read an image file from the file system and transform it into a PyTorch tensor.
- “import torchvision.transforms as T” imports the transforms module as a “T” from “torchvision” that preprocesses image data:

Step 3: Read Uploaded PNG Image
Now, use the “read_image()” method and specify the input PNG image path with the “.png” image type to read it. Here, we are reading the “cat_img.png” image:
input_img = read_image('cat_img.png')
Step 4: Convert/Transform Image Tensor to PIL Image
Next, convert the image tensor to a PIL image using the “ToPILImage()” method to display the image:
output_img = T.ToPILImage()(input_img)
Step 5: Display PIL (PNG) Image
Lastly, view the PNG image:
output_img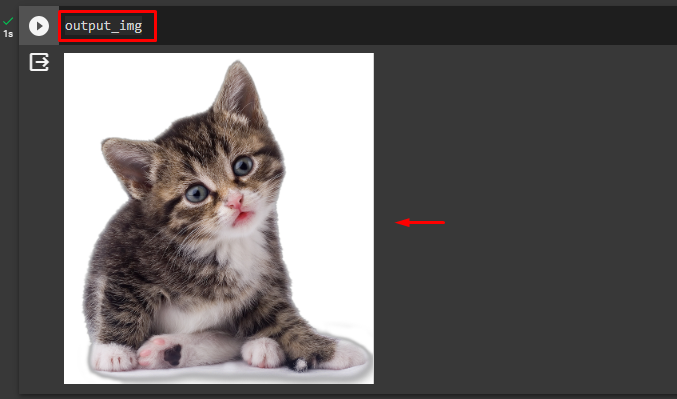
How to Read/Open a JPEG Image in PyTorch?
To read a JPEG image in PyTorch, check out the given-provided steps:
- Upload/Add a JPEG image to Google Colab
- Install necessary libraries
- Read the input JPEG image
- Convert/Transform image tensor to PIL image
- Display JPEG image
Step 1: Upload/Add a JPEG Image to Google Colab
First, add the desired image to Google Colab by tapping on the following highlighted icons:
This will upload the JPEG image to Google Colab:
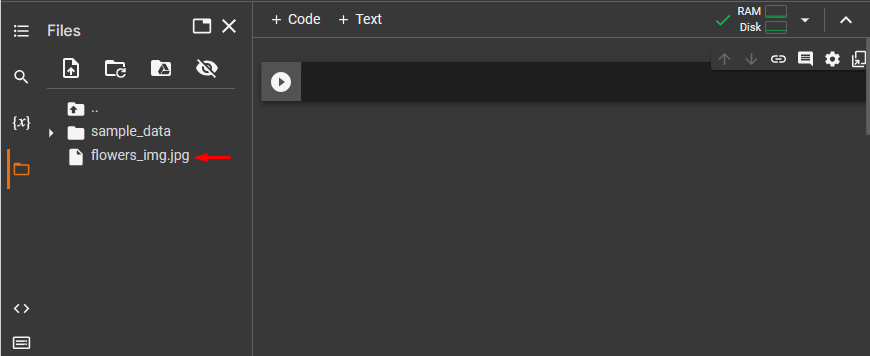
Below is the PNG image that we uploaded and we will read it:

Step 2: Install Necessary Libraries
After that, install the desired libraries:
import torch, torchvision
from torchvision.io import read_image         #library to read images
import torchvision.transforms as T
Step 3: Read JPEG Image
Now, use the “read_image()” method and specify the input JPG image path with the “.jpg” image type to read it. For instance, we are reading the “flowers_img.jpg” image:
input_img = read_image('flowers_img.jpg')
Step 4: Convert/Transform Image Tensor to PIL Image
Next, convert the image tensor to a PIL image using the “ToPILImage()” method to display the image:
output_img = T.ToPILImage()(input_img)Step 5: Display PIL (JPG) Image
Lastly, view the JPG image:
output_img
We have efficiently explained the method of reading PNG and JPEG images in PyTorch.
Note: Click on the provided link to access our Google Colab Notebook.
Conclusion
To read a PNG or JPEG image in PyTorch, first, upload the desired PNG or JPEG image to Google Colab. Then, import the necessary libraries. After that, use the “read_image()” method and specify the input image path with the “png” or “.jpg” image type to read PNG or JPEG images respectively. Lastly, transform the image tensor to a PIL image and print the output image. This guide has demonstrated the method to read PNG and JPEG images in PyTorch.