WordPress is the most effective tool when it comes to building blog communities on the Internet, or landing pages. As a web technology, it offers all kinds of tools and utilities one needs to manage and run a successful web application online.
The fact that WordPress is an open source technology, widely used by webmasters and bloggers worldwide, attracts a lot of web developers and coders which contribute their energy in different tools, mainly useful plugins that add up functionality to the WordPress content management system.
During this first part of the WordPress with Divi setup series, as a computer geek, you will have a fresh WordPress installation on your localhost, completely configured for web development. Let’s progress with the first step, which is the download of WordPress CMS from the official site.
Download and unpack WordPress on your local Mac OS X machine
Since WordPress content management system is open source and free as in beer, as an end user you don’t have to pay anything, but to keep the project alive I highly recommend that you do a small donation if that’s possible for you.
First, go to the official website of WordPress and check for the latest software available, like shown in the screenshot published below.
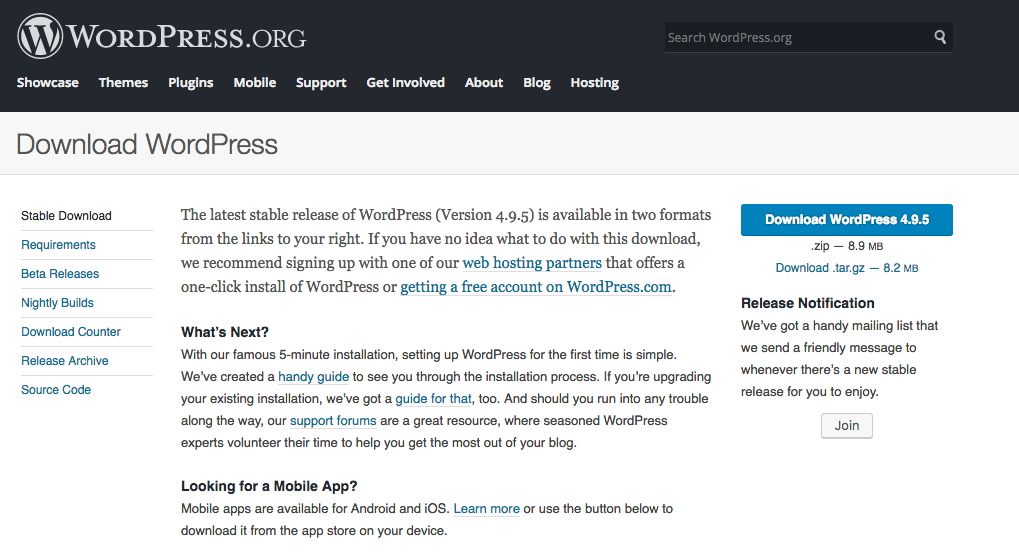
Then click on Download WordPress 4.9.5. Once the installation is finished, it is required that you unzip the downloaded package so you can keep up with this detailed guide.
There is many free tools out there for Mac OS X to unzip .zip packages, the one which I am using daily on my own machine, is named Archive Utility. After having unzipped the WordPress 4.9.5 package, a folder with the complete WordPress files will be available on your computer like shown in the following screenshot.
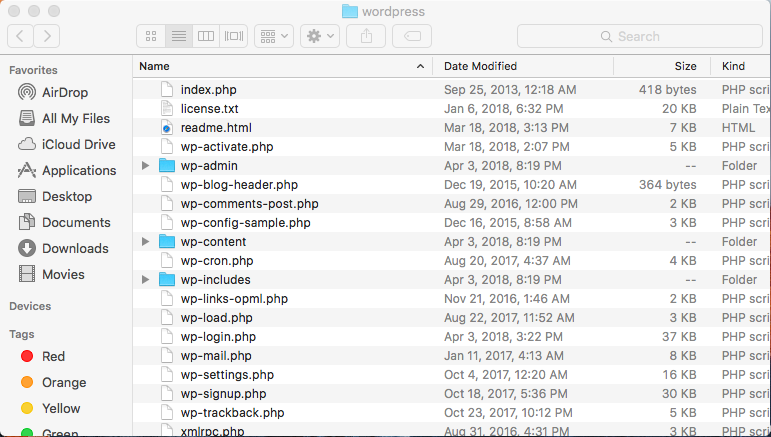
If everything looks like in the screenshots, the first step of setting up WordPress on your local machine is successfully completed. Let’s continue with the next step.
Download and install ampps on your Mac OS X
For one to run WordPress on their localhost machine it is needed specific web development software such as ampps, which offers the local server and many other technologies such as PHP, Apache, Perl, MongoDB and MySQL.
The software can be easily dowloaded completely for free, the same as WordPress CMS. All you have to do is visit this link and choose the right version for your machine, which in our case is ampps for Mac OS X. The following screenshot makes it easier for you when it comes to choosing the right version for your computer, especially if you are a total beginner.
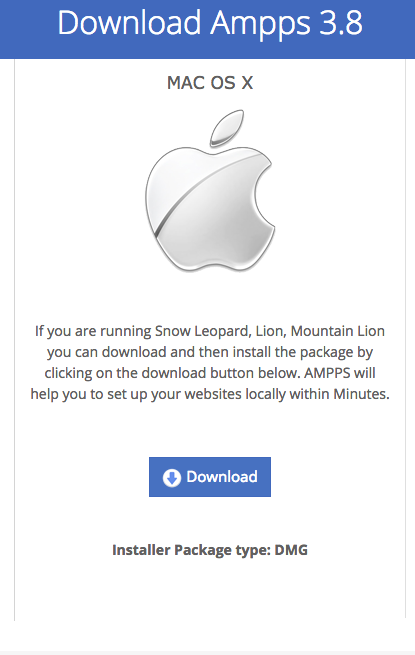
The ampps package for Mac OS X comes as a .dmg file, which can be easily installed on your machine. Once the download is being finished, make sure to right click on the package and then hit Open.
The installer will present you with the following.
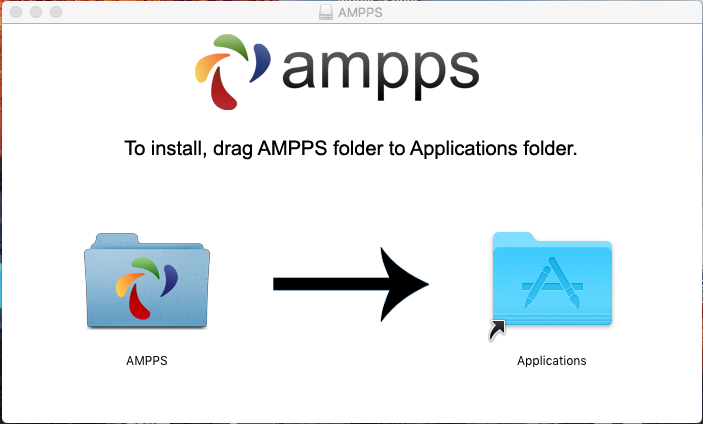
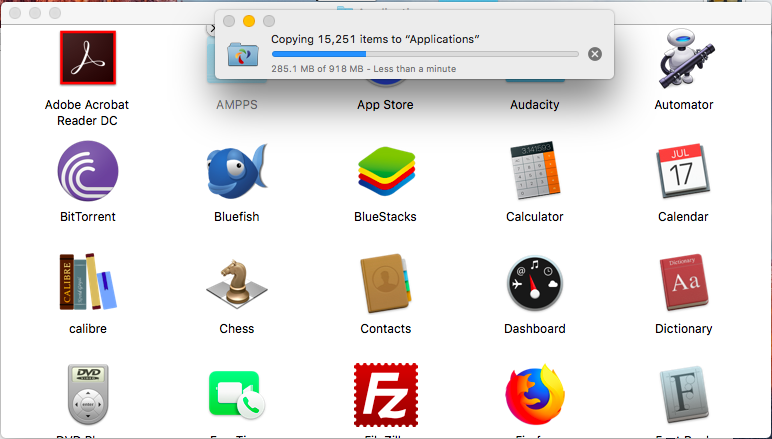
Drop and drag AMPPS into Applications and let the installer take care, like shown in the following screenshot.
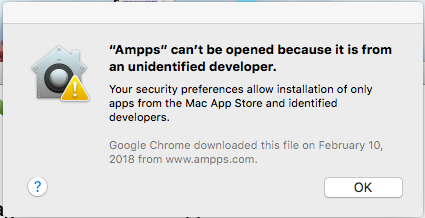
If everything with the installation goes fine, AMPPS can be easily launched from the Launchpad, but you will probably run into the following security issue.
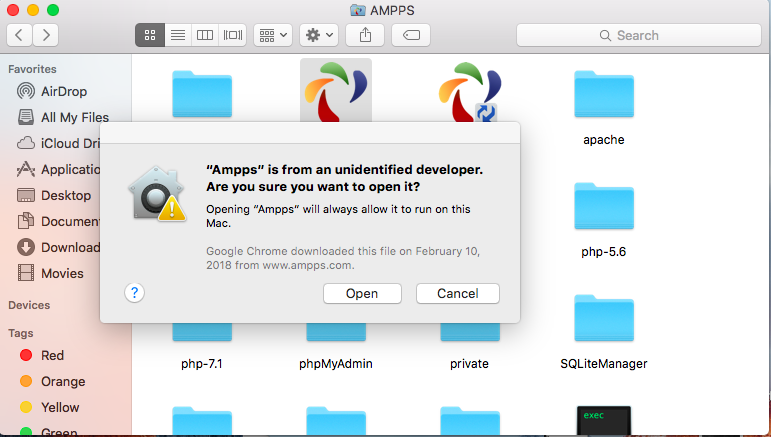
There is a solution of everything, at least that’s what I do believe with all my soul! Instead what you need to do to open AMPPS, is to locate the app under Applications through Finder. Once you have located it, do a right click and click on Open like shown in the following screenshot.
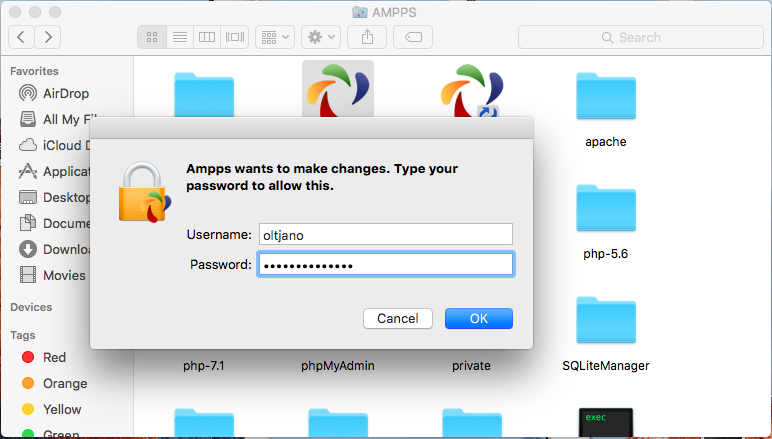
The system requires your password. Type and it and click OK.
Once finished with success, the following will launch.

It is a gui toolkit which helps one monitor the services offered by AMPPS, is they running or not?
The Apache server is currently running, a simple test like going to localhost on your browser, can prove that.
Create domain name for your local website
Now that we are done with the installation of AMPPS on your local machine, it is time to create a fake domain which is going to serve as the url of your local web application.
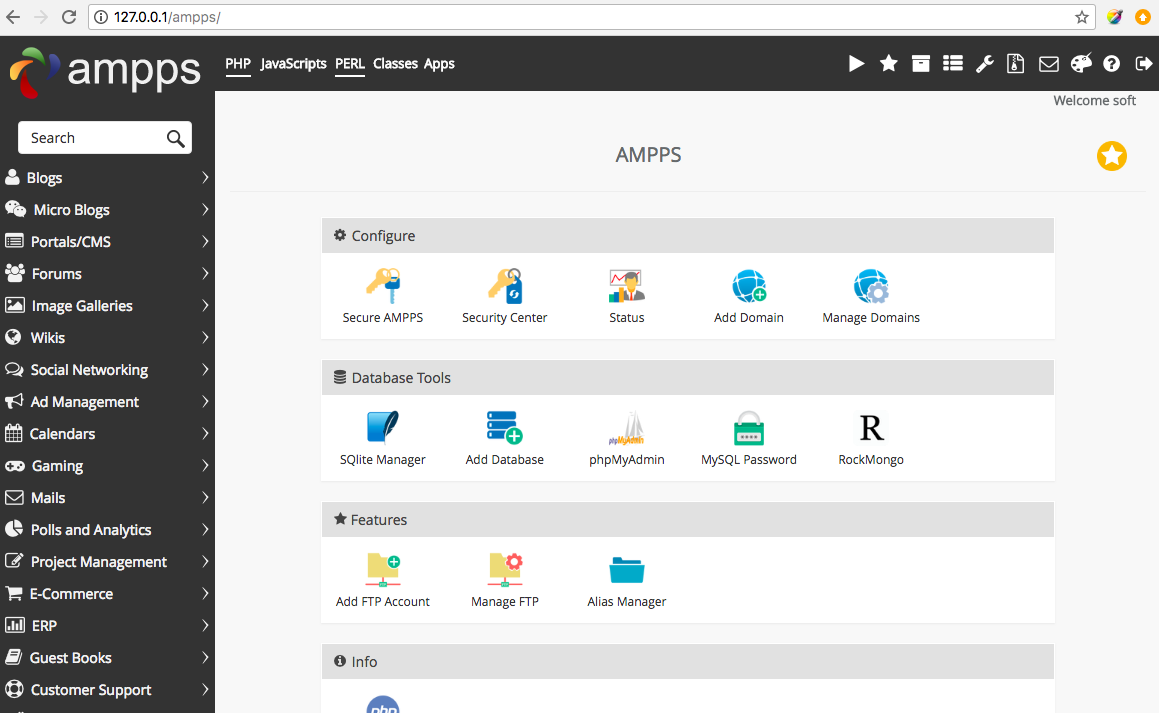
Make sure to open a new tab in your browser and enter the following url, which links to the AMPPS application.
http://127.0.0.1/ampps/
The following dashboard will come up.
With the main purpose of pointing to your local web application through your web browser, so you can test while developing, it is important that you create a fake domain for your local web application.
To create and add a fake domain in AMPPS, click on Add Domain like shown in the following screenshot.

Once you have clicked on Add Domain, the following will come up.
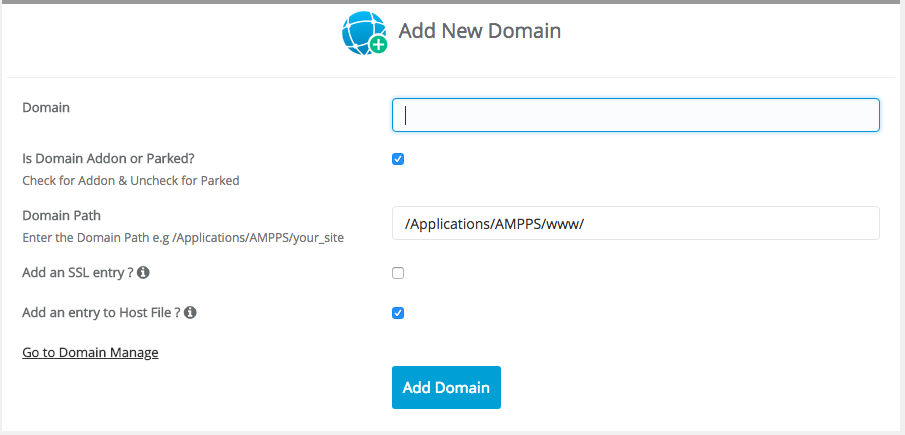
Under the Domain, one is highly recommended that their name ends in one of the followings:
- .test
- .example
- .invalid
- .localhost
For the purpose of this tutorial, I am going to use wordpress.test, like shown in the following screenshot.
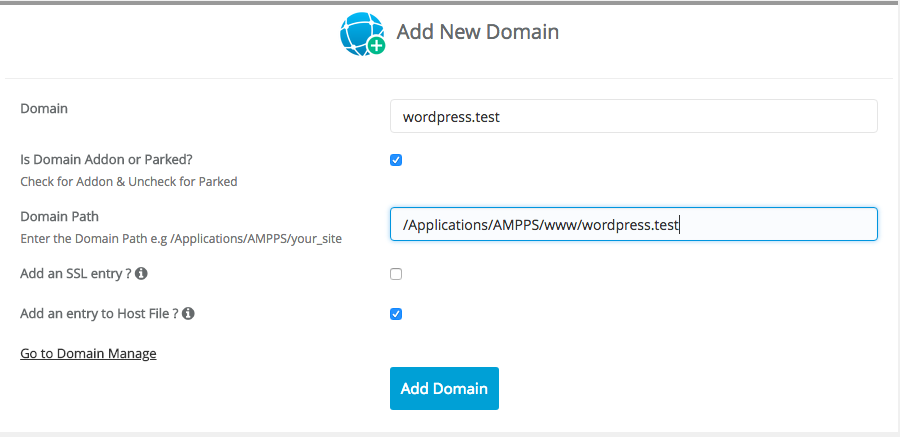
Click on Add Domain and this step is done.
Create and setup database for your WordPress application
Any database driven web application, needs a database to work. Since WordPress is one, it is a necessity to create a mysql database through phpMyAdmin.
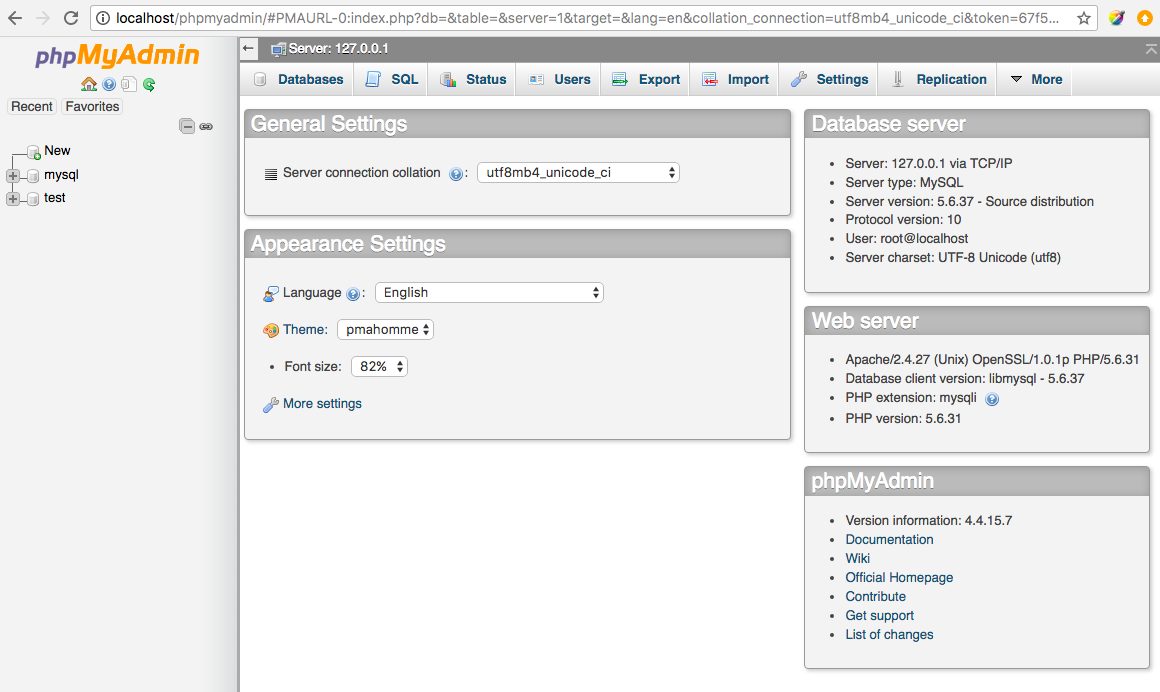
First, access the phpMyAdmin through the following url.
http://localhost/phpmyadmin
If the request is successful, the following will come up.
To create a fresh mysql database, click on New button which is located on the top left side of phpMyAdmin.
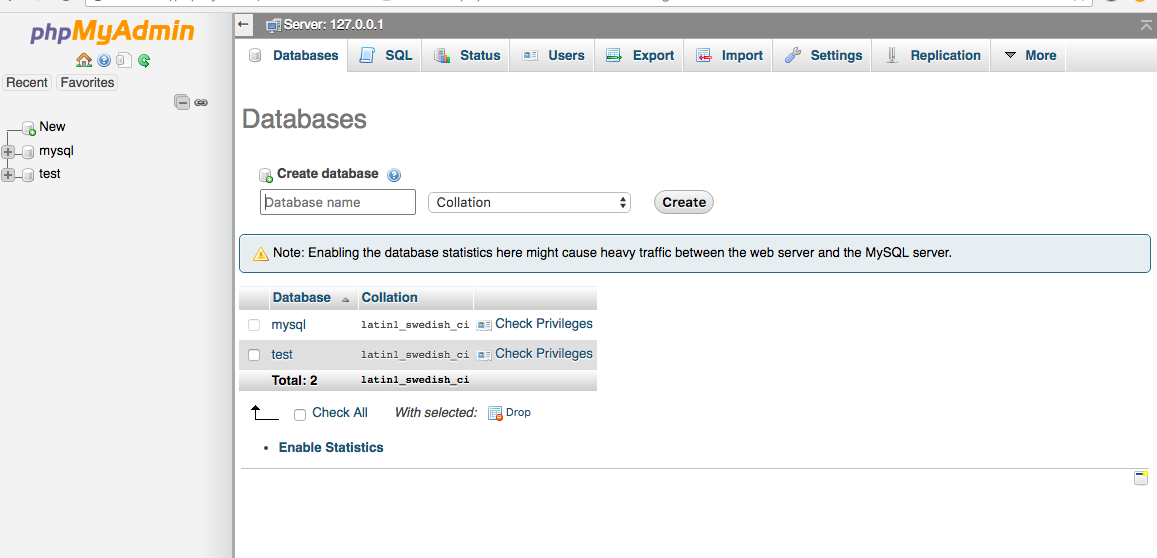
Choose a name for your mysql database and click on Create. For the purpose of this tutorial, I chose to name my mysql database wordpress_test.
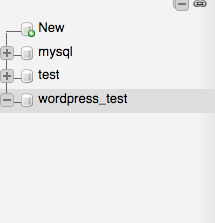
The setup of database is done!
Setup WordPress with AMPPS
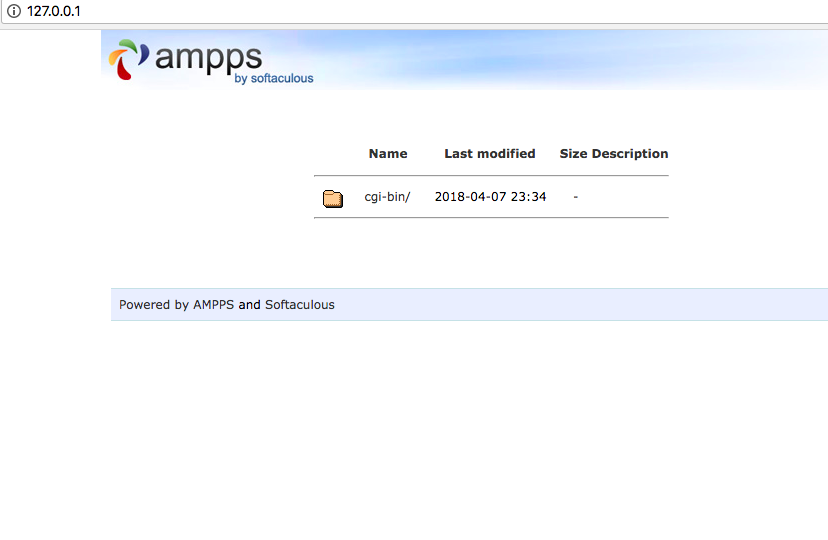
A quick request on the following url, shows the new fake domain which you added through your AMPPS dashboard.
http://127.0.0.1/
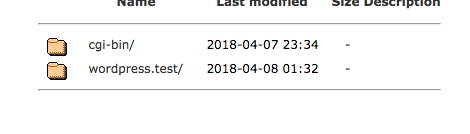
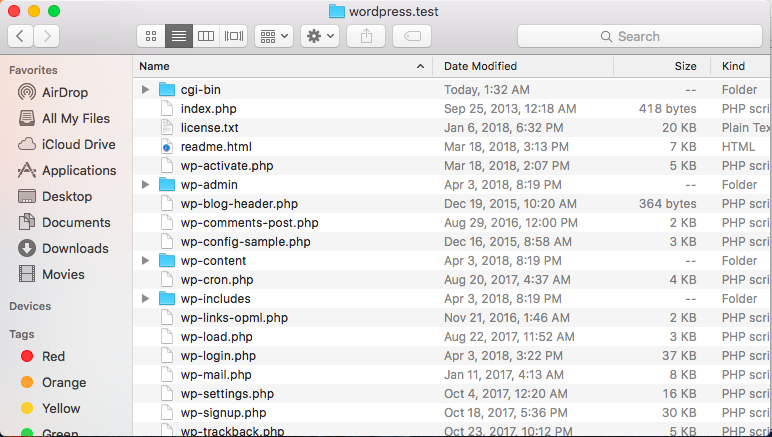
Select all the files being found inside WordPress CMS folder which you did download, and copy them under the following path.
/Applications/AMPPS/www/wordpress.test
The final directory look is shown below.
Once data is being copied, visit localhost through your web browser and then access the local web application via the fake domain which you created, in my case it is the following.
http://127.0.0.1/wordpress.test/
After a successful request on the above url, or in your specific one if different than mine, you will be presented with the following.

The above informs the user about the fact that they need to know their database credentials so wp-config.php file is automatically generated. No need to worry about it, just click on Let’s go!
The following comes up.
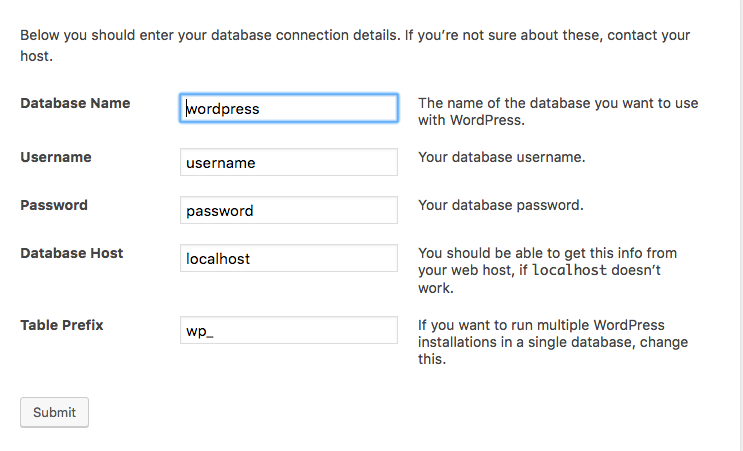
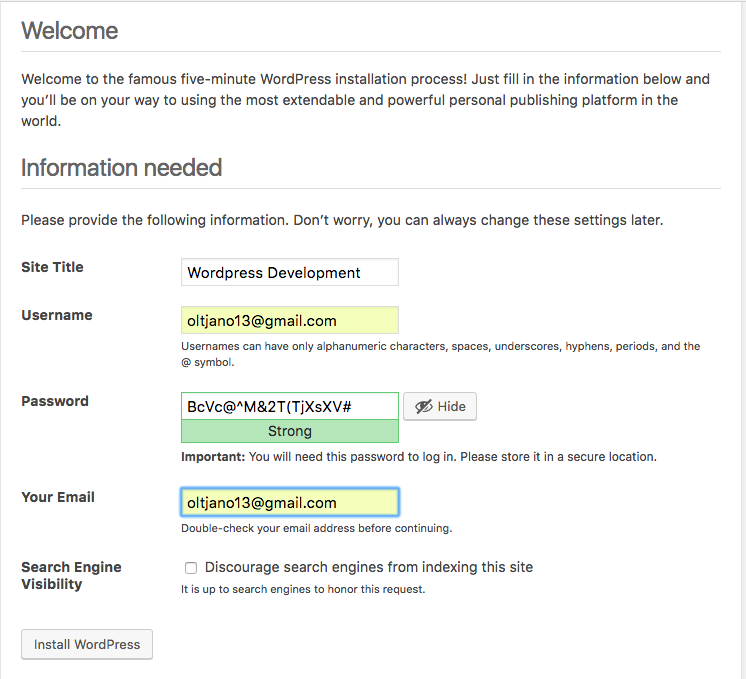
Fill the form according to the followings:
Database Name –> wordpress_test
Username–> root
Password–> mysql
Then click on Submit. Once finished, the following comes up which informs you about the installation.
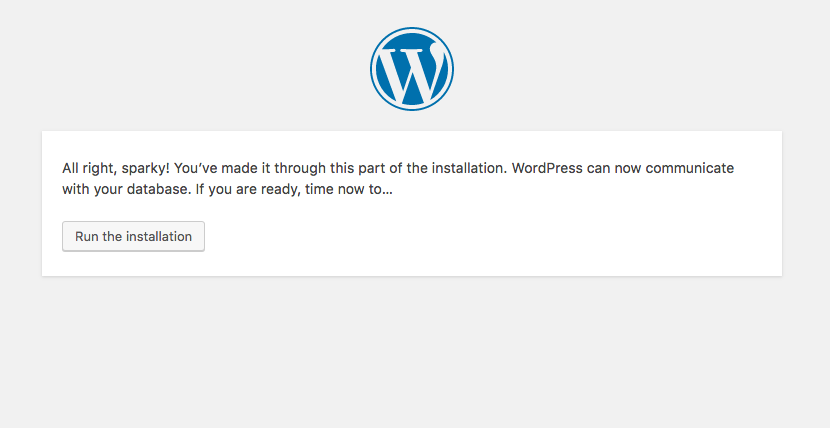
We are almost done. There is a few quick and short steps we need to accomplish before finishing the complete setup of WordPress on your local machine.
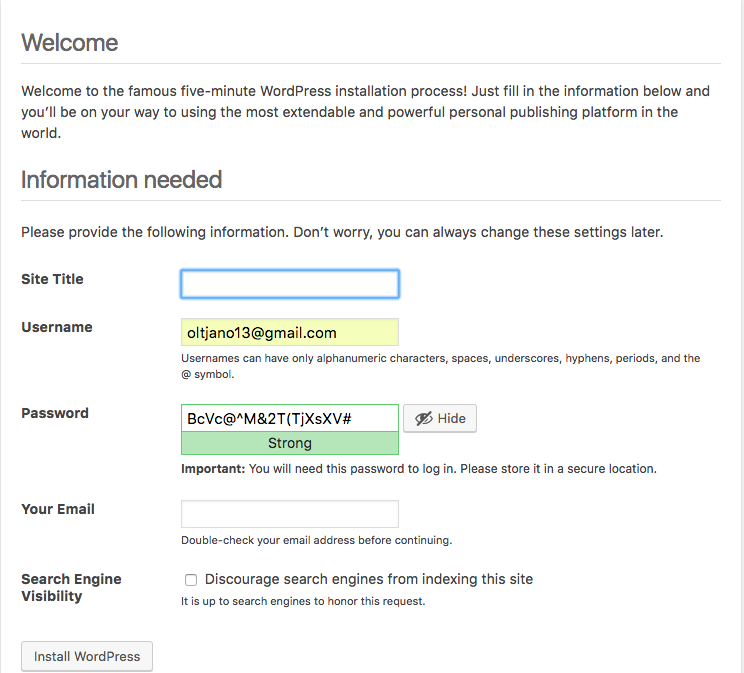
Fill the form according to your preferences and then click on Install WordPress.
Everything has been completed, all you have to do to manage your web
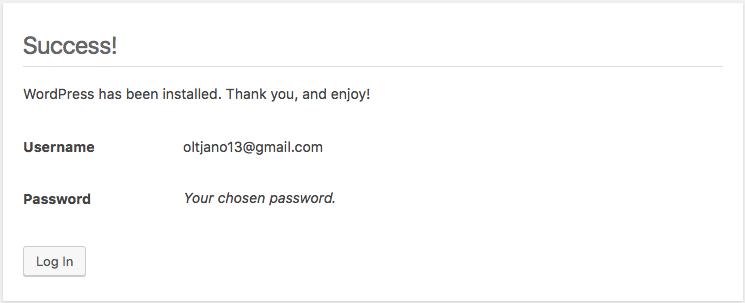
application, is to login.
Final thoughts
WordPress is the perfect tool when it comes to building land pages or online communities on the Internet, especially for those who don’t like to code much. The next tutorial will cover the setup of Divi WordPress theme, a very practical framework, designed to ease the job of the front end developer.