For new users who just starting with Ubuntu and wanting to know about the root account, here’s a brief post that gives you a little insight about the root account and how / why to use it. You see, every Ubuntu edition comes with a root account.
The root account is also known as the administrator account. Think of the root account as an account with god-like rights. It can delete any file, any folder and make any change to the system. The power of the root account is limitless.
Because the root account is so powerful, it is automatically created with a password value with no possible encrypted match on the system, which makes it unusable to sign on with. So instead of directly logging on with the root account, users are encouraged to use the sudo command.
The sudo command allows authorized users to temporary elevate their privileges using their own password without knowing the root password or using the root account.
If you still want to enable and logon with the root account for other unknown reasons, simply give it a password. This will enable the root account.
sudo passwd

The commands above will enable the root account but to sign on as the root user, you must enable manual logon since it’s now been disabled in Ubuntu. The manual logon option allows for users to type their logon name as well as the password for the account instead of just selecting an account from the logon screen.
To enable manual logon with Ubuntu 13.10, open the config file by running the commands below
 sudo gedit /etc/lightdm/lightdm.conf.d/50-unity-greeter.conf

Then add the line below as shown in the image.
greeter-show-manual-login=true


Save the file and restart your computer.
For earlier versions of Ubuntu, you may find this config file in a different location under /etc/lightdm. It may be called lightdm.conf.
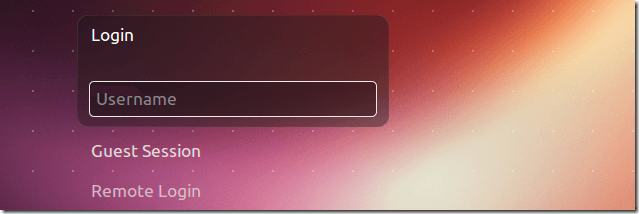
On the logon screen, you can then type the root username with password to sign on.


If you want to lock / disable the root account, run the commands below.
sudo passwd -l root

Enjoy!


