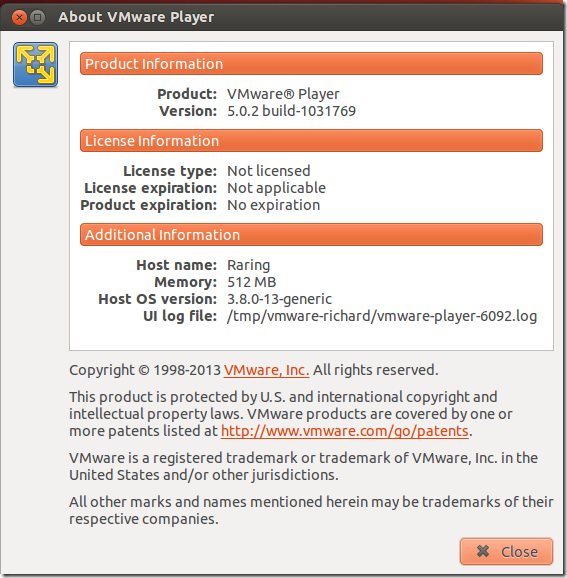
VMware Player for Linux has just been updated to version 5.0.2 and this brief tutorial is going to show you how to install it in Ubuntu 12.10 / 13.04 Raring Ringtail if you haven’t already done so. This is a minor release version which includes bug fixes for Windows 7 host, VMware Tools for Linux virtual machines, automatic bridging setting now refreshes without needing to restart VMware player and many more.
For a complete changelog about this release, please check VMware changelog page.
Below are some of the changes that were applied to this minor version.
- When installing VMware Tools in Linux virtual machines, the The default screen resolution options have been standardized to 640×480, 800×600, 1024×768, or 1280×800 for the initial login. After login, resolution can be set to any value the user desires or Autofit can be used.
- The list of available NICs in the Automatic Bridging Settings dialog window is now refreshed without restarting Player.
- When running in a Linux distribution using the GNOME 3 desktop environment, Desktop folders now open as expected.
- VMware Tools no longer crashes on Windows 2008 Server Core x64 SP2 operating system, with the following error:
VMware Tools unrecoverable error: (vthread-3)
Exception 0xc0000005 (access violation) has occurred.
However, Windows 2008 Server Core x64 SP2 is not a supported operating system for VMware Workstation. - Scrolling with a Lenovo ThinkPad UltraNav scroll button no longer requires excessive force.
To get started, press Ctrl – Alt – T on your keyboard to open the terminal. When it opens, run the commands below to install required packages for VMware Player to work in Ubuntu.
sudo apt-get install build-essential linux-headers-`uname -r`


Next, go to VMware Player download’s page and get a copy for your Ubuntu machine. You’ll find the 32-bit and 64-bit versions there. After downloading, run the commands below to change to your Downloads folder. Firefox by default downloads and saves all content in your Downloads folder.
cd ~/Downloads

Next, run the commands below to make the downloaded file executable.
chmod +x VMware-Player-5.0.2-1031769.i386.bundle


Finally, run the commands below to install VMware Player.
sudo ./VMware-Player-5.0.2-1031769.i386.bundle


Follow the wizard until the installation is complete. When it’s done, launch if from Ubuntu Dash.


If you wish to uninstall VMware Player from Ubuntu, run the commands below to completely remove it.
sudo vmware-installer -u vmware-player

Enjoy!


