The latest version of VirtualBox has just been released, and this brief tutorial is going to show you how to upgrade or install it in Ubuntu 12.10 / 13.03 Raring Ringtail via its official repository. This is maintenance release for VirtualBox 4.2 mainline which fixes numeral bugs in Windows, Mac OS and Linux systems.
Some of the fixes include, a fix for keyboards with XQuartz X Server support, a fix to resolve multi-monitors crashes under certain conditions with using Mac OS X hosts and support for Linux Kernel 3.9 –rc0 for Linux host and guest machines.
If you haven’t installed VirtualBox or want to upgrade your current version in Ubuntu, continue below to learn how. This is the best way to install VirtualBox in Ubuntu — by using its official repository for continuous support. When you installed software in Ubuntu from its official repository, future maintenance releases and bug fixes will automatically be download installed for you. No need to manually install updates when they become available.
To get started, press Ctrl – Alt – T on your keyboard to open the terminal. When it opens run the commands below to add the repository key.
wget -q http://download.virtualbox.org/virtualbox/debian/oracle_vbox.asc -O- | sudo apt-key add -


Next, run the commands below to add VirtualBox office repository to your system.
sudo sh -c 'echo "deb http://download.virtualbox.org/virtualbox/debian $(lsb_release -sc) contrib" >> /etc/apt/sources.list'


Finally, run the commands below to update your system and install VirtualBox
sudo apt-get update && sudo apt-get install virtualbox-4.2


To completely remove VirtualBox and its repository from your machine, run the commands below.
sudo apt-get purge virtualbox-4.2 && sudo apt-get autoremove

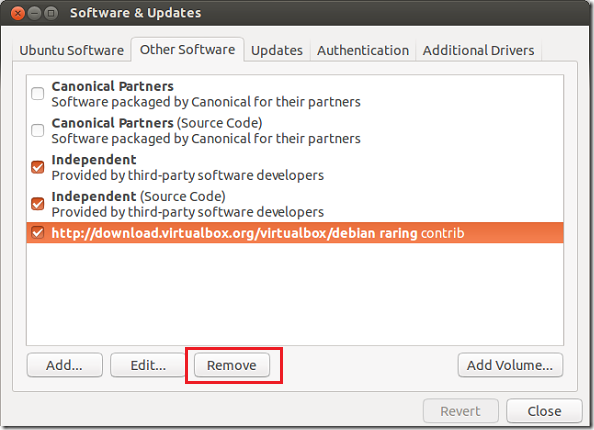
Next, go to System Settings –> Software & Updates –> Other Software tab and select the repository, then remove.


If you wish to remove the authentication key, select the ‘Authentication’ tab and remove it as well.

Enjoy!


