This brief tutorial is going to show you how to install Adobe Reader in Ubuntu 13.04 if you haven’t already done so. In previous versions of Ubuntu, one could easily install Adobe Reader by enabling Canonical Partner’s repository and installing the reader. Not any more. To install Adobe Reader, you must manually download and install it.
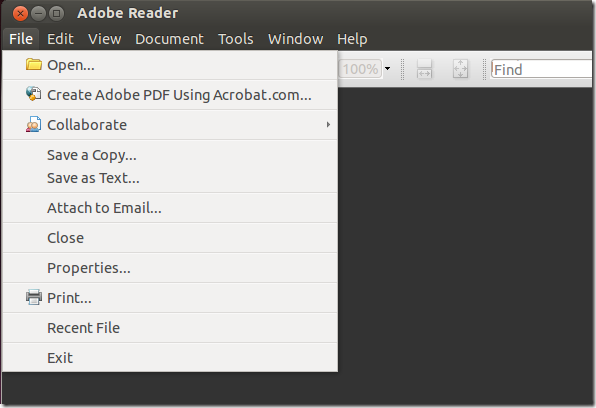
Since support Linux systems has been reduced by company, manually installing the deb file still isn’t enough, you must also configure some settings to fix the blank menu issues after installing.. I am going to show you how to do it.
To get started, press Ctrl – Alt – T on your keyboard to open the terminal or console. When it opens, run the commands below to download deb archive for Adobe Reader.
wget http://ardownload.adobe.com/pub/adobe/reader/unix/9.x/9.5.4/enu/AdbeRdr9.5.4-1_i386linux_enu.deb


Next, run the commands below to install it
sudo dpkg -i AdbeRdr9*


After installing, you may find out a bug in the program that blanks out the menus. After launching the program, the menu are all blank out without text.
To fix that issues, run the commands below change into the Xsessions.d directory.
cd /etc/X11/Xsession.d

Next, open the 98menuproxy file using Gedit
sudo gedit 98menuproxy

Finally, copy and paste the line into the file and save it.
export UBUNTU_MENUPROXY="acroread":$UBUNTU_MENUPROXY

Enjoy!


To remove Adobe Reader from your system, run the commands below
sudo apt-get purge adobereader-enu* && sudo apt-get autoremove

Enjoy!


