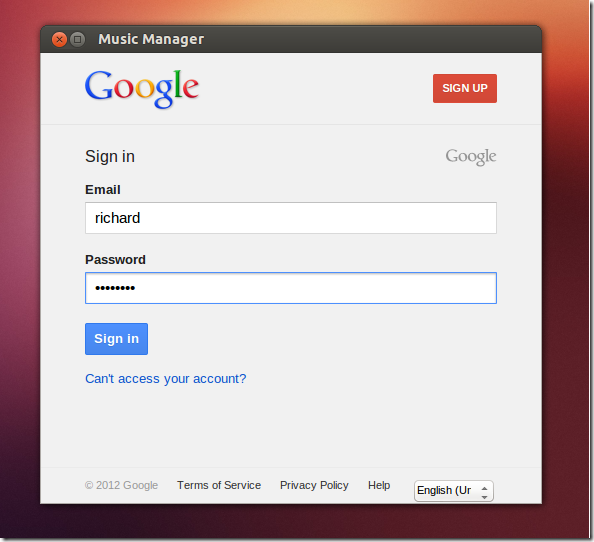
This brief tutorial is going to show you how to install Google Play Music Manager desktop client in Ubuntu 12.10. This application lets you upload music to the cloud and download your entire library to your computer.
Once your music is uploaded to your library, you can play and listen to your music from anywhere there’s an Internet connection.
Although the the desktop client isn’t require to listen to music from the cloud, if you wish to add your own collection to it, you must download the desktop client either in Windows, Mac or Linux systems and use it to upload your collections. For more about this, please click here.
From the desktop client, you can upload / download music, choose to automatically upload songs from a specified location (folder), and manage your cloud library from your desktop. So, without wasting anymore of your time, let’s get going.
To get started, press Ctrl – Alt – T on your keyboard to open the terminal. When it opens, run the commands below to download the software on to your desktop.
wget http://dl.google.com/linux/direct/google-musicmanager-beta_current_i386.deb


Next, run the commands below to install Google Play Music Manager
sudo dpkg -i google-musicmanager*


If the above commands fail to install Google Play Music Manager, immediately run the commands below to force the installation.
sudo apt-get install -f


After installing, go o Dash and launch the program. Next, type your Google account email address and password to sign in.


Enjoy!

To download the 64-bit version, download it with this below commands.

wget http://dl.google.com/linux/direct/google-musicmanager-beta_current_amd64.deb


