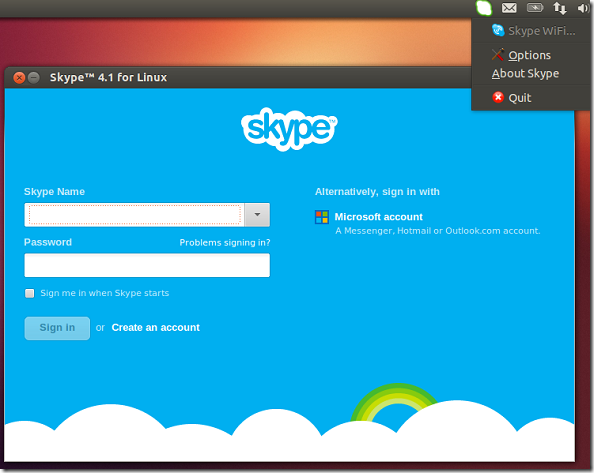
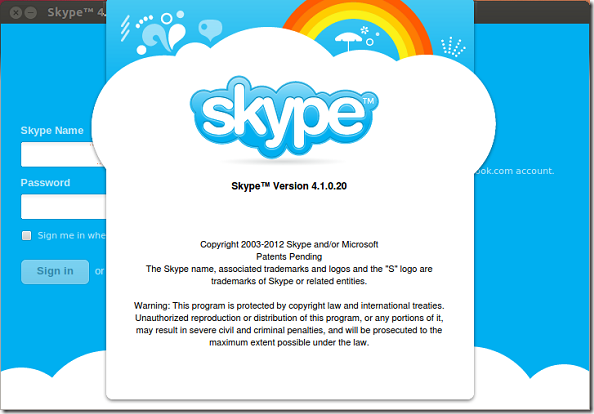
Skype 4.1 has just been released and this brief tutorial is going to show you how to install or upgrade it in Ubuntu 12.10 (Quantal Quetzal).
Features included in this release are; a new conversation windows that lets you manage all your recent conversations, and a new authentication process that lets you sign in with @hotmail.com and @outlook.com email addresses.
Currently the newest version isn’t yet available in Ubuntu Partner’s repository so you must manually download and install it.
To download and install it, press Ctrl – Alt – T on your keyboard to open the terminal. When it opens, run the commands below to download.
wget http://www.skype.com/go/getskype-linux-ubuntu-32/skype-ubuntu-precise_4.1.0.20-1_i386.deb


Next, run the commands below to install Skype.


If the above commands fail to install Skype, immediately run the commands below to force the installation.
sudo apt-get -f install


After installing, go to Dash and launch Skype.


Enjoy!


64-bit can be downloaded from here.
wget http://www.skype.com/go/getskype-linux-ubuntu-64/skype-ubuntu-precise_4.1.0.20-1_i386.deb


