This post is part of our WordPress series in which we show you how to install and manage WordPress blogs or websites.
To read our previous post in this series, please click here.
This post is going to show you how to upgrade WordPress to the latest version when it becomes available from the command line or console. About every six months a new version of WordPress is released, and if permissions are not set correctly on WordPress’ files or is hardened for security reasons, you may not be able to upgrade automatically from WordPress’ admin site. Upgrading automatically from within WordPress is easy, but it requires that permissions be changed on files and folders so that either apache or a FTP user is able to perform the upgrade.
This tutorial will skip though that and lets you upgrade your site from the command console via SSH manually.
Objectives:
- Upgrade WordPress to the latest version in Ubuntu
- Enjoy!
To get started, press Ctrl – Alt – T on your keyboard to open the terminal. When it opens, run the commands below to download the latest version of WordPress.
wget http://wordpress.org/latest.tar.gz


Next, run the commands below to extract the downloaded file.
tar -xvzf latest.tar.gz


After that, run the commands below to delete / remove WordPress’ wp-content folder from the extracted folder. The wp-content folder contains all your site’s content (images, themes, plugins). We don’t want to accidentally alter or overwrite the current one installed on your live blog. So delete this folder from the new content before continuing.
rm -rf wordpress/wp-content/


Finally, run the commands below to overwrite WordPress’ older files with the new ones.
sudo cp -rf wordpress/* /var/www/wordpress_site/


Restart apache2 by running the commands below.

sudo apache2 service restart

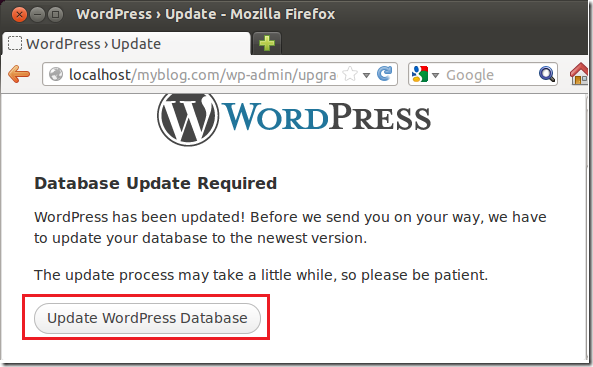
Go to WordPress admin site and you’ll be prompted to upgrade your database.


Do it and your site will be updated.

Enjoy!


