Today is day six of our thirty-day series called ‘Thirty Days with Ubuntu 11.10 (Oneiric Ocelot)’. We’re going to continue from where we left off on Day Five. This series started with installing Ubuntu on Day One and continued onto Day Five where we showed you how to install programs, printers and join a workgroup.
Today, I’ll show you how to add customized desktop and icon themes in Ubuntu, since making sure your desktop looks pretty is something you’ll want to do while using Ubuntu.
I want to apologize to those who have been waiting for me to keep up with this series, and starting today, I’ll do just that – keep it up for the next 25 days.
Objectives:
- Learn how to install Desktop & Icon Themes in Ubuntu
Now, Ubuntu comes with limited theme sets that you can use. However, if you want to make your system a bit different than the rest, you will have to install customized themes. There are thousands of themes to choose from online and with this guide, you should be able to install as many as you wish.
To get started, press Ctrl –Alt – T on your keyboard to open Terminal. When it open run the commands below to install Gnome Tweak Tool. This tool allows you to apply custom themes once they are installed.
sudo apt-get install gnome-tweak-tool
Next, create two folders in your home directory called .themes & .icons. Run the commands below to create both folders.
mkdir -p ~/.themes .icons
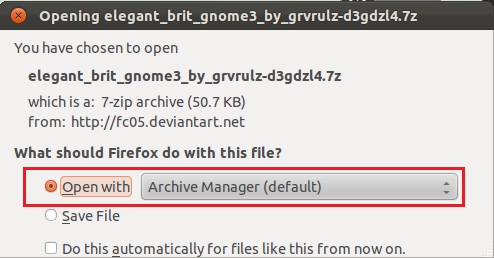
Next, go to this website (gnome-look.org) and download GTK 3.x desktop and icon themes for your desktop. Save & extract the desktop themes in the .themes folder and icon themes in the .icons folder.
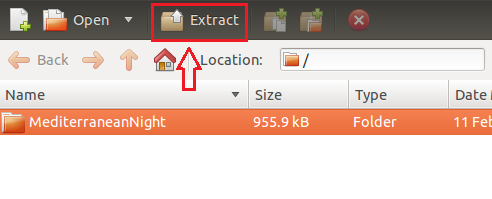
Then click ‘Extract’ to extract the theme or icon zipped package.
Next, press Ctrl – H on your keyboard to show all hidden files and folders. Then select the .themes or .icons folder and click ‘Extract’ to extract the zipped package into.
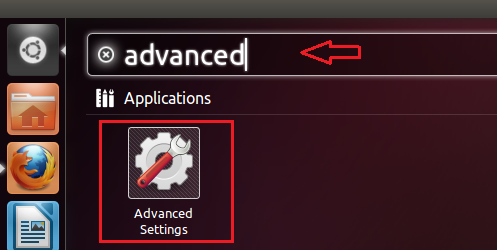
Next, open Dash and launch ‘Advanced Settings’
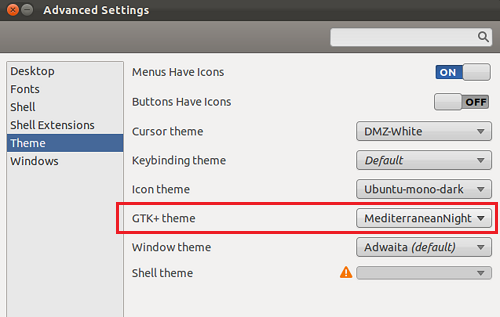
Finally, select Theme on the left and choose your desktop or icon theme to apply.
That’s it. Follow the same steps above for icon themes. You must save icon themes in the .icons folder of your home directory.
Tomorrow, we’ll continue with this series onto a different topic.
Enjoy!