There are many ways to manage MySQL database servers. The most popular and easiest way to manage MySQL is using your web browser via phpMyAdmin tool.
PhpMyAdmin is a PHP application that enables webmasters and database administrators to easily manage and maintain MySQL databases via popular web browsers. For anyone just starting our with MySQL, it’s recommended to install phpMyAdmin and manage your databases that way.
This brief tutorial is going to show you how to install phpMyAdmin on Ubuntu 14.10 so that you can easily manage your databases. Furthermore, I will show you how to enable self-signed SSL so that accessing your database via the web is also secured and protected.
Since phpMyAdmin is a PHP tool and relies on PHP and Apache2 to function, you should install the LAMP stack on your systems. The LAMP stack will install everything that phpMyAdmin needs to function.
To install the LAMP stack, read our previous post on it. We detailed a step-by-step guide to installing the LAMP stack here.
After installing LAMP, continue below to install phpMyAdmin
- Installing phpMyAdmin
To install phpMyAdmin, run the commands below. phpMyAdmin is part of the default Ubuntu repository and comes ready to be installed. Just run the commands below to get it.
sudo apt-get install phpmyadmin
When prompted to select a web server, select Apache2, then select Yes to allow phpMyAdmin to be configured automatically.
Enter the password you entered during MySQL installation, then create a password for phpMyAdmin. They can both be the same password.
After that, open Apache2 main configuration file and add the line below so it loads phpMyAdmin scripts.
sudo vi /etc/apache2/apache2.conf
Then add the line below almost at the bottom of the file and save it.
Include /etc/phpmyadmin/apache.conf
Restart Apache2 by running the commands below.
sudo service apache2 restart
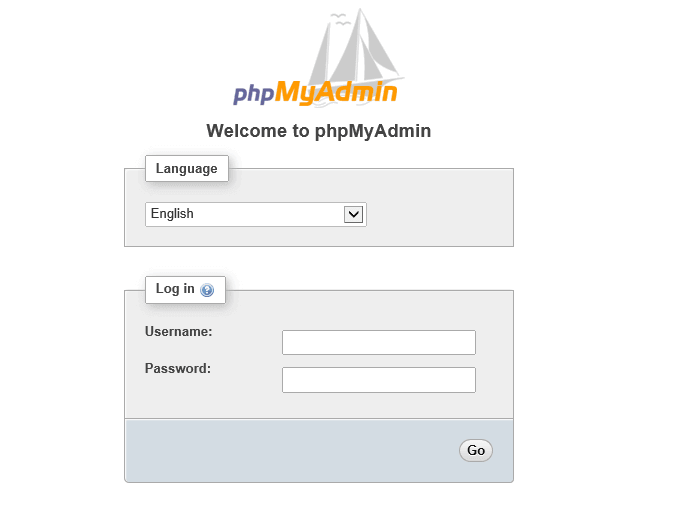
At this time, you should be able to go to your host server IP followed by /phpmyadmin to bring up phpMyAdmin logon page.
You can logon using the root username and password but the traffic isn’t secured. To secure it, you must install and enable SSL (even self-signed).
To enable SSL traffic, continue below.
- Enable SSL for phpMyAdmin
To enable SSL, run the commands below. The commands below enables the SSL module for Apache2
sudo a2enmod ssl
Next, create a directory to install your encryption key.
sudo mkdir /etc/apache2/ssl
Then change into that directory
cd /etc/apache2/ssl
Run the commands below to generate a self-signed SSL encryption key
sudo openssl req -x509 -nodes -days 365 -newkey rsa:2048 -keyout /etc/apache2/ssl/apache.key -out /etc/apache2/ssl/apache.crt
To generate a key, you’ll be prompted to enter some information. Follow the guide below to create one
If you enter ‘.’, the field will be left blank.
—–
Country Name (2 letter code) [AU]:US
State or Province Name (full name) [Some-State]:Minnesota
Locality Name (eg, city) []:Minn
Organization Name (eg, company) [Internet Widgits Pty Ltd]:My Blog
Organizational Unit Name (eg, section) []:Dept of Blogging
Common Name (e.g. server FQDN or YOUR name) []:myblog.com
Email Address []:[email protected]
If you’re running a live production site and public SSL key that’s trusted by a Certificate Authority, you can add the SSL key for the entire site. Don’t do this on your live site using self-signed SSL certificate. All your visitors will be prompted to trust the key as it’s not verified.
On your non-production site, open Apache2 default site config file
sudo vi /etc/apache2/sites-available/000-default.conf
Then change the line as shown below.
<VirtualHost *:443>

ServerAdmin webmaster@localhost

ServerName myblog.com:443

SSLEngine on

SSLCertificateFile /etc/apache2/ssl/apache.crt

SSLCertificateKeyFile /etc/apache2/ssl/apache.key
Save the file and you’re done.
Finally, open phpMyAdmin file
sudo vi /etc/phpmyadmin/config.inc.php
Then add the line below to the bottom of the file to force SSL for phpMyAdmin
$cfg['ForceSSL'] = true;
Restart Apache2
sudu service apache2 restart
Now you can go to your host using HTTPS to access it. You need a valid SSL certificate from a CA if you want to run it on your live production site. For test environment, you Self-Signed certificates.
Enjoy!

