WordPress 4.0 will probably be released this week and this brief tutorial is going to show you how to install it in Ubuntu 14.04 so you can be ready when it comes out.
These steps that I am going to be describing apply to new installation only. For those wanting to upgrade WordPress, they can do so from the admin portal using WordPress upgrade button.
For those with direct access or root access to their servers, they can download the newer version of WordPress and overwrite exiting files only after backing them up first.
Always backup your WordPress files and database prior to upgrading. It’s not mandatory but recommended that you do so just in cases where you need restore your sites when the upgrade didn’t go as planned.
Now, if you’re reading this post today, the 3rd of September and you which to install WordPress, please don’t do it on a production site. The latest version of WordPress is still in a testing phase, although installing it might work on your production sites.
WordPress 4.0 will feature embedded URL previews in the visual editor, grid view for media library, visual changes to how plugins get installed and many more, including the new widgets customizer.
To install WordPress 4.0 in Ubuntu, there are certain requirements that must be met. First, you need to install the LAMP stack in Ubuntu. The LAMP stack are collection of open source programs like Apache, MySQL and PHP.
- Installing Apache 2 in Ubuntu
To get WordPress working in Ubuntu, install Apache2 or other web servers. Since Apache is the most popular, let’s do that. To install Apache 2, run the commands below.
sudo apt-get install apache2
The next steps after installing Apache2 is to go and configure it so that WordPress can function correctly. By default, Apache default site configure file is at /etc/apache2/sites-available/000-default.conf
Edit that file and add the block below, just before the last </VirtualHost> line.
sudo vi /etc/apache2/sites-available/000-default.conf
<Directory /var/www/html/>
Options Indexes FollowSymLinks MultiViews
AllowOverride All
Order allow,deny
allow from all
</Directory>
Save the file and you’re done.
- Installing MySQL Server in Ubuntu
Anther server the WordPress depends on it a database server. MySQL is a solid database server. To install it in Ubuntu, run the commands below.
sudo apt-get install mysql-server mysql-client
Next, run the commands below to start MySQL server.
sudo service mysql start
During the installation of MySQL server, you’ll be prompted to create a password for MySQL root user. Type and confirm the new password and remember it. You will need it later to connect to the server.
After installing, MyQL server, and create a new database for WordPress as well as a user account to connect to the database with. To do that, run the commands below to logon to the database server.
mysql -u root -p
Next, run the commands below to create a database called wordpressdb
CREATE DATABASE wordpressdb;
Then run the commands below to create a database user called wordpressuser with password.
CREATE USER wordpressuser@localhost IDENTIFIED BY 'user_password_here';
Finally, grant all permissions on the new database to the new WordPress database user
GRANT ALL ON wordpressdb.* TO wordpressuser@localhost;
- Installing PHP5 and other modules
The last piece of software packages that you need to install it PHP5 and other modules. To install those, run the commands below.
sudo apt-get install php5 php5-gd php5-ldap php5-pear php5-xml php5-xmlrpc php5-mcrypt php5s-tidy php5-common php5-snmp php5-curl php5-mysql
After installing and configuring the above packages, go and download the latest version of WordPress. Run the commands below to do so in Ubuntu.
To download the latest version of WordPress, run the commands below.
cd /tmp && wget http://wordpress.org/latest.zip
Next, run the commands below to extract the downloaded file.
unzip latest.zip
Then run the commands below to copy the extracted files to Apache2’s default root directory.
sudo cp -rf wordpress/* /var/www/html/
After that, run the commands below to give ownership of the files and folders to Apache2
sudo chown -R www-data:www-data /var/www/html/
Finally, run the commands below to change the permissions on that directory to secure it.
sudo chmod -R 755 /var/www/html/
After running the above commands, go and configure WordPress connection settings. To configure the connection settings, copy wp-config-sample.php file into wp-config.php
sudo cp /var/www/html/wp-config-sample.php /var/www/html/wp-config.php
Then edit wp-config.php file and add the database connection settings. Make sure to match it like what shown below.
// ** MySQL settings – You can get this info from your web host ** //
/** The name of the database for WordPress */
define(‘DB_NAME’, ‘wordpressdb‘);
/** MySQL database username */
define(‘DB_USER’, ‘wordpressuser‘);
/** MySQL database password */
define(‘DB_PASSWORD’, ‘data_user_password‘);
After that, restart your servers and you’re done.
sudo service apache2 restart
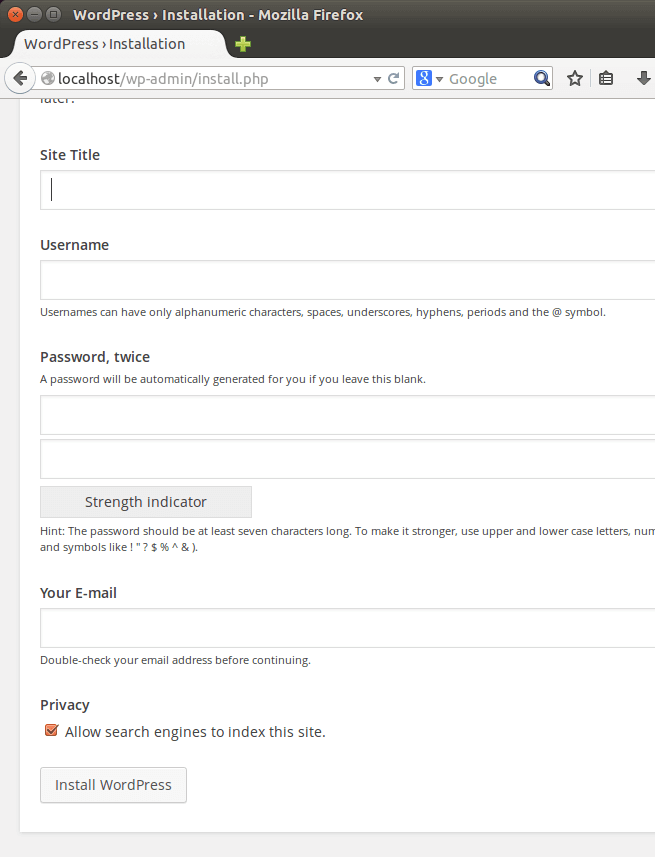
Connect to your server URL or IP address and you should see WordPress configuration page. If you see it, then you’re good. If not, then go back and look at your settings again.
Enjoy!