It seems like HTTPS is the future now that Google is recommending that all websites be encrypted with SSL over HTTP. If you haven’t heard, Google announced that websites and webpages that are encrypted will rank higher than those that are not when people search for answers on Google.
When we heard that, we switched our domain to HTTPS only and redirected all non-HTTPS traffic to the correct URL. Since we switched, we heaven’t seen any benefits. In fact, switching to all HTTPS traffic hurt us more than it benefited us.
We have lost more than half of our AdSense revenue after switching to all HTTPS. If you don’t have a good reason to switch to all HTTPS traffic, then don’t do it just yet. Wait until more sites have migrated or AdSense isn’t being impacted as it is right now.
If you do want to switch anyway, then this brief tutorial is going to show you how to create a self-signed certificate for Nginx web server to use HTTPS. Using self-signed certificates is mostly for testing purposes.
After making sure that all is right, you can then register for a certificate from a certificate registrar and apply it to your site.
When you’re ready, continue below to learn how to create a self-signed SSL certificate when using CentOS 7 with Nginx web server.
The first thing to do in CentOS 7 is to install Nginx web server. Since Nginx isn’t readily available from CentOS 7 default repositories, you must enable external repositories to install Nginx.
To learn how to do that, please read previous post on installing Nginx web server in CentOS 7
Next, run the commands below to create a SSL directory in the Nginx folder.
sudo mkdir /etc/nginx/ssl
Then change into the new directory and begin creating your SSL certificates.
cd /etc/nginx/ssl
After that, run the commands below to create the server’s certificate. You’ll be prompted to create a passphrase. Type a password and confirm.
sudo openssl genrsa -des3 -out myblog.key 2048
Follow up with the commands below to create a certificate signing request. This key is used to sign the server certificate.
sudo openssl req -new -key myblog.key -out myblog.csr
After running the above commands, you’ll get prompts to enter some information about the resource you wish to protect as well as your name and address.
Follow the sample guide below.
- Common Name: The fully-qualified domain name, or URL, you’re securing.
If you are requesting a Wildcard certificate, add an asterisk (*) to the left of the common name where you want the wildcard, for example *.coolexample.com. - Organization: The legally-registered name for your business. If you are enrolling as an individual, enter the certificate requestor’s name.
- Organization Unit: If applicable, enter the DBA (doing business as) name. If you’re securing a single blog, then type the blog owner’s name here.
- City or Locality: Name of the city where your organization is registered/located.
- State or Province: Name of the state or province where your organization is located.
- Country: The two-letter International Organization for Standardization (ISO) format country code for where your organization is legally registered.
After that, run the commands below to remove the certificate passphrase so you don’t get prompted each time you restart the server.
sudo cp myblog.key myblog.key.orig

sudo openssl rsa -in myblog.key.orig -out myblog.key
Finally, run the commands below to sign the key. The key will expire in 365 days.
sudo openssl x509 -req -days 365 -in myblog.csr -signkey myblog.key -out myblog.crt
Now that your a certificate, you can now place it in your Nginx site configure file.
sudo vi /etc/nginx/conf.d/default.conf
# HTTPS server

server {

listen 443;

server_name myblog.com;

ssl on;

ssl_certificate /etc/nginx/ssl/myblog.crt;

ssl_certificate_key /etc/nginx/ssl/myblog.key;

}
Restart Nginx and you’re done
sudo systemctl restart nginx.service
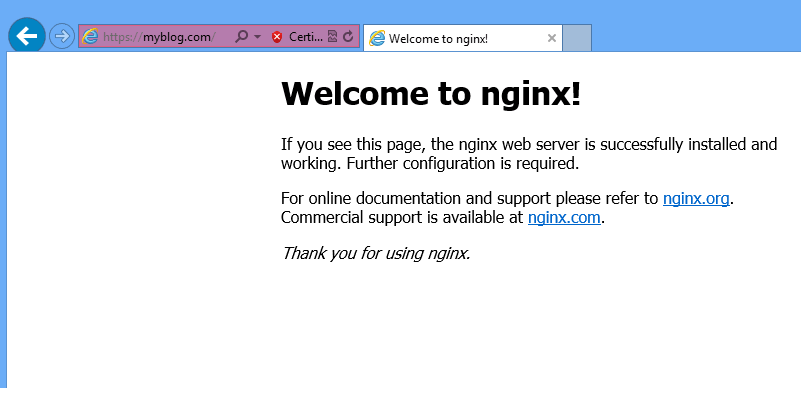
When you get the warning that the page isn’t secure, continue anyway
Enjoy!


