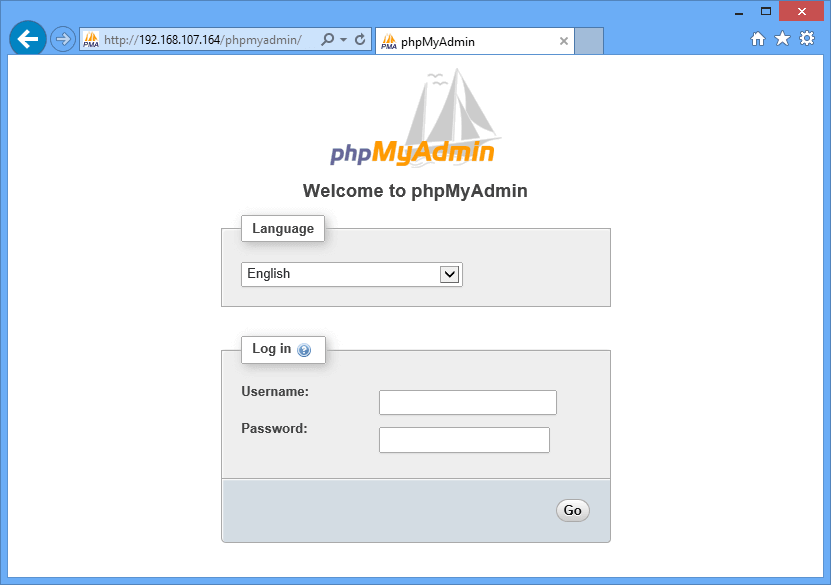
Last week we showed you how to install and configure phpMyAdmin on CentOS 7. This post is going to show you how to do the same configuration on Ubuntu 14.04 and manage your MySQL databases via your web browsers.
In our previous post, we said that MySQL databases can be accessed and managed using different methods. You can install dedicated database applications to manage MySQL, access the database server directly and run SQL statements from the command line terminal or use your favorite web browsers to access and manage MySQL.
Managing MySQL databases using popular web browsers has become the most popular method and this brief tutorial is going to show you how to make that happen with phpMyAdmin.
To read our previous post on installing phpMyAdmin on CentOS 7, please follow this link.
For new users or webmasters just starting out with managing MySQL databases, using the web browser method to manage your database is the safest and easiest way to run your web site or blog.
Also, phpMyAdmin allows you to fully manage your databases. This includes, backup and restoration, creation new of users accounts and databases and permission management.
Since phpMyAdmin is a PHP tool and it depends on the LAMP stack, you’ll need to it to get phpMyAdmin working. Continue below to learn how to install it.
- Installing Apache2 in Ubuntu 14.04
To install Apache2 in Ubuntu 14.04, run the commands below.
sudo apt-get update && sudo apt-get install apache2
- Installing PHP and other PHP tools.
PHP and other PHP tools are also needed for phpMyAdmin to function correctly. Without these tools, it won’t work. To install them, run the commands below.
sudo apt-get update && sudo apt-get install php5 php5-mysql php5-gd php5-mcrypt php-pear
- Installing MySQL Database Server in Ubuntu 14.04
Since you’ll need a database to manage, install MySQL database server in Ubuntu. To do that, run the commands below.
sudo apt-get update && sudo apt-get install mysql-server mysql-client
After running the commands above and during the installation, you’ll be prompted to create a new password for the database root account. Create and confirm a password for the root account.
- Installing phpMyAdmin
Finally, run the commands below to install phpMyAdmin
sudo apt-get update && sudo apt-get install phpmyadmin
Running the above commands also prompt you to choose a web server to use with phpMyAdmin. Please select Apache2 to continue. Then when prompted if you want to configure a database for phpMyAdmin with dbconfig-common, choose yes.
You’ll be prompted to type the database root password and to create a new password for phpMyAdmin itself.
After that, a website configuration file should be created and enabled in the /etc/apache2/conf-enabled/
Next, run the commands below to enable php5-mcrypt for Apache2
sudo php5enmod mcrypt
Restart Apache2 and test your setup.
sudo service apache2 restart
Test your setup by going to your server IP address or domain name followed by phpmyadmin (http://127.0.0.1/phpmyadmin)
Enjoy!
Next, allow Apache2 overrides. To do that, open the configuration file below and make the highlighted changes.
sudo vi /etc/apache2/conf-available/phpmyadmin.conf
Then add the highlighted line in the block below, then save the file.
[...]

<Directory /usr/share/phpmyadmin>

Options FollowSymLinks

DirectoryIndex index.php

AllowOverride All

[ . . .]
Restart Apache2 again.
That’t it!

