There are many ways to access and manage databases. There are dedicated database applications that allow you to manipulate databases as well as manage access to them.
Another method is to directly connecting to the database server and running SQL statements using command-line utilities, although this is for highly advanced database administrators or someone who’s really brave. Using terminal consoles to manage databases isn’t recommended for new users or those just starting with managing database servers.
The third and most popular method is to manage database servers using web browsers. This is true especially for MySQL or MariaDB databases. Using web browser to access and manage databases is the fastest and easiest way yet. With phpMyAdmin tool, one can perform almost any database functions from the browser.
This brief tutorial is going to show you how to install phpMyAdmin and use your favorite web browsers to manage MySQL databases in CentOS 7.
If you’re new to managing and running online content management systems that connect to MySQL or MariaDB databases, you should definitely stick to managing your databases using phpMyAdmin.
It will come help you a lot.
phpMyAdmin depends on the LAMP stack. It requires Apache2 or any compatible web servers, MySQL and PHP. This post will show you how to get them all installed and configured for phpMyAdmin.
- Installing MariaDB Database Server.
Since MySQL isn’t being shipped with CentOS 7, you’ll need to install MariaDB database server instead. MariaDB is a drop-in replacement for MySQL server and well compatible with phpMyAdmin.
To install MariaDB database server in CentOS 7, run the commands below.
sudo yum update && sudo yum install mariadb-server mariadb
Next, run the commands below to started MariaDB server
sudo systemctl start mariadb.service
After that, run the commands below to configure the database server with a root password and to secure it.
sudo mysql_secure_installation
When prompted for the root password, leave blank and press Enter. Then choose Y for yes to create a new root password.
Next, choose Yes for the rest of the prompts until you’re done.
- Enter current password for root (enter for none): press Enter
- Set root password? Y
- New password: Type new root password
- Re-enter new password: Confirm the password
- Remove anonymous users? Y
- Disallow root login remotely? Y
- Remove test database and access to it? Y
- Reload privilege tables now? Y
- Installing PHP On CentOS 7
Next, install PHP. phpMyAdmin depends on it. To install it in CentOS 7, run the commands below.
sudo yum install php php-mysql php-gd php-pear
- Installing Apache2 On CentOS 7
Next, run the commands below to install Apache2 on CentOS 7.
sudo yum install httpd
- Installing phpMyAdmin on CentOS 7
Finally, let’s go and install phpMyAdmin. To do that in CentOS 7, you must first enable external repositories since the package isn’t readily available from CentOS default repository.
One repository that contains a lot of open sources packages including phpMyAdmin is the EPEL repository. To install it in CentOS 7, run the commands below.
cd /tmp/ && wget http://dl.fedoraproject.org/pub/epel/beta/7/x86_64/epel-release-7-1.noarch.rpm
Then run the commands below to install it.
sudo yum install epel-release-7-1.noarch.rpm
After that, run the commands below to install phpMyAdmin
sudo yum install phpmyadmin
After installing it, open phpMyAdmin default configuration file and make the below changes. Replace all 127.0.0.1 IPs with the IP address of the computer you’ll be connecting from.
To find your computer IP address, visit this website of go to www.google.com and type what’s my ip in the search box using the computer you’ll be using to connect to phpMyAdmin. Google will show your IP address.
vi /etc/httpd/conf.d/phpMyAdmin.conf
[....]

Alias /phpMyAdmin /usr/share/phpMyAdmin

Alias /phpmyadmin /usr/share/phpMyAdmin

<Directory /usr/share/phpMyAdmin/>

<IfModule mod_authz_core.c>

# Apache 2.4

<RequireAny>

Require ip 192.168.107.108

Require ip ::1

</RequireAny>

</IfModule>

<IfModule !mod_authz_core.c>

# Apache 2.2

Order Deny,Allow

Deny from All

Allow from 192.168.107.108

Allow from ::1

</IfModule>

</Directory>

[....]
Save and close out. Then restart Apache2.
Finally, open port # 80 or HTTP traffic through the firewall by running the commands below.
sudo firewall-cmd --permanent --zone=public --add-service=http

sudo firewall-cmd --reload
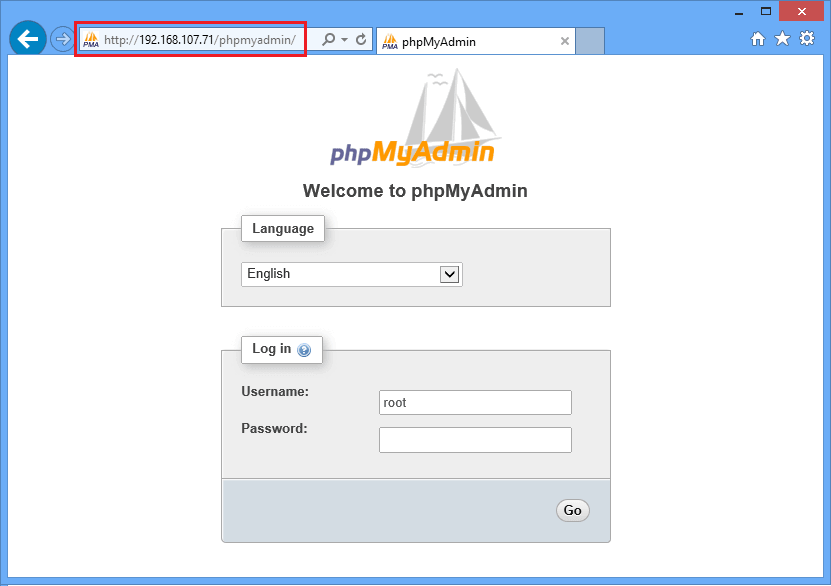
Go and access phpMyAdmin by typing server hostname or IP address followed by phpmyadmin.
(eg. http://server_IP/phpmyadmin)
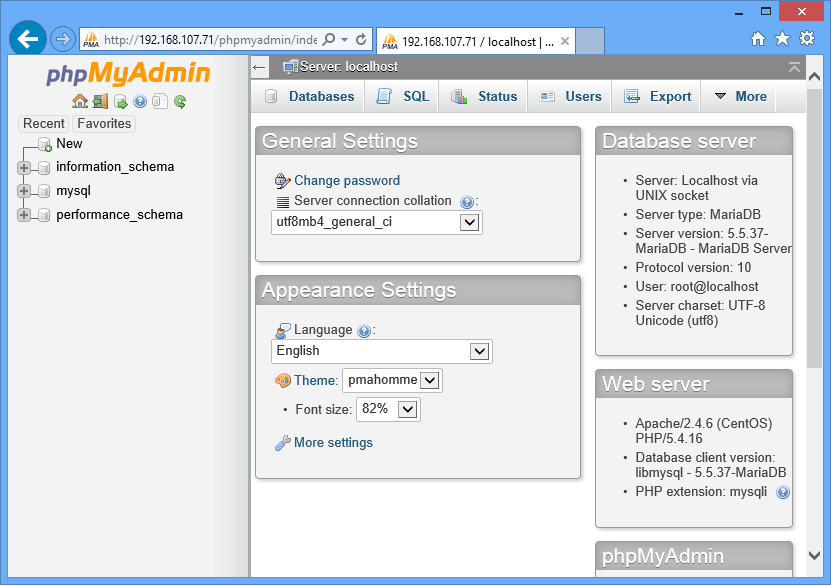
Type the root password you created earlier to logon.
Enjoy!


