This brief tutorial is going to show you how to install and configure WordPress on a new CentOS machine. This post will start from scratch and go into what’s needed and how to install required packages in order to get WordPress working in CentOS.
Because there are many web servers that one can install to support WordPress, this post will focus on installing Apache web server. In other posts, I will show you how to get WordPress working on Nginx and other web servers.
In this post, I am going to get started by installing CentOS on a new virtual machine, VirtualBox guest machine using the bare minimum of CentOS. No setup has been done except to update the system.
Because nothing has been configured on this machine, we’ll need to install and configure all the required packages to support WordPress.
Before we get started, let get to understand what’s need to support WordPress in CentOS.
- Apache is needed (or Nginx and other web servers)
Apache web server is required for WordPress to function. Without Apache or other web servers, WordPress won’t function. Below are commands to install and configure Apache web server.
To get Apache installed in CentOS, please run the commands below.
yum -y install httpd
Then run the commands below to always start up Apache when the computer is rebooted.
chkconfig --levels 235 httpd on
Finally, run the commands below to start Apache
/etc/init.d/httpd start
- PHP required, and other PHP modules preferred
Another component of this puzzle is PHP. PHP and support packages or modules are also required for WordPress to function.
yum -y install php php-mysql php-gd php-imap php-ldap php-odbc php-pear php-xml php-xmlrpc php-mbstring php-mcrypt php-mssql php-snmp php-soap php-tidy curl curl-devel
- MySQL Database Server required
Finally, MySQL database server is required for WordPress to function. WordPress uses database servers to started some of its data.
To get MySQL installed in CentOS, run the commands below.
yum -y install mysql mysql-server
After installing MySQL server, run the commands below to start MySQL database server always after a reboot.
chkconfig --level 235 mysqld on
Next, run the commands below to start MySQL database server
/etc/init.d/mysqld start
Finally run the commands below to configure MySQL server and create a root password
mysql_secure_installation
- Creating WordPress database and user
We told you earlier that WordPress needed a database to store its content. It also needs a database user to connect. The commands below shows you how to access MySQL and create a WordPress database and database user.
- Creating WordPress database
Sign on to MySQL server using the commands below.
mysql -u root -p
Then using the syntax below to create a database.
CREATE DATABASE wordpress;
Next, create a database user using the syntax below.
CREATE USER 'wpuser'@'localhost' IDENTIFIED BY 'myPassword';
Next, using the syntax below, give the user access to the database.
GRANT ALL PRIVILEGES ON wordpress.* TO 'wpuser'@'localhost';
Exit.
Now that Apache, PHP and MySQL are installed, it’s now time to download WordPress content and configure. By default , Apache default site root directory is at /var/www/html/
That’s where you’re wan to download and extract WordPress content to.
Run the commands below to download WordPress archived file.
cd /tmp && wget http://wordpress.org/latest.tar.gz
Next, run the commands below to extract the WordPress download.
tar -xzvf latest.tar.gz
Finally, run the commands below to copy the extracted content to the root directory.
cp -rf wordpress/* /var/www/html/
- Configuring WordPress
Run the commands below to create WordPress config file.
cp /var/www/html/wp-config-sample.php /var/www/html/wp-config.php
Then edit the wp-config.php file and enter the Database Name, Database user and password, then save the file.
vi /var/www/html/wp-config.php
Finally, open a browser and browser to the server name or IP address.
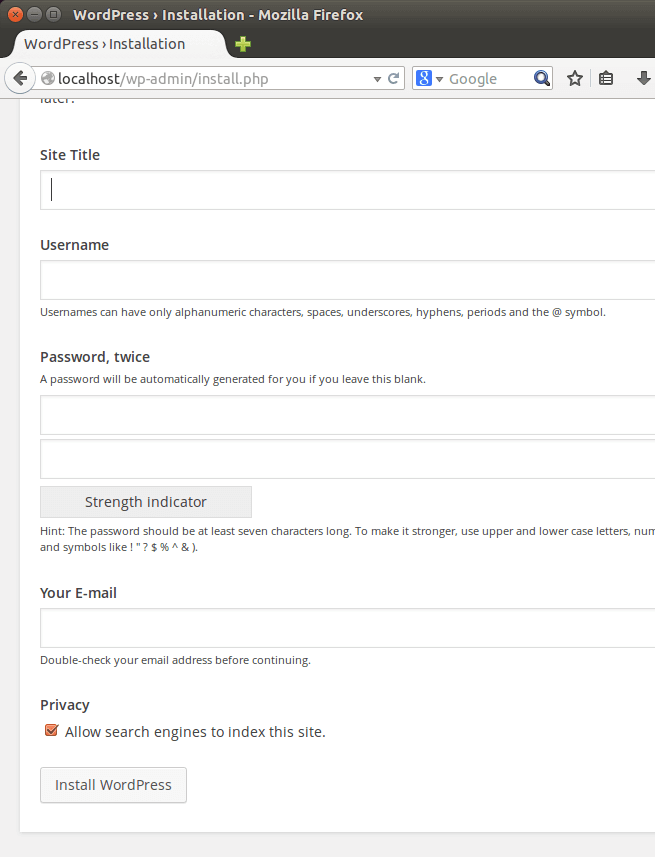
You should see WordPress default install page. If you don’t see it, it may be that firewall is blocking the path. Run the commands below to open that port.
iptables -I INPUT 5 -i eth0 -p tcp --dport 80 -m state --state NEW,ESTABLISHED -j ACCEPT
The save the chnages.
service iptables save
Try again.
Enjoy!