So, yesterday we showed you how to install Nginx, MySQL and PHP5 with support for PHP-FPM in CentOS 6.5 in order to install WordPress.
WordPress requires these services to run properly. Without a web server, PHP, or a database server, WordPress will not be able to function. This brief tutorial will continue from where we left of yesterday and show you how to install WordPress on Nginx in CentOS 6.5.
To access our previous tutorial on this, please click here.
Now that Nginx, PHP, MySQL are installed and partially configure, it’s time to install and configure WordPress. But before we get started, we need to make few changes to Nginx site config file and PHP-FPM.
Yesterday we told you that Nginx keeps it sites configuration files in this directory /etc/nginx/conf.d/
The default site config file is at /etc/nginx/conf.d/default.conf.
In that file is were you configure settings for its default website. So, before you install and setup WordPress, let’s add and modify the file to add some directives to enable WordPress to function.
To get started, open Nginx default site config file using the commands below.
vi /etc/nginx/conf.d/default.conf
Then change the location ~ \.php$ block to look like the lines below.This block will define how Nginx handle PHP pages. The directives below will get WordPress its basic functionality.
location ~ \.php$ {
        root           /usr/share/nginx/html;
        fastcgi_split_path_info ^(.+\.php)(/.+)$;
        fastcgi_pass    unix:/var/run/php-fpm/php-fpm.sock;
        fastcgi_index   index.php;
        fastcgi_param SCRIPT_FILENAME $document_root$fastcgi_script_name;
        include      fastcgi_params;
}
Save the file. To optimize Nginx properly for WordPress, you’ll need to configure more settings than what’s above. Gzip, caching and other settings are things to do in order to properly optimize Nginx but we’re going into depth at this time.
For this blog post, we’re only focusing on getting WordPress installed using the basic optimal settings.
- Edit PHP-FPM Config File
After saving the file above, open PHP-FPM configuration file at the location below.
vi /etc/php-fpm.d/www.conf
In that file, you’ll want to change listen directive to point to a file from IP as shown below to match what is defined in Nginx site config file.
;listen = 127.0.0.1:9000
listen = /var/run/php-fpm/php-fpm.sock
Save the file and you’re done here.
- Change PHP.INI file
Next, add one last change to the php.ini file. This file is location in the /etc/ directory called php.ini. Use the commands below to open it.
vi /etc/php.ini
Then look through the file until you see the line below and uncomment it. Make sure it’s like this below and save the file..
cgi.fix_pathinfo=0
When you’re done, restart Nginx (service nginx restart), restart PHP-FPM (service php-fpm restart).
That’s it! All the basic configuration are done. Next, we’re going to download WordPress content and copy it to the root directory. The default root directory is at /usr/share/nginx/html
You can specify a different location in the site config file. Since you’re using the default, no changes required.
- Download WordPress archive
Next, download WordPress archive using the commands below
cd /tmp && wget wordpress.org/latest.zip
Then using the commands below extract the zip file and copy it to the root directory.
unzip latest.zip && cp -rf wordpress/* /usr/share/nginx/html/
After copying the file to the root directory, it’s now time to configure WordPress database and database user.
First, rename wp-config-sample.php file to wp-config.php. To do that, run the commands below.
cp /usr/share/nginx/html/wp-config-sample.php /usr/share/nginx/html/wp-config.php
- Creating WordPress Database and User
Next, create WordPress database and its database user. To do that, sign onto MySQL using the commands below
mysql -u root -p
Then create a WordPress database using the commands below
CREATE DATABASE wordpress;
Next, create a database user using the commands below.
CREATE USER 'wpuser'@'localhost' IDENTIFIED BY 'myPassword';
Finally, great the database user complete access the the newly created database.
GRANT ALL PRIVILEGES ON wordpress.* TO 'wpuser'@'localhost';
Exit and you’re done.
- Editing wp-config.php file to add database info
Finally, you must edit the wp-config.php file the the root directory to add the database connection info.
vi /usr/share/nginx/html/wp-config.php
Then define the DB_NAME, DB_USER and DB_PASSWORD and save the file.
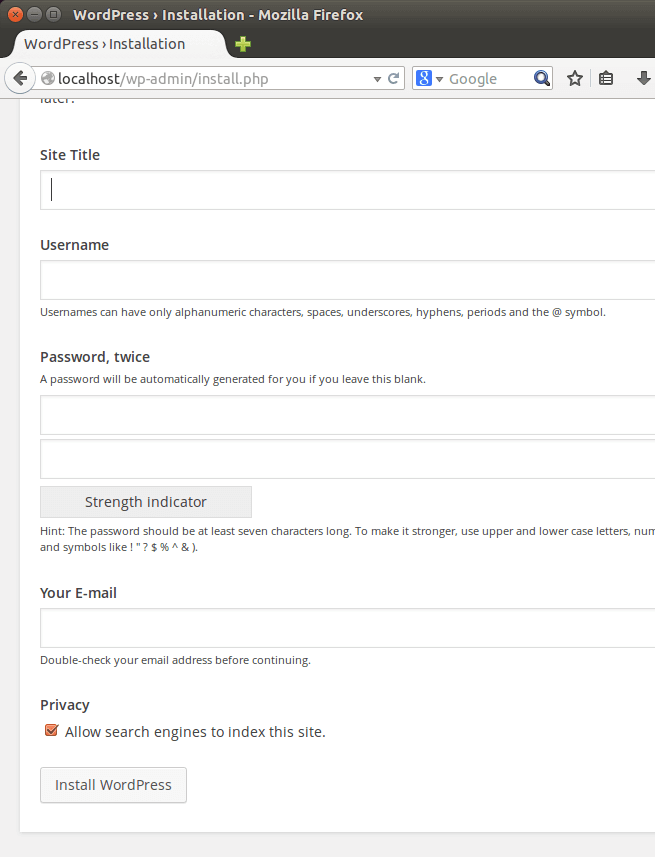
When you’re done, open a browser and connect to your server and you should see WordPress install page.
Enjoy!