Here’s a blog tip for WordPress beginners. This post is going to show you how to move your WordPress blog to a different host if you need to.
The reason I am writing this is because I had to do it just few weeks ago. I had to move a WordPress blog to a different host because the host my friend was using sucked. Even though he was paying monthly for hosting his blog, the site would go down and stop working about twice a day and stay down for about 15 minutes for each incident.
Nothing on his site was causing this. The site going down, bad performance and slow speed were all due to hosing issues. He had enough and switched host few weeks ago.
The problem here was he didn’t know how to move his blog, so he contacted me for help.
This is how I did it and if you’re new to WordPress, this post might come in handy the day you want to switch too.
Moving to a new host is pretty straightforward. All you need to do is copy WordPress content and its database data and import them to the new host.
All can be done using CPanel.
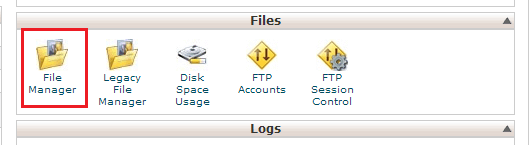
Before you start, log in to CPanel for your site and go to File Manager.
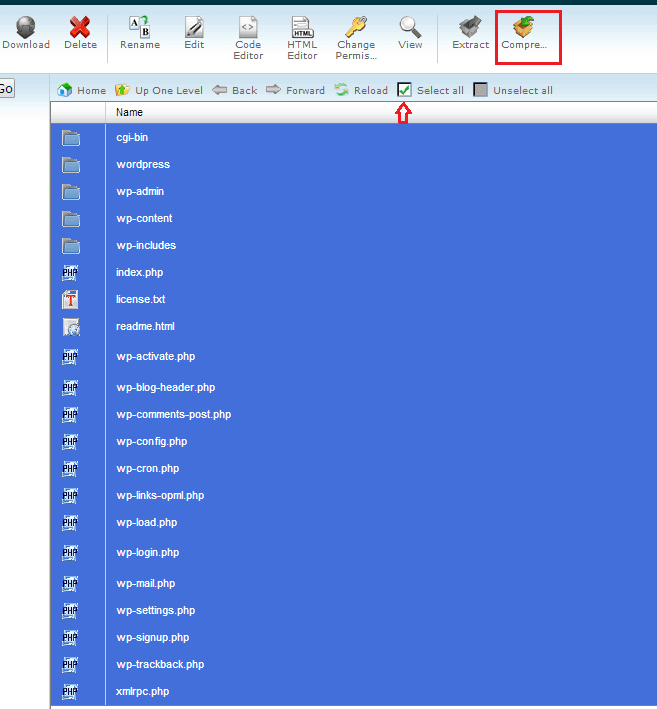
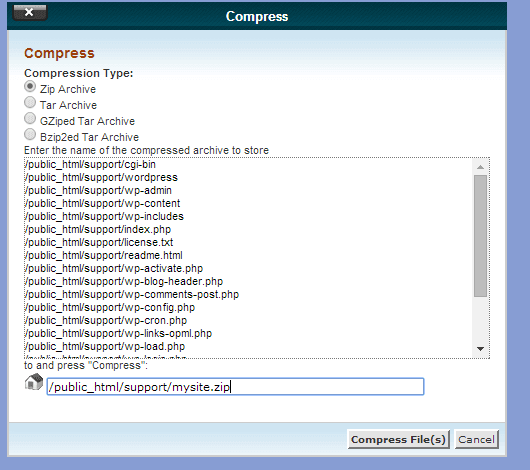
Then, go to the root folder for the domain you wish to backup or move. Next, using CPanel tool, select all file and click Compress as shown in the image below.
When you select Compress and the zip option, it should create a zip file of your website. Next you’ll select the newly created zip file and click Download to download it to your computer.
After downloading the file, the next thing will be to export or backup your site WordPress database. To do that, please follow this link and read how to do it.
This blog post shows you how to easily backup or export your WordPress database when using CPanel.
When both the file and database have been downloaded or saved to your computer, the next thing is signing to your new host account and importing these data.
Next, extract the archived file you downloaded. Right-click the downloaded file and select to extract it or unzip it on your computer. After the files are unzipped, using your favorite FTP client, select all the files to be uploaded and upload them to the new host root folder.
Here’s a blog post that shows you how to upload files via FTP using Filezilla.
Next, you’ll also want to create and import the database you downloaded earlier. To create a new database on the new host using CPanel.
To learn how to do it, read this post. The post shows you how to easily create WordPress databases using Cpanel.
After creating the database, open it and import the old database you downloaded earlier. the image below shows you how to import MySQL databases using Cpanel

After importing the database, you’ll have to do one last thing — verify that database name, username and password in the wp-config.php page. The page can be found in the root directory.
Read this blog post, you’ll learn how to edit WordPress file config file.
Verify that the database connection info is right. If not, create a new database user and give it rights to access the imported databases.
Finally, switch to the new host name server for the change to take place. That’s it. If you need help, comment below.
Enjoy!