For users with both Windows and Ubuntu machines and a single printer, this blog post is going to show you how to share a printer in Windows and allow Ubuntu machines to printer to it.
Almost all printers support Windows by default. Printer manufactures are building printers for Windows and not many are doing it for Linux systems, including Ubuntu. So, if you have a printer with full Windows support, you can share it from the Windows machine and allow other systems to print to it.
I ran into this problem few years go when most printers didn’t support Linux systems. I had an older printer which was designed specifically for Windows and Mac OS X with no support for Linux.
I installed the printer driver on my Windows machine and it worked great. My Windows machine was printing just fine, but couldn’t get the Ubuntu machine to because the printer didn’t support LAN.
So, I shared the printer from Windows and my Ubuntu machine was printing properly with the correct fonts and style. If you find yourself in similar situation, follow the guide below to do the same.
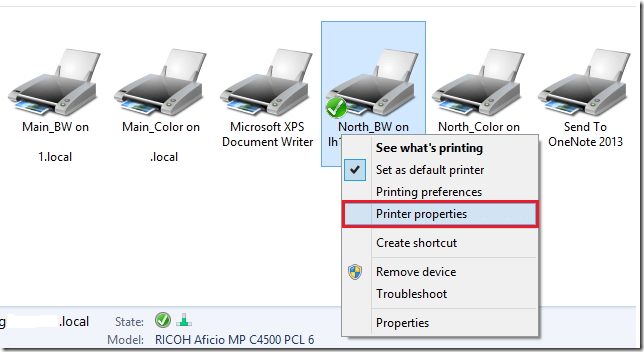
First, logon to Windows and right-click the printer you wish to share and click ‘Printer properties’
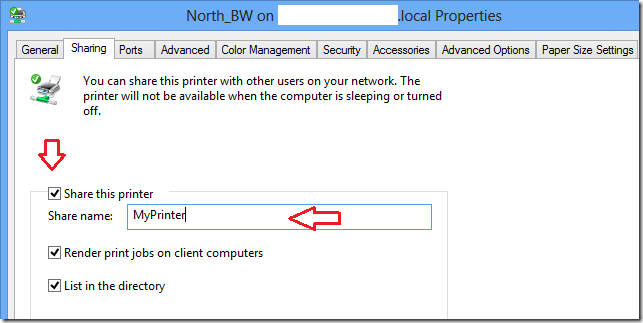
Next, select the ‘Sharing’ tab and check the ‘Share this printer’ box to share the printer. Remember the shared name because you’ll connect using that shared name.
Finally, open the commands prompt as administrator and run the commands below to enable file and printer sharing through the firewall.
netsh advfirewall firewall set rule group="File and Printer Sharing" new enable=Yes

Next, logon to Ubuntu and select the gear on the panel at the top right and select System Settings…
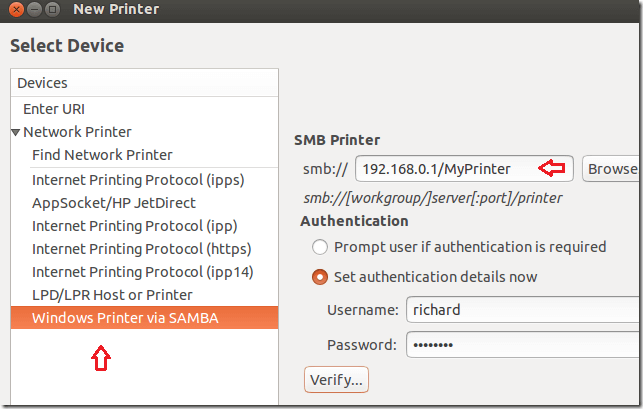
When System Settings opens, select Printers. The add a printer. When prompted to select a device, choose ‘ Windows Printer via SAMBA’.


Enter the Windows computer IP address or hostname followed by the printer shared name. You may also have to enter your windows account credentials (username and password). Click Browse to verify that you can see the printer and when you’re done, click Forward to continue.
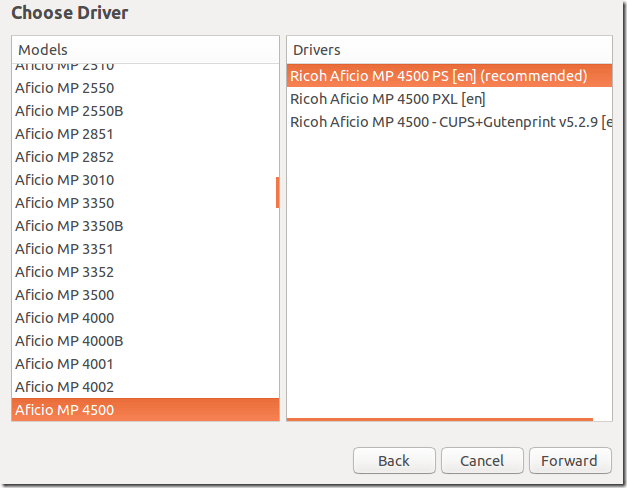
Next, select the printer brand and model. If you don’t see the particular model, choose the next closest to it and continue.


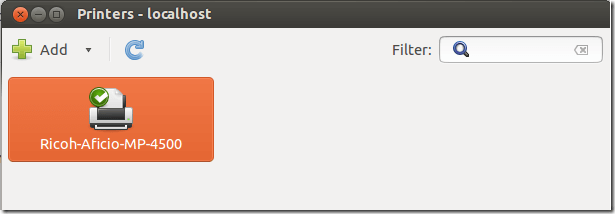
If everything is done correctly, you should have a printer installed and ready to use.


Enjoy!

