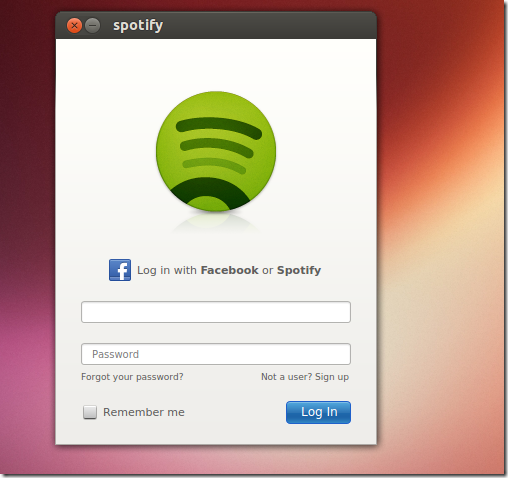
Spotify Client for Linux was recently updated to version 0.8.8 and this brief tutorial is going to show you how to install or upgrade it in Ubuntu 12.10 / 13.04 Raring Ringtail. This time Linux users are getting the good stuff, and not just a preview version. It contains features such as being able to follow artists and tastemakers. When you follow artists, you’ll get updates on their activities and released albums.
There were some bug fixes in this release as well. Spotify Client now is installed in the /opt directory and uses XDG mechanisms to register icons and menus.
To get started with installing Spotify in Ubuntu, press Ctrl – Alt – T on your keyboard to open the terminal. When it opens, run the commands below to add its repository key to your system.
sudo apt-key adv --keyserver keyserver.ubuntu.com --recv-keys 4E9CFF4E


Next, run the commands below to add it software repository to your system.
sudo sh -c 'echo "deb http://repository.spotify.com stable non-free" >> /etc/apt/sources.list'


Finally, run the commands below to update your system and install Spotify Linux Client.
sudo apt-get update && sudo apt-get install spotify-client spotify-client-qt


That’s it!


If you decide to completely uninstall Spotify, run the commands below.
sudo apt-get purge spotify-client spotify-client-qt && sudo apt-get autoremove

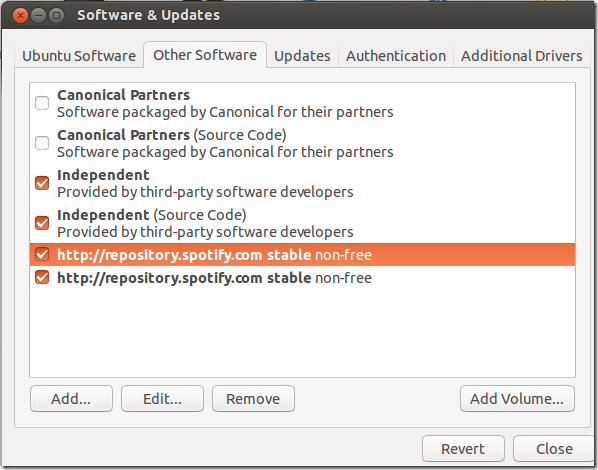
To also remove its repository and key, go to System Settings –> Software & Updates –> Other Software tab, the click and remove the repositories as shown below.


Select the Authentication tab and remove its key as well.

Enjoy!


