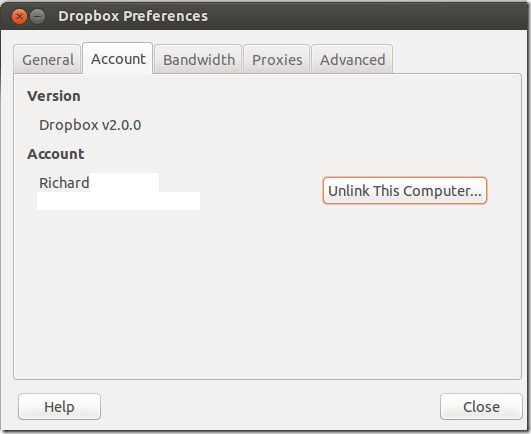
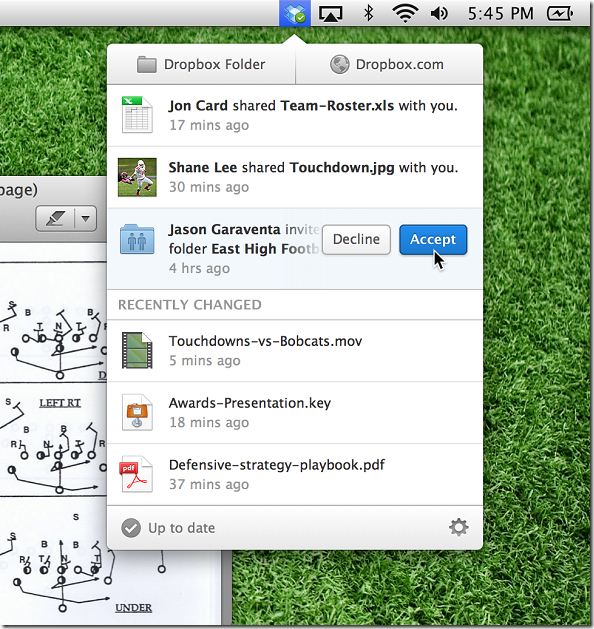
Dropbox Client version 2.0 has just been released and this brief tutorial is going to show you how to install it in Windows 7/8, Mac OS, and Ubuntu 13.04. This release brought some bug fixes and other enhancements, like a new and bigger menu, although not yet available for Linux users, and shared links are immediately available and can be accessed directly from the Dropbox menu.
For more about this release, head over to Dropbox release notes page.
Some of the changes and fixes that are included in this release are as followed:
- Fix a bug where discrete graphics would be enabled on OSX laptops
- Add support for Brazilian Portuguese
- Fix icon overlays not updating in OS X
- Remove extraneous log message accidentally left i
- Fix syncing of files called "..foo" on Windows.
To install Dropbox desktop client in Windows and Mac OS, head over to Dropbox download page. There you should see download links for Windows, Mac OS and Linux systems. Windows and Mac users can easily install Dropbox desktop client by downloading and installing it.
To install the desktop client in Ubuntu, the easiest way is to run the commands below from the terminal.
sudo apt-get install nautilus-dropbox

After downloading and installing Dropbox packages, you’ll be given an option to launch and sign into Dropbox from Ubuntu.


For a detailed step by step guide about installing Dropbox in Ubuntu, read about previous post on Dropbox here.


Enjoy!


