Here’s a quick tutorial that shows you how to install the latest version of Oracle JAVA JDK7 in Ubuntu. Not very long ago, one could easily install Java SE Development Kit by enabling Ubuntu partner’s repository and running the apt-get command. Not anymore. Now you will have to either manually download and install it or use third party sources to download and install it via PPA.
We love to install software via PPAs, but some of them have disappointed us by closing down without warnings leaving us to find other sources to use and install software. In this post, I’ll show you how to manually download JAVA packages, either the 32-bit or 64-bit version and install it in Ubuntu from the command line.
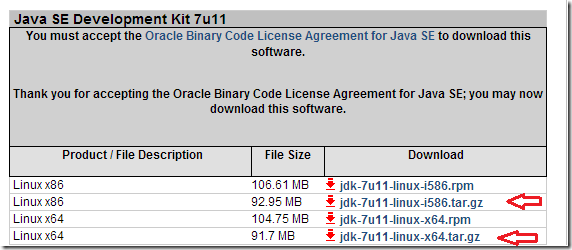
To get started, go and download a copy of JAVA JDK7 from the download page which can be found here.
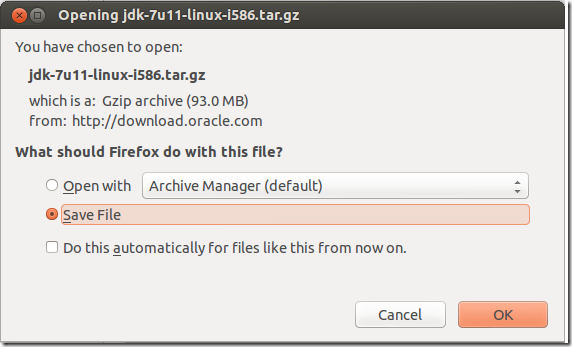
By default, Firefox will save it in the Downloads folder of your home directory.
Next, press Ctrl – Alt – T on your keyboard to open the terminal. When it opens, run the commands below to extract the downloaded file.
tar -xvf ~/Downloads/jdk-7u11-linux-i586.tar.gz


Next, create a location where to store JAVA packages by running the commands below.
sudo mkdir -p /usr/lib/jvm/jdk1.7.0/


Then move the extracted content to the newly created folder by running the commands below.
sudo mv jdk1.7.0_11/* /usr/lib/jvm/jdk1.7.0/


Next, run the commands below to install and configure java.
sudo update-alternatives --install "/usr/bin/java" "java" "/usr/lib/jvm/jdk1.7.0/bin/java" 1


Next, run the commands below to install and configure javac.
sudo update-alternatives --install "/usr/bin/javac" "javac" "/usr/lib/jvm/jdk1.7.0/bin/javac" 1


Finally, run the commands below to install and configure javaws.
sudo update-alternatives --install "/usr/bin/javaws" "javaws" "/usr/lib/jvm/jdk1.7.0/bin/javaws" 1


That’s it! To verify if java is install, run the commands below.
java -version


That’s how you install JAVA JDK7 in Ubuntu.


