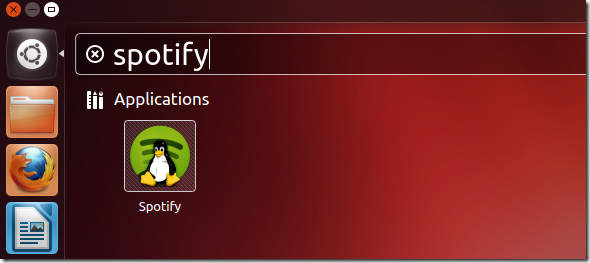
Want to install Spotify Client in Ubuntu easily? Well, this brief tutorial is going to show you how to do it. If you’re reading this post then you probably already know what Spotify is, so I am going to spare you the details and show you the quickest way to install it in Ubuntu. Step one shows you how to add Spotify repository key. Two shows you how to add Spotify software repository and the last shows you how to install Spotify Client.
Without wasting anymore of your time, let’s get going.
Objectives:
- Install Spotify Linux Client in Ubuntu 12.04 (Precise Pangolin)
- Enjoy!
To get started, press Ctrl – Alt – T on your keyboard to open terminal. When it opens, run the commands below to add Spotify’s repository key.
sudo apt-key adv --keyserver keyserver.ubuntu.com --recv-keys 4E9CFF4E


Next, copy and paste the line below to add Spotify’s repository.
sudo sh -c 'echo "deb http://repository.spotify.com stable non-free" >> /etc/apt/sources.list'


Finally, run the commands below to install Spotify.
sudo apt-get update && sudo apt-get install spotify-client-qt


Enjoy!


