We have been writing about content management systems lately. We wrote about installing WordPress on Ubuntu and today, we’re going to show you how to install Joomla CMS on Ubuntu servers.
There are many content management systems in used today. From WordPress to Drupal to Joomla, and there are many others that allow anyone to build beautiful websites and blogs with limited design and coding skills.
These systems help webmasters and website owners manage their website efficiently.
Back in the old days, webmasters used to manually create web pages and content offline, then use publishing tools to publish those changes to their sites online.
That was back in the days. Today, we’ve come far from those ancient methods of managing and developing websites.
Now any with the help of CMS can quickly create and distribute content online in real time without the need to write programs or skills to design websites.
While many websites will choose WordPress over Joomla, few are still using Joomla to manage their content.
To learn how to install Joomla on Ubuntu server, follow the guide below to install the LAMP stack. Then configure your server environment to run Joomla.
Installing LAMP Stack
To install the LAMP stack and other required packages, run the commands below.
sudo apt-get update && sudo apt-get install apache2 mysql-server mysql-client php5 libapache2-mod-php5 php5-mysql php5-curl php5-gd php5-intl php-pear php5-imagick php5-imap php5-mcrypt php5-memcache php5-ming php5-ps php5-pspell php5-snmp php5-tidy php5-xmlrpc
The above commands install Apache2 webserver, MySQL database server and PHP along with other PHP modules.
During the installation, you’ll be prompted to create and confirm a database root user password.. Please do it as you’ll need that password to sign onto the database server.
After that, go and create a database and database user for Joomla CMS. Joomla stored its content in databases.
Configuring Joomla Database and User
To access the database run the commands below.
mysql -u root -p
Then type the database password you created earlier.
Next, run the commands below to create a database for Joomla.
CREATE DATABASE joomladb;
Next, run the commands below to create a database user and set a password for the account.
CREATE USER joomlauser@localhost IDENTIFIED BY 'joomlauser_password_here';
Finally, grant the database user rights to manage content within the database.
GRANT ALL ON joomladb.* TO joomlauser@localhost;
Flush and exit.
Downloading Joomla CMS installer
After installing LAMP and configuring Joomla’s database, run the commands below to download Joomla CMS package.
cd /tmp/ && wget https://github.com/joomla/joomla-cms/releases/download/3.4.5/Joomla_3.4.5-Stable-Full_Package.zip
Next, run the commands below to extract the archived content and copy it to Apache2 default root directory.
sudo unzip -q Joomla*.zip -d /var/www/html
Next, configure the correct permissions for Apache2
sudo chown -R www-data.www-data /var/www/html

sudo chmod -R 755 /var/www/html
Delete Apache default test page
sudo rm -rf /var/www/html/index.html
Restart Apache2 webserver
sudo systemctl reload apache2
Now browse to your server IP or hostname and you should see Joomla’s default setup page.
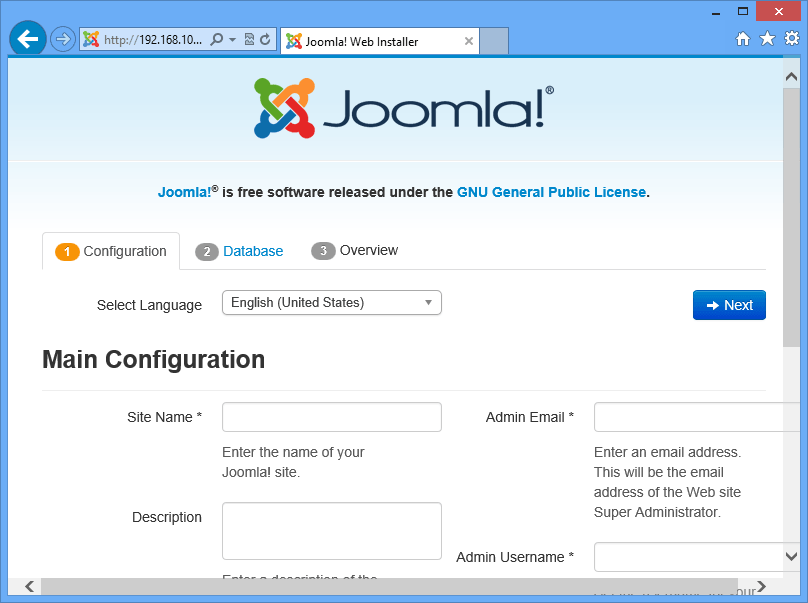
Next, type your database info, including database name, user and password.
Follow the steps until you’re done.
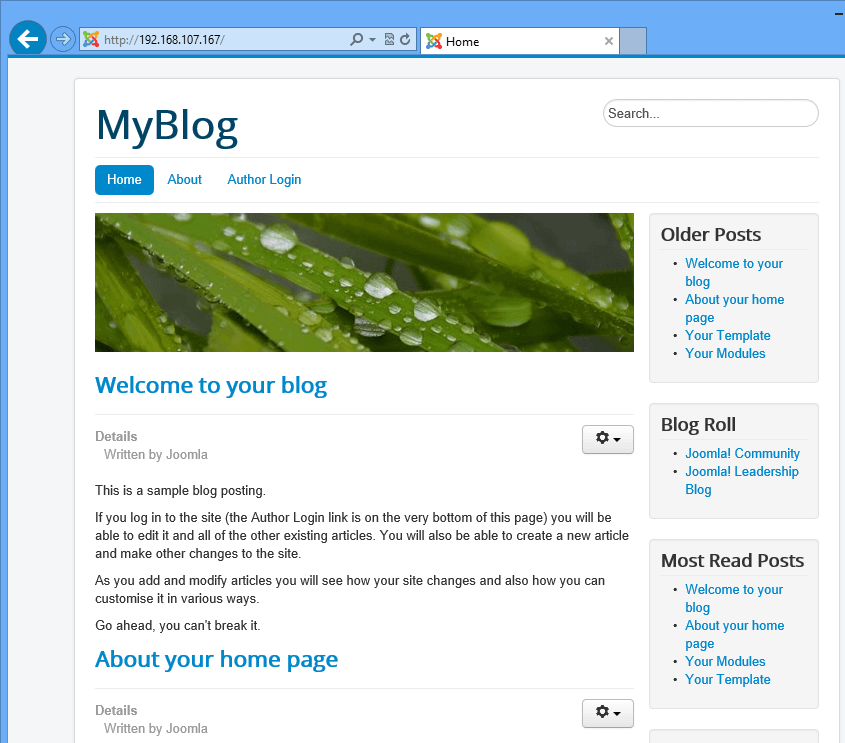
Enjoy! This is how to install Joomla on Ubuntu servers.