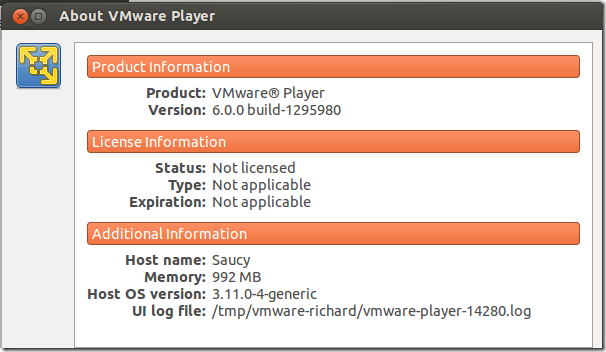
VMware Player is a virtualization software that lets you run multiple operating systems using a single computer or host. It’s a lightweight version of VMware Workstation and works in Windows, Mac OS X and Linux systems, including Ubuntu. If you can’t afford to purchase VMware Workstation, then VMware Player should work just fine.
The newest version of VMware Player ( 6.0) brings many new changes including, a commercial or paid feature called VMware Player 6 Plus, support for unattended installation using enterprise configuration management tools, simplified UI and support for Ubuntu 13.10, Windows 8.1 and other newer operating systems.
This brief tutorial is going to show you how to install VMware Player in Ubuntu. For Windows and Mac OS X users, the process is simple. Just download the installer package and start the installation. In Ubuntu, you may have to prepare your system before installing.
To get started, press Ctrl – Alt – T on your keyboard to open the terminal or console. When it opens, run the commands below to install required packages.
sudo apt-get install build-essential linux-headers-`uname -r`

After that, go and download a copy of VMware Player 6 from here or VMware software download page.
After downloading the software package, change to your Downloads folder by running the commands below.
cd ~/Downloads

Next, run the commands below to make the installer executable.
chmod +x VMware-Player*

Finally, run the commands below to begin the installation.
sudo ./VMware-Player-6*

During the installation, when prompted for a license key, leave it blank. The license is only there if you’re going to be using the Plus feature. If not, then don’t worry about license key. After installing it, open Dash and launch it.


Enjoy!

