GRUB Customizer is an open source application that allows you to customizer Ubuntu GRUB Menu easily. With this program, you can set GRUB timeout, change the terminal resolution, add background images to GRUB, change the font type and size and delete old kernel from the boot menu.
All the above tasks can be done using the terminal. However, if you prefer the easy method, then install GRUB Customizer – it lets you carry out the above tasks easily from the application (GUI) without actually knowing how to do it from the command line.
This brief tutorial is going to show you how to easily install GRUB Customizer in Ubuntu 13.04 Raring Ringtail and how to change the background image of the boot menu.
When you’re ready, press Ctrl – Alt – T on your keyboard to open the terminal. When it opens, run the commands below to add its PPA archive.
sudo add-apt-repository ppa:danielrichter2007/grub-customizer


Next, run the commands below to update your system and install GRUB Customizer.
sudo apt-get update && sudo apt-get install grub-customizer


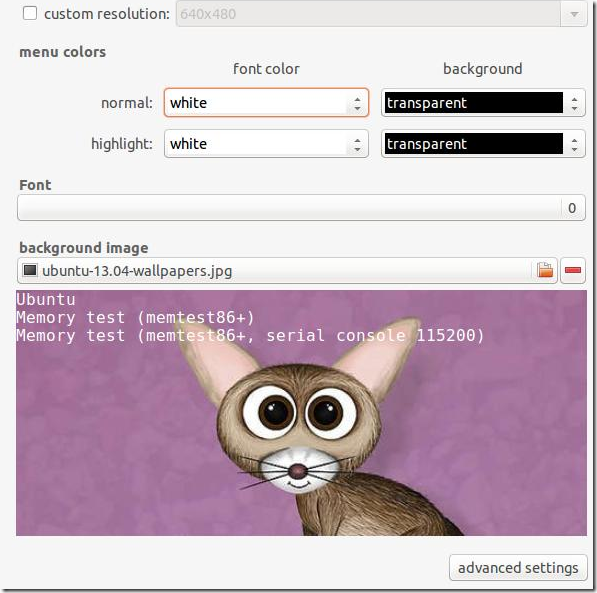
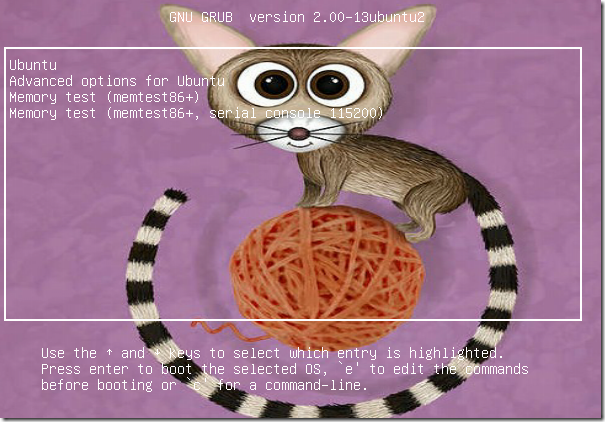
After installing the program, go to Ubuntu Dash and search for it, the launch it. When opens, go to the Appearance Settings tab and select a background image. Save your settings and restart.


That’s it!


To revert or undo the changes, go back to GRUB Customizer and select the Appearance Settings tab, then remove the background image and save.  Or click the Revert Changes button at the top right of the program and save.

If you want to completely remove GRUB Customizer, run the commands below to get rid of its PPA archive.
sudo add-apt-repository --remove ppa:danielrichter2007/grub-customizer

Finally, run the commands below to completely uninstall the program.
sudo apt-get purge grub-customizer && sudo apt-get autoremove

Enjoy!


