The latest version of Firefox has just been released to the general public, and this brief tutorial is going to show you how to install or upgrade it in Windows, Mac and Ubuntu.
This release enabled Firefox’s built-in PDF viewer by default, fixes a bug that stops Firefox from rendering the top half when the plugin is scrolled off the top of the page, and support for HTML5 CSS @page.
For a complete changelog on this release, please click here.
Below are some of the changes that were added:
-
Built-in PDF viewer
-
Canvas elements can export their content as an image blob using canvas.toBlob()
-
Startup performance improvements (bugs 715402 and 756313)
-
CSS viewport-percentage length units implemented (vh, vw, vmin and vmax)
-
Certain valid WebGL drawing operations are incorrectly rejected, leaving incomplete rendering in affected pages (825205)
-
Starting Firefox with -private flag incorrectly claims you are not in Private Browsing mode (802274)
To install or upgrade Firefox in Windows and Mac systems, use the download page. There you’ll find a package for your systems.
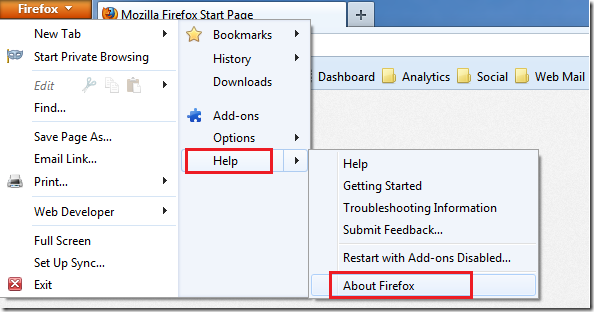
Or open Firefox and select Help –> About Firefox. When it opens, it should automatically begin downloading the upgraded version. After that, restart and you’re done.
To upgrade in Ubuntu you must add Firefox Security PPA. Or install Firefox manually. To learn how to install it manually, please read this post.
To get started, press Ctrl – Alt – T on your keyboard to open the terminal. When it opens, run the commands below to add its security PPA
sudo add-apt-repository ppa:ubuntu-mozilla-security/ppa


Finally, run the commands below to update your system as well as upgrade Firefox
sudo apt-get update && sudo apt-get install firefox


Enjoy!


