Spotify has quietly replaced the repository key for its music player for Linux systems. If you followed our tutorials on installing Spotify in Ubuntu, you may still have the old repository key installed.
This brief tutorial is going to show you how to remove the old key and replace it with the new one so you can continue to get updates or install Spotify. If you don’t update the repository key, you may get errors like ‘failed to fetch http://repository.spotify.com/dists/stable/InRelease’ Some index files failed to download.
So without wasting anymore of your time, let’s get going.
Objectives:
- Remove Spotify Old Repository Key and Install a new one
- Enjoy!
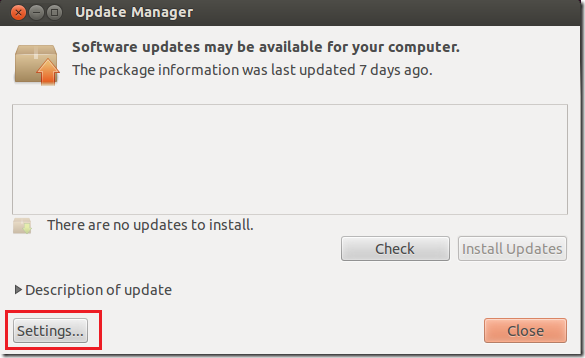
To get started, press Ctrl – Alt – T on your keyboard to open Terminal. When it opens, run the commands below to open Update Manager.
update-manager


Next, click ‘Settings’


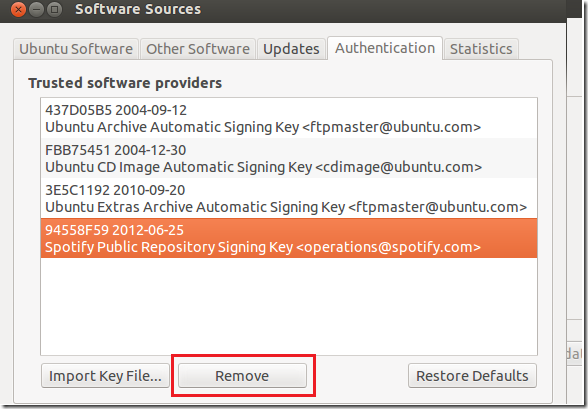
Then select ‘Authentication’ tab and select Spotify Public Repository Signing Key and remove. If you haven’t installed Spotify in the past, then ignore this.


Finally, type the commands below to add Spotify new Key.
sudo apt-key adv --keyserver keyserver.ubuntu.com --recv-keys 94558F59


Run this command to update your system:
sudo apt-get update

Enjoy!


