This brief tutorial shows you how to install Oracle Java Runtime Environment (JRE) in Ubuntu 11.10 (Oneiric Ocelot) via PPA. As you may already know, Ubuntu comes with a package called OpenJDK in its repository that takes the place of Oracle Java. By the way, Oracle version of Java isn’t included in Ubuntu. If you want to install it, you must use external sources.
Now, you can always install OpenJDK in Ubuntu wish should work ok, however, if you prefer the version from Oracle instead, then continue below to learn how to install it.
Objectives:
- Install Oracle Java 7 in Ubuntu 11.10 (Oneiric Ocelot)
- Enjoy!
To get started, press Ctrl –Alt – T on your keyboard to open Terminal. When it opens, first remove the open source version of Java by running the commands below if you have it installed.
sudo apt-get purge openjdk*


Next run the commands below and add the below PPA.

sudo add-apt-repository ppa:eugenesan/java


Finally, run the commands below to update your system and install Java.

sudo apt-get update && sudo apt-get install oracle-java7-installer


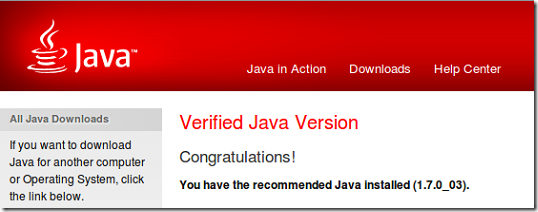
After installing, go to Oracle’s website and verify if the correct version of Java is installed.


Enjoy!


